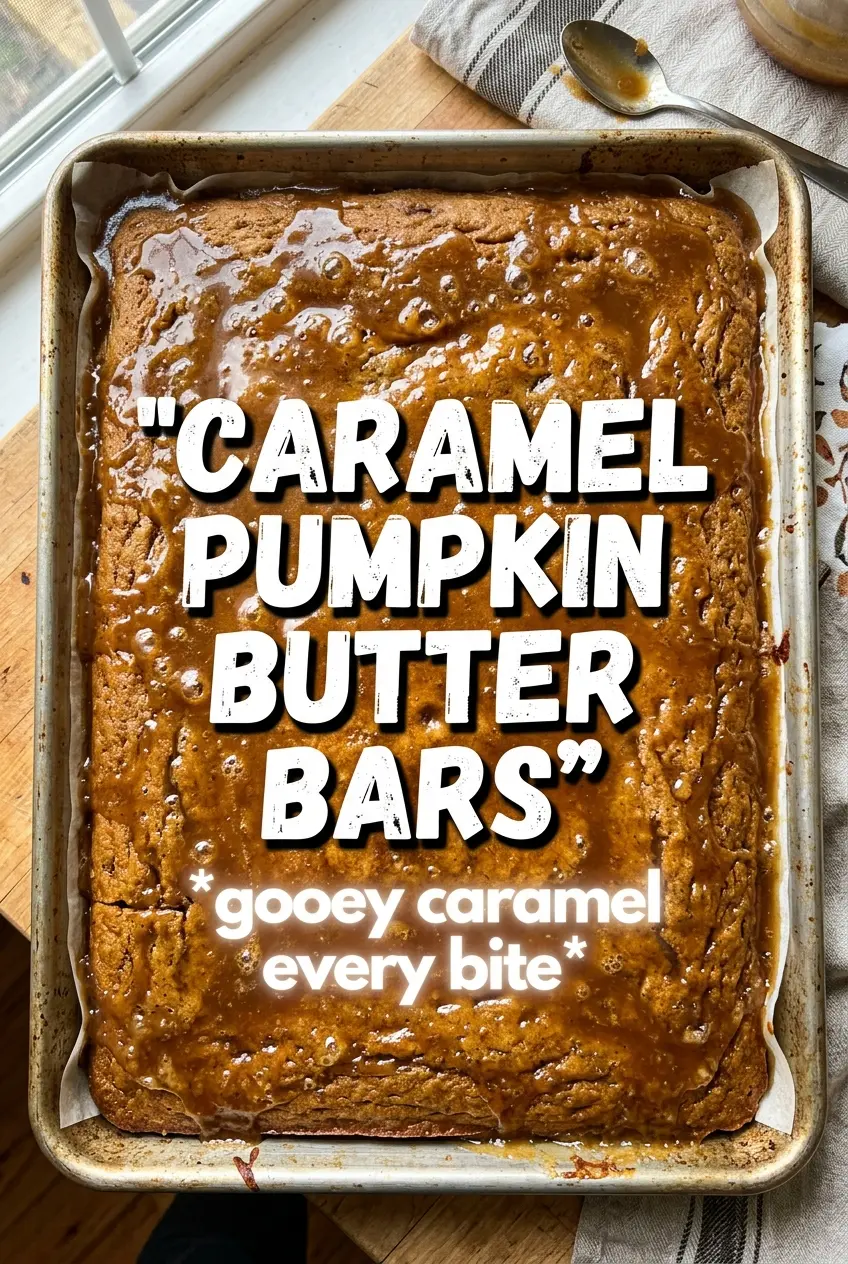
Caramel pumpkin butter bars land in that perfect middle ground between a pie bar and a blondie: crisp, buttery shortbread on the bottom, a thick pumpkin-caramel center that sets up cleanly, and just enough flaky salt on top to keep every bite from tasting flat. The crust stays sturdy enough to pick up, but it still has that sandy, melt-in-your-mouth texture that makes bar desserts worth making in the first place.
What makes this version work is the balance of moisture and structure. Pumpkin puree brings body, but it needs the eggs and a little cream to bake into something sliceable instead of spoon-soft. The cornstarch in the crust helps the base stay tender without turning greasy, and the first bake on the shortbread keeps the bottom from going soggy under the filling. That extra step is the difference between neat bars and a pan that turns messy the minute you cut into it.
Below, I’ve broken down the one part that matters most if you want clean layers, plus the ingredient swaps that still keep the bars tasting like themselves. The cooling time matters here too, and I’ll tell you exactly why it’s worth waiting.
The shortbread stayed crisp under the pumpkin caramel layer, and the filling set up so cleanly after cooling that I got perfect squares. The flaky salt on top made the caramel stand out even more.
Save these caramel pumpkin butter bars for the kind of dessert that slices clean, tastes like spiced pumpkin and caramel, and finishes with a crack of flaky salt.
The Crust Needs a Head Start, Not the Filling
The most common mistake with bars like these is rushing the bottom layer. If the shortbread doesn’t get a short pre-bake, the filling soaks in before the butter has a chance to set the flour, and you end up with a dense, damp base instead of a tender one that holds its shape. Baking the crust until it’s pale golden gives it structure without overbrowning it, which matters because it still has another round in the oven once the filling goes on.
Another detail that pays off is pressing most of the dough in firmly and saving only a small portion for the crumble. Loose crumbs on the bottom won’t make a stable bar. Pack the base down with your fingers or the bottom of a measuring cup so it bakes into one clean layer, then scatter the reserved dough on top for texture.
- Cold butter — This is what gives the shortbread its clean, sandy crumble. If the butter softens too much before baking, the base can turn greasy and lose that crisp edge.
- Cornstarch — It softens the crumb and keeps the crust tender. You can’t fully replace that texture with flour alone.
- Powdered sugar — It dissolves fast and helps the crust bake up smooth instead of gritty. Granulated sugar changes the texture and makes the base less delicate.
- Thick caramel sauce — Use a sauce that’s already spoon-thick. Thin caramel can make the filling runny, especially before it fully cools.
What Each Ingredient Is Actually Doing in This Recipe
- Primary ingredient (the star) — Quality matters most. Choose the best you can find.
- Cooking medium (oil, butter, or broth) — This carries flavors and prevents dryness.
- Seasonings (salt, pepper, spices, herbs) — Layer flavors so nothing overpowers. Build depth gradually.
- Aromatics (garlic, onion, herbs) — Cook with fat to bloom flavors. Become the foundation.
- Supporting ingredients — Complement the main ingredient without overpowering it.
- Sauce or liquid (if applicable) — Brings flavors together. Balance richness with acid.
- Acid (lemon, vinegar, wine, or other) — Brightens and prevents flat-tasting results.
- Final finish (garnish, glaze, or sauce) — Prevents one-dimensional taste and adds visual appeal.
What Each Ingredient Is Doing in the Pan
The filling is built like a custard, but caramel changes the rules a little. Pumpkin puree adds bulk and earthy sweetness, while the eggs set the bars so they can be cut into squares. Heavy cream keeps the filling from baking up dry, and the brown sugar reinforces the caramel note without making the bars taste overly sweet. The vanilla and pumpkin pie spice don’t just add flavor; they round off the sharp edges so the pumpkin and caramel taste integrated instead of separate.
Use canned pumpkin puree here, not pumpkin pie filling. Pumpkin pie filling already has sugar and spices mixed in, which makes the bars harder to balance and can throw off the texture. If your caramel sauce is very thick, whisk it smooth with the cream before adding the eggs so you don’t end up with streaks of caramel that bake unevenly.
Building the Layers So the Bars Slice Cleanly
Mixing the Shortbread Without Overworking It
Start by combining the dry ingredients, then cut in the cold butter until the mixture looks like damp sand with a few pea-sized bits left. Those little bits matter because they create the tender, flaky texture after baking. Stop as soon as the dough clumps when pressed; if you knead it into a smooth dough, the crust turns tougher than it should.
Pressing and Pre-Baking the Base
Press most of the dough firmly into a parchment-lined 9×13 pan, working all the way into the corners so the bars bake evenly. The layer should look compact and even, not patchy. Bake it until the surface is just turning pale gold at the edges. If it goes too dark now, the second bake can push it into dry and brittle territory.
Whisking the Filling Until It’s Smooth
Whisk the pumpkin, caramel, cream, brown sugar, spice, vanilla, and eggs until the mixture looks glossy and fully blended. The eggs should disappear into the filling before it goes onto the crust, or you can end up with little set ribbons in the finished bars. Pour it over the hot crust so the layers bond, then crumble the reserved dough over the top for a little texture and visual contrast.
Baking to the Set Point
Bake until the center no longer sloshes when you nudge the pan and the edges look set first. The middle can still have the slightest wobble when you pull it out; it will finish setting as it cools. If you wait until the top looks completely firm in the oven, the bars usually end up overbaked and chalky once cooled.
Cooling Before the First Cut
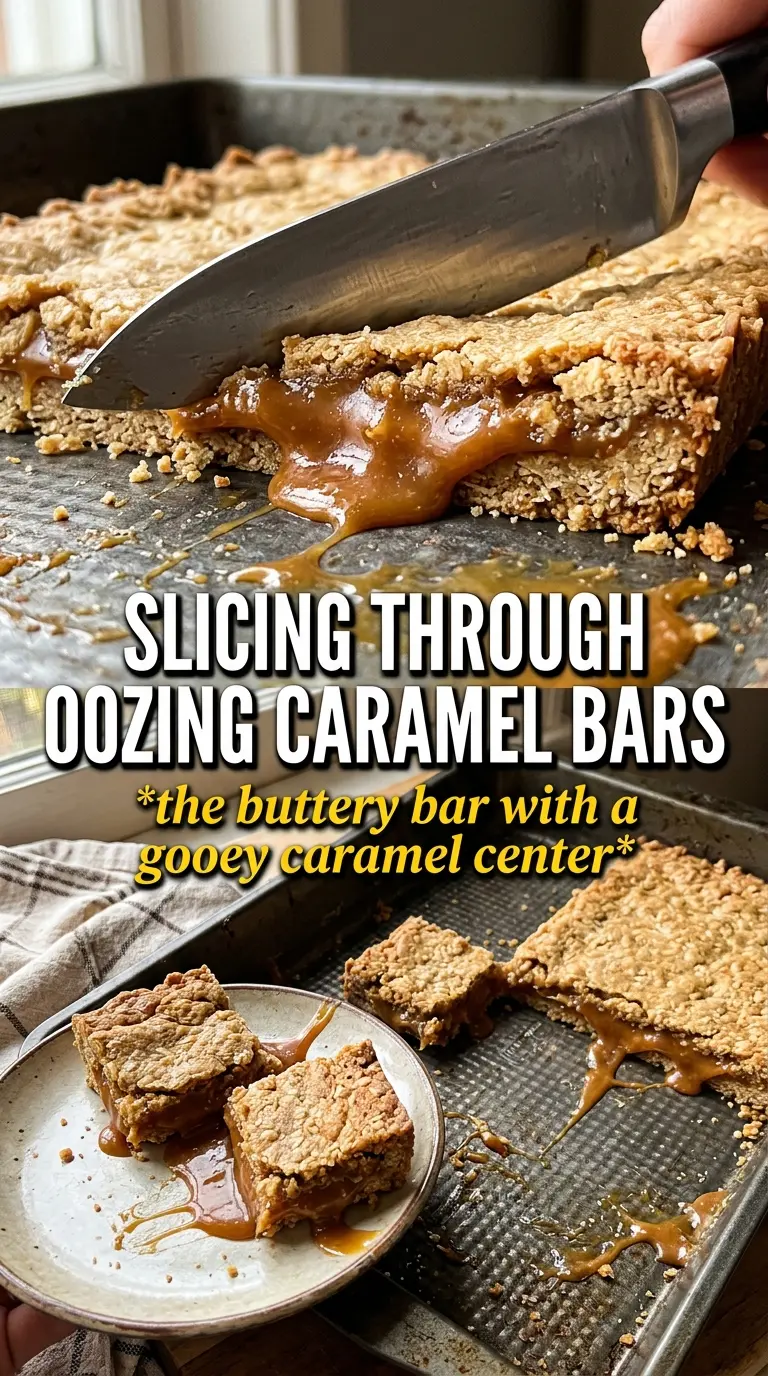
Let the pan cool completely before slicing. That’s the part most people skip, and it’s why the filling smears instead of giving you clean squares. For the neatest edges, chill the bars after they reach room temperature, then use a sharp knife wiped clean between cuts.
How to Adapt These Bars for Different Kitchens and Cravings
Dairy-Free Version
Swap the butter for a good plant-based stick butter and use a coconut-based or dairy-free caramel sauce. The crust will still bake up crisp, though the flavor leans a little less rich, so don’t skip the flaky salt on top.
Gluten-Free Crust
Use a 1:1 gluten-free baking flour in place of the all-purpose flour. The bars still hold together well because the cornstarch helps the crumb stay tender, but press the base especially firmly so it doesn’t fracture when sliced.
Extra Caramel, Less Pumpkin
If you want the caramel to lead, reduce the pumpkin puree slightly and add a few more spoonfuls of caramel sauce. The filling will taste sweeter and a little less earthy, and it may bake up just a touch softer, so lean on the full cooling time before cutting.
Storage and Reheating
- Refrigerator: Store covered for up to 5 days. The filling firms up in the fridge, which makes the bars slice even cleaner the next day.
- Freezer: These freeze well. Wrap individual bars tightly and freeze for up to 2 months, then thaw in the fridge so the crust doesn’t get soggy from condensation.
- Reheating: Serve them chilled or at room temperature. If you want a warmer bar, microwave a slice for 8 to 10 seconds, but don’t heat it long enough to soften the filling into a puddle.
Answers to the Questions Worth Asking
Caramel Pumpkin Butter Bars
Ingredients
Equipment
Method
- Preheat the oven to 350°F and line a 9x13 pan with parchment paper for easy lift-out.
- In a mixing bowl, combine all-purpose flour, powdered sugar, cornstarch, cinnamon, and salt, then cut in cold butter until the dough comes together.
- Reserve 1 cup of the dough for the crumble topping, then press the remaining dough firmly into the pan.
- Bake for 15 minutes, until the crust turns pale golden (visual cue: light golden edges).
- Whisk pumpkin puree, caramel sauce, heavy cream, brown sugar, pumpkin pie spice, vanilla, and eggs until smooth and glossy.
- Pour the filling over the hot crust, then crumble the reserved dough evenly on top.
- Bake 22 to 25 minutes more, until the filling is set (visual cue: center looks set, not sloshy).
- Sprinkle flaky sea salt over the bars while warm for a crisp, sparkly top.
- Cool completely before cutting so the filling sets into clean bar slices.