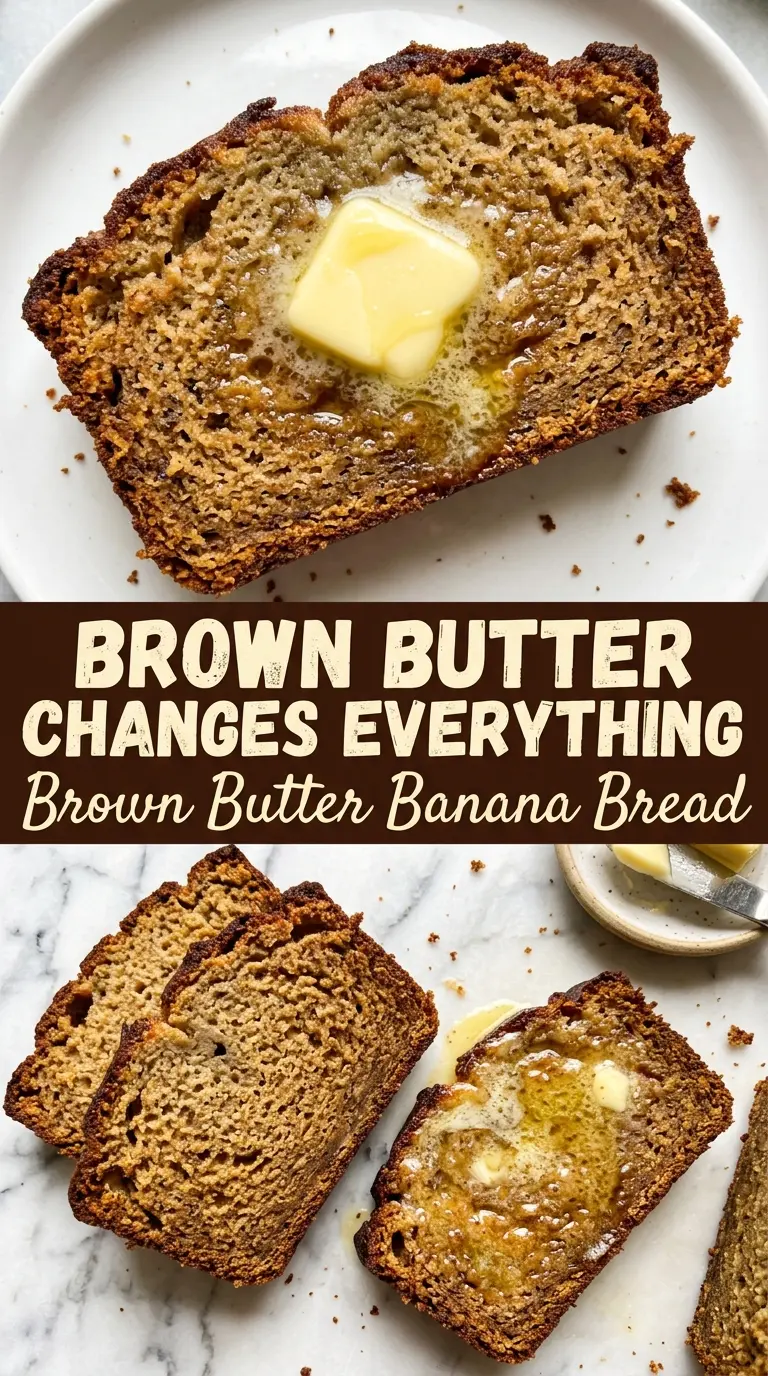
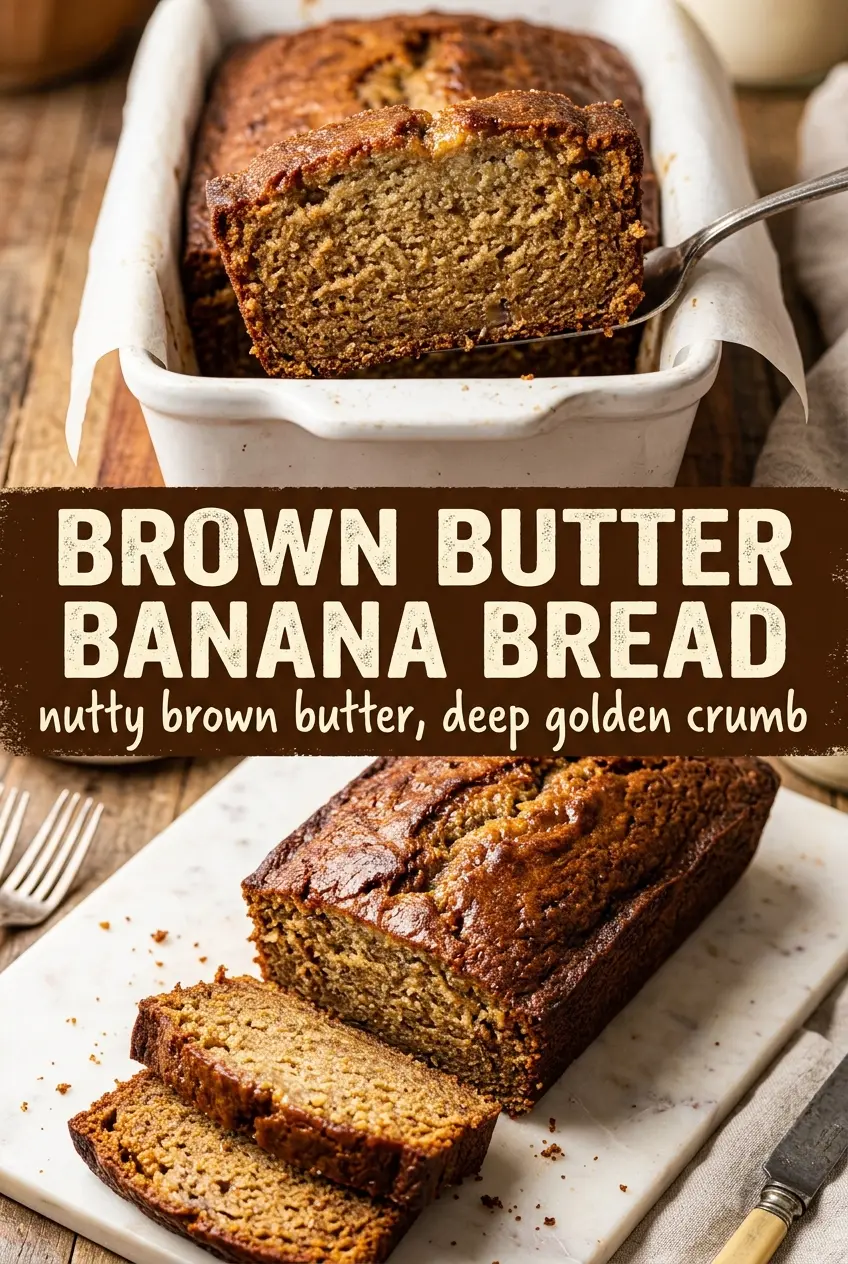
Brown butter banana bread takes the familiar soft, sweet loaf and gives it a deeper, toastier backbone. The crust bakes up darker and more aromatic, and the crumb stays tender with that unmistakable hazelnut-caramel note from the butter. It tastes like banana bread that paid attention.
The key is giving the butter enough time to brown properly before it goes anywhere near the batter. That step pulls out the milk solids and turns them into something nutty and rich, which means the loaf needs less help from spice or add-ins to taste interesting. Ripe bananas still matter here, because their sweetness and moisture keep the bread soft instead of dense.
Below, you’ll find the exact visual cues for browning butter without burning it, plus a few small adjustments if you want to bake this loaf with walnuts, chocolate chips, or a lighter hand on the sweetness.
The brown butter made the loaf taste almost like banana bread with caramel in it, and the middle stayed soft for days without getting gummy.
Like the nutty depth and dark, tender crumb in this brown butter banana bread? Save it to Pinterest for the next time those bananas are spotted and you want a loaf with real character.
The Brown Butter Stage That Changes Everything
Most banana bread gets its flavor from ripe fruit and a little cinnamon. This version gets another layer from the butter, and that layer only happens if you take it past melted and into browned. The milk solids should turn amber at the bottom of the pan and smell like toasted nuts, not just warm dairy. If the butter is pale, the loaf will still work, but it won’t have the same depth.
The biggest mistake is rushing the butter into the batter while it’s still hot. That can start cooking the eggs too early and give you a slightly greasy, uneven crumb. Let it cool for about 10 minutes so it’s still fluid but no longer blazing hot. That small pause keeps the texture tender and even.
What Each Ingredient Is Actually Doing Here
- Browned butter — This is the whole point of the recipe. You’re not just adding fat; you’re adding toasted milk solids that bring a nutty, almost caramelized note you can’t get from plain melted butter. A light-colored pan helps here because you need to see the color change clearly.
- Ripe bananas — Use bananas with lots of brown spots and a soft, fragrant flesh. They supply moisture, sweetness, and that familiar banana bread texture. Under-ripe bananas make the loaf taste flat and less sweet, so wait until they look almost too far gone.
- Brown sugar — This adds molasses depth that fits the browned butter beautifully. It also helps the loaf stay moist for days. You can reduce it slightly, but the bread will lose some of that rich, almost toffee-like finish.
- All-purpose flour — This keeps the crumb tender without making the loaf heavy. Don’t swap in whole wheat flour 1:1 unless you’re ready for a denser bread with a drier edge. If you want a little more structure, replace only 1/4 cup with whole wheat flour.
- Walnuts or chocolate chips — These are optional, but they each play a different role. Walnuts echo the nuttiness in the brown butter, while chocolate chips add pockets of sweetness that turn the loaf into more of a treat. Fold them in at the very end so they don’t sink.
Mixing the Batter Without Beating the Air Out of It
Brown the Butter First, Then Let It Rest
Set the butter in a light-colored saucepan over medium heat and swirl often so the solids at the bottom toast evenly. You’re looking for golden specks and a warm nutty smell, not dark brown bits that smell sharp or burnt. The butter will foam first, then quiet down as the browning happens, and that’s when you need to watch it closely. Pull it off the heat as soon as it reaches amber, because it keeps cooking from the residual heat in the pan.
Build the Wet Batter Before the Flour Goes In
Whisk the cooled brown butter with the brown sugar until it looks glossy, then add the eggs and vanilla. The mixture should look thick and smooth before the bananas go in. Once you add the mashed bananas, stir until they’re fully broken down and distributed, but don’t keep beating it after that. Overmixing at this point can make the loaf tighter than it should be.
Fold Just Until the Flour Disappears
Add the flour, baking soda, cinnamon, and salt, then fold gently with a spatula until the batter has no dry streaks. A few small lumps are fine; they disappear in the oven. If you stir until the batter looks perfectly smooth, you’re usually working it too hard, which can give you a tougher crumb. Fold in walnuts or chocolate chips last so they stay evenly suspended instead of sinking to the bottom.
Bake Until the Center Sets Cleanly
Scrape the batter into a greased 9×5 loaf pan and bake at 350°F until the top is deeply golden and a toothpick comes out clean or with just a few moist crumbs. The center should no longer wobble when you tap the pan gently. If the top is browning too fast before the middle is done, lay a loose piece of foil over it for the final stretch. Let the loaf cool in the pan before lifting it out, because cutting too early can make it collapse and smear instead of slice.
How to Adjust This Loaf Without Losing the Point
Make it with walnuts for a deeper toasted finish
Chopped walnuts echo the brown butter and make the loaf taste even more nutty and layered. Toast them first if you have time; that extra step sharpens their flavor and keeps them from tasting soft in the finished bread. Add them at the end so they stay distributed through the crumb.
Use chocolate chips for a sweeter, dessert-leaning loaf
Chocolate chips turn this into something closer to a bakery-style treat. The banana still leads, but the chocolate softens the nutty edge from the butter and gives you little pockets of melted sweetness. Mini chips disperse more evenly if you want a bite in almost every slice.
Swap in a gluten-free flour blend
A good 1:1 gluten-free flour blend works here because banana bread is naturally moist and forgiving. The texture will be a little more delicate, so let the loaf cool completely before slicing. Don’t use a single alternative flour on its own; it won’t have the same structure.
Storage and Reheating
- Refrigerator: Store sliced or whole for up to 4 days. The loaf stays moist, though the crumb firms up slightly in the fridge.
- Freezer: This bread freezes well. Wrap individual slices or the whole loaf tightly, then freeze for up to 3 months.
- Reheating: Warm slices in a toaster oven or a low oven until just heated through. Don’t blast it in the microwave too long or the banana bread turns rubbery and loses that tender texture.
Questions I Get Asked About This Recipe
Brown Butter Banana Bread
Ingredients
Equipment
Method
- Brown the butter in a light-colored saucepan over medium heat, swirling frequently, until the milk solids turn golden brown and smell nutty. Remove from heat and cool 10 minutes.
- Preheat oven to 350°F and grease a 9x5 loaf pan. Make sure the pan is well coated to prevent sticking.
- Whisk cooled browned butter and brown sugar together until smooth and glossy. Then whisk in eggs and vanilla until fully combined.
- Stir in mashed bananas until the batter looks uniform with no dry streaks. Mix just until combined to keep the crumb tender.
- Fold in all-purpose flour, baking soda, cinnamon, and salt until just combined. Fold in chopped walnuts (or chocolate chips) if using.
- Pour batter into the greased loaf pan and smooth the top. Bake for 60–70 minutes, until the top is deeply golden and a toothpick comes out clean.