Banana oatmeal bars bake up chewy, golden, and just sturdy enough to grab with one hand, but they still keep that soft, moist center people want in a breakfast bar. The oats give them a hearty bite, the bananas keep them tender, and the edges turn lightly crisp in the oven so each square feels finished, not gummy.
What makes this version worth keeping around is the balance. The mashed bananas do most of the sweetening and moisture work, while a little honey or maple syrup helps the bars set and caramelize at the edges. Almond butter or peanut butter adds enough fat to keep the texture from falling apart, and pressing the mixture firmly into the pan matters more than people think — loose packing leads to crumbly bars.
Below you’ll find the small details that make these bars slice cleanly, hold together in lunch boxes, and still taste good after a day or two in the fridge. There’s also a few easy swaps if you want to change the mix-ins without wrecking the texture.
I was skeptical these would hold together with just bananas and oats, but they baked up chewy and cut into neat bars after chilling. I used peanut butter and raisins, and the center stayed soft without getting wet or mushy.
Love the chewy texture and golden edges? Save these banana oatmeal bars for a quick breakfast or snack later.
The Trick to Bars That Slice Clean Instead of Crumbling
Banana bars fail for two reasons: the batter is too wet, or the pan wasn’t packed tightly enough. Since bananas vary a lot in size and juiciness, the mixture can go from perfect to sloppy fast. The oats need enough moisture to soften, but not so much that they turn into paste, and the bars need a firm press into the pan so they bake into one cohesive slab.
Pull them when the edges are golden and the center looks set, not wet. If you overbake, the bars get dry and sandy; if you underbake, they seem fine warm but fall apart when sliced. Cooling all the way matters here. Warm bars almost always crumble, and a short chill in the fridge makes the knife glide through cleanly.
What the Bananas and Nut Butter Are Really Doing Here
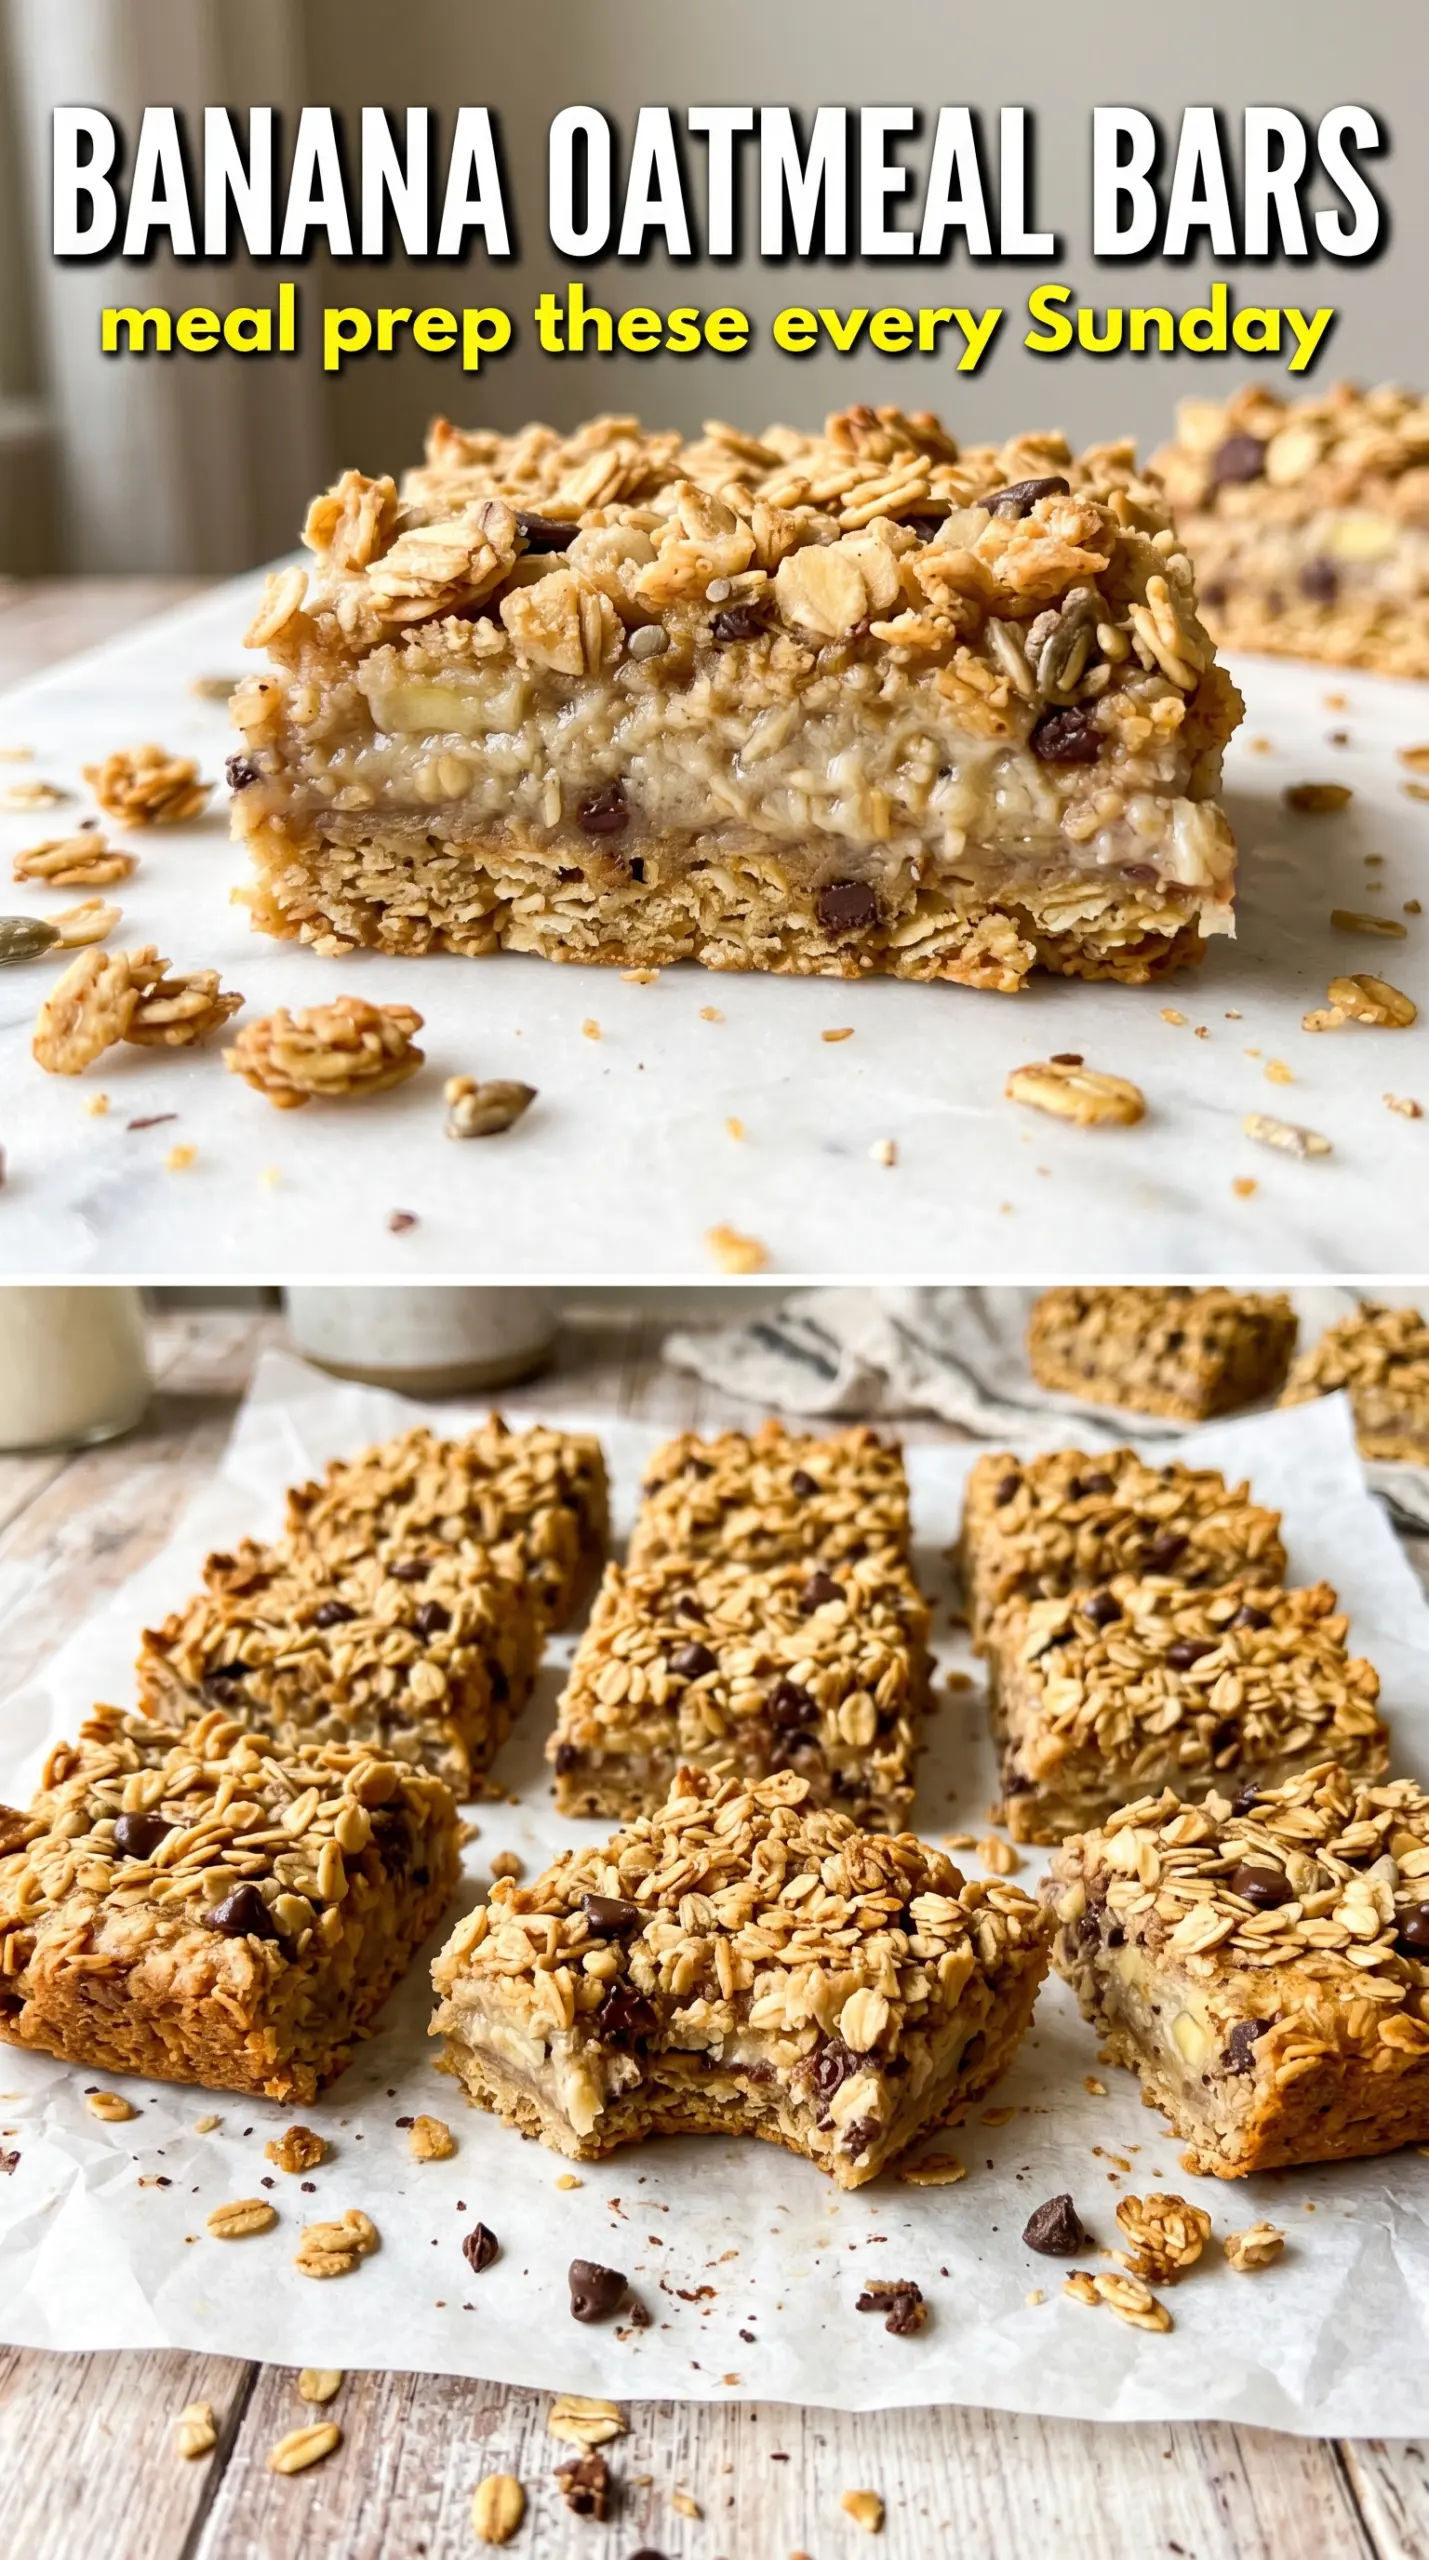
- Bananas — Use very ripe bananas with plenty of brown spots. They bring sweetness, moisture, and binding power all at once, and underripe bananas won’t mash smooth or give the bars enough softness. If your bananas are on the small side, use closer to 3 1/2 instead of stopping at three.
- Rolled oats — Old-fashioned rolled oats give the best chew and structure. Quick oats will work in a pinch, but the bars turn softer and more uniform, almost like a baked oatmeal square. Steel-cut oats won’t soften enough in this bake time.
- Almond butter or peanut butter — This is the ingredient that keeps the bars from tasting flat and helps them hold together. Natural nut butter works fine if it’s stirred well and not dry on top. If you’re using peanut butter, the bars will taste a little richer and more dessert-like; almond butter keeps the flavor a touch lighter.
- Honey or maple syrup — You don’t need much, but you do need some. It helps the bars brown and gives a little extra stickiness so they set properly. Maple syrup keeps the flavor a little more mellow; honey gives a firmer, slightly chewier result.
- Mix-ins — Chocolate chips, raisins, or dried cranberries all work, but don’t overload the batter. Too many add-ins can stop the bars from binding. If you want the cleanest slice, use chocolate chips and chill the pan before cutting.
How to Mix, Press, and Bake These Bars So They Hold Together
Getting the Banana Base Smooth
Mash the bananas until there aren’t any big chunks left. The smoother the mash, the more evenly the bars bake, and you’ll avoid a few wet pockets that can make the center seem underdone. Stir in the nut butter, honey or maple syrup, vanilla, cinnamon, and salt until the mixture looks glossy and uniform. If the nut butter is stubborn or cold, warm it for a few seconds so it blends without leaving streaks.
Folding in the Oats Without Overmixing
Add the oats and stir just until every flake is coated. The batter should look thick and scoopable, not pourable. If it seems loose, let it sit for 3 to 5 minutes before deciding to add more oats; the bananas need a moment to hydrate the oats, and the texture tightens up fast. Fold in the mix-ins at the end so they don’t break apart during mixing.
Pressing the Pan Like You Mean It
Scoop the mixture into a parchment-lined 8×8 pan and press it down firmly with the back of a spatula or your clean hands. Pay extra attention to the corners and edges so the bars bake evenly. An uneven layer gives you dry edges and a soft middle that never quite sets. A light sprinkle of chocolate chips on top before baking is fine, but don’t bury the surface under too many extras or the top won’t brown properly.
Knowing When They’re Done
Bake until the edges are golden and the center looks set with only a tiny bit of softness. The top should feel dry to the touch and the whole pan should smell nutty and caramelized. Don’t wait for deep browning across the middle, because these bars finish setting as they cool. Let them cool completely in the pan, then refrigerate before slicing if you want sharp, tidy squares.
How to Change the Mix Without Breaking the Texture
Make Them Gluten-Free
Use certified gluten-free rolled oats. The recipe is naturally flour-free, so the oats are the only place gluten can sneak in through processing. The texture stays the same as long as the oats are the same style.
Swap the Nut Butter
Peanut butter gives the strongest flavor and the firmest bite, while almond butter tastes milder and a little softer. Sunflower seed butter works for nut-free bars, but it can tint the bars slightly green over time because of the baking soda-free fruit mixture. The bars still hold together well if the seed butter is stirred smooth before measuring.
Change the Sweetener
Honey makes the bars a little chewier and more cohesive, while maple syrup keeps the flavor more neutral. Either one works at the same amount. If your bananas are extra ripe and very sweet, don’t add more sweetener unless you want a softer, more dessert-like bar.
Storage and Reheating
- Refrigerator: Store in an airtight container for up to 5 days. The bars firm up in the fridge and slice more cleanly after chilling.
- Freezer: These freeze well. Wrap individual bars and freeze for up to 2 months, then thaw in the fridge or at room temperature.
- Reheating: Warm a bar in the microwave for 10 to 15 seconds if you want it softer. Don’t overheat it or the oats dry out and the chocolate chips can turn greasy.
Answers to the Questions Worth Asking
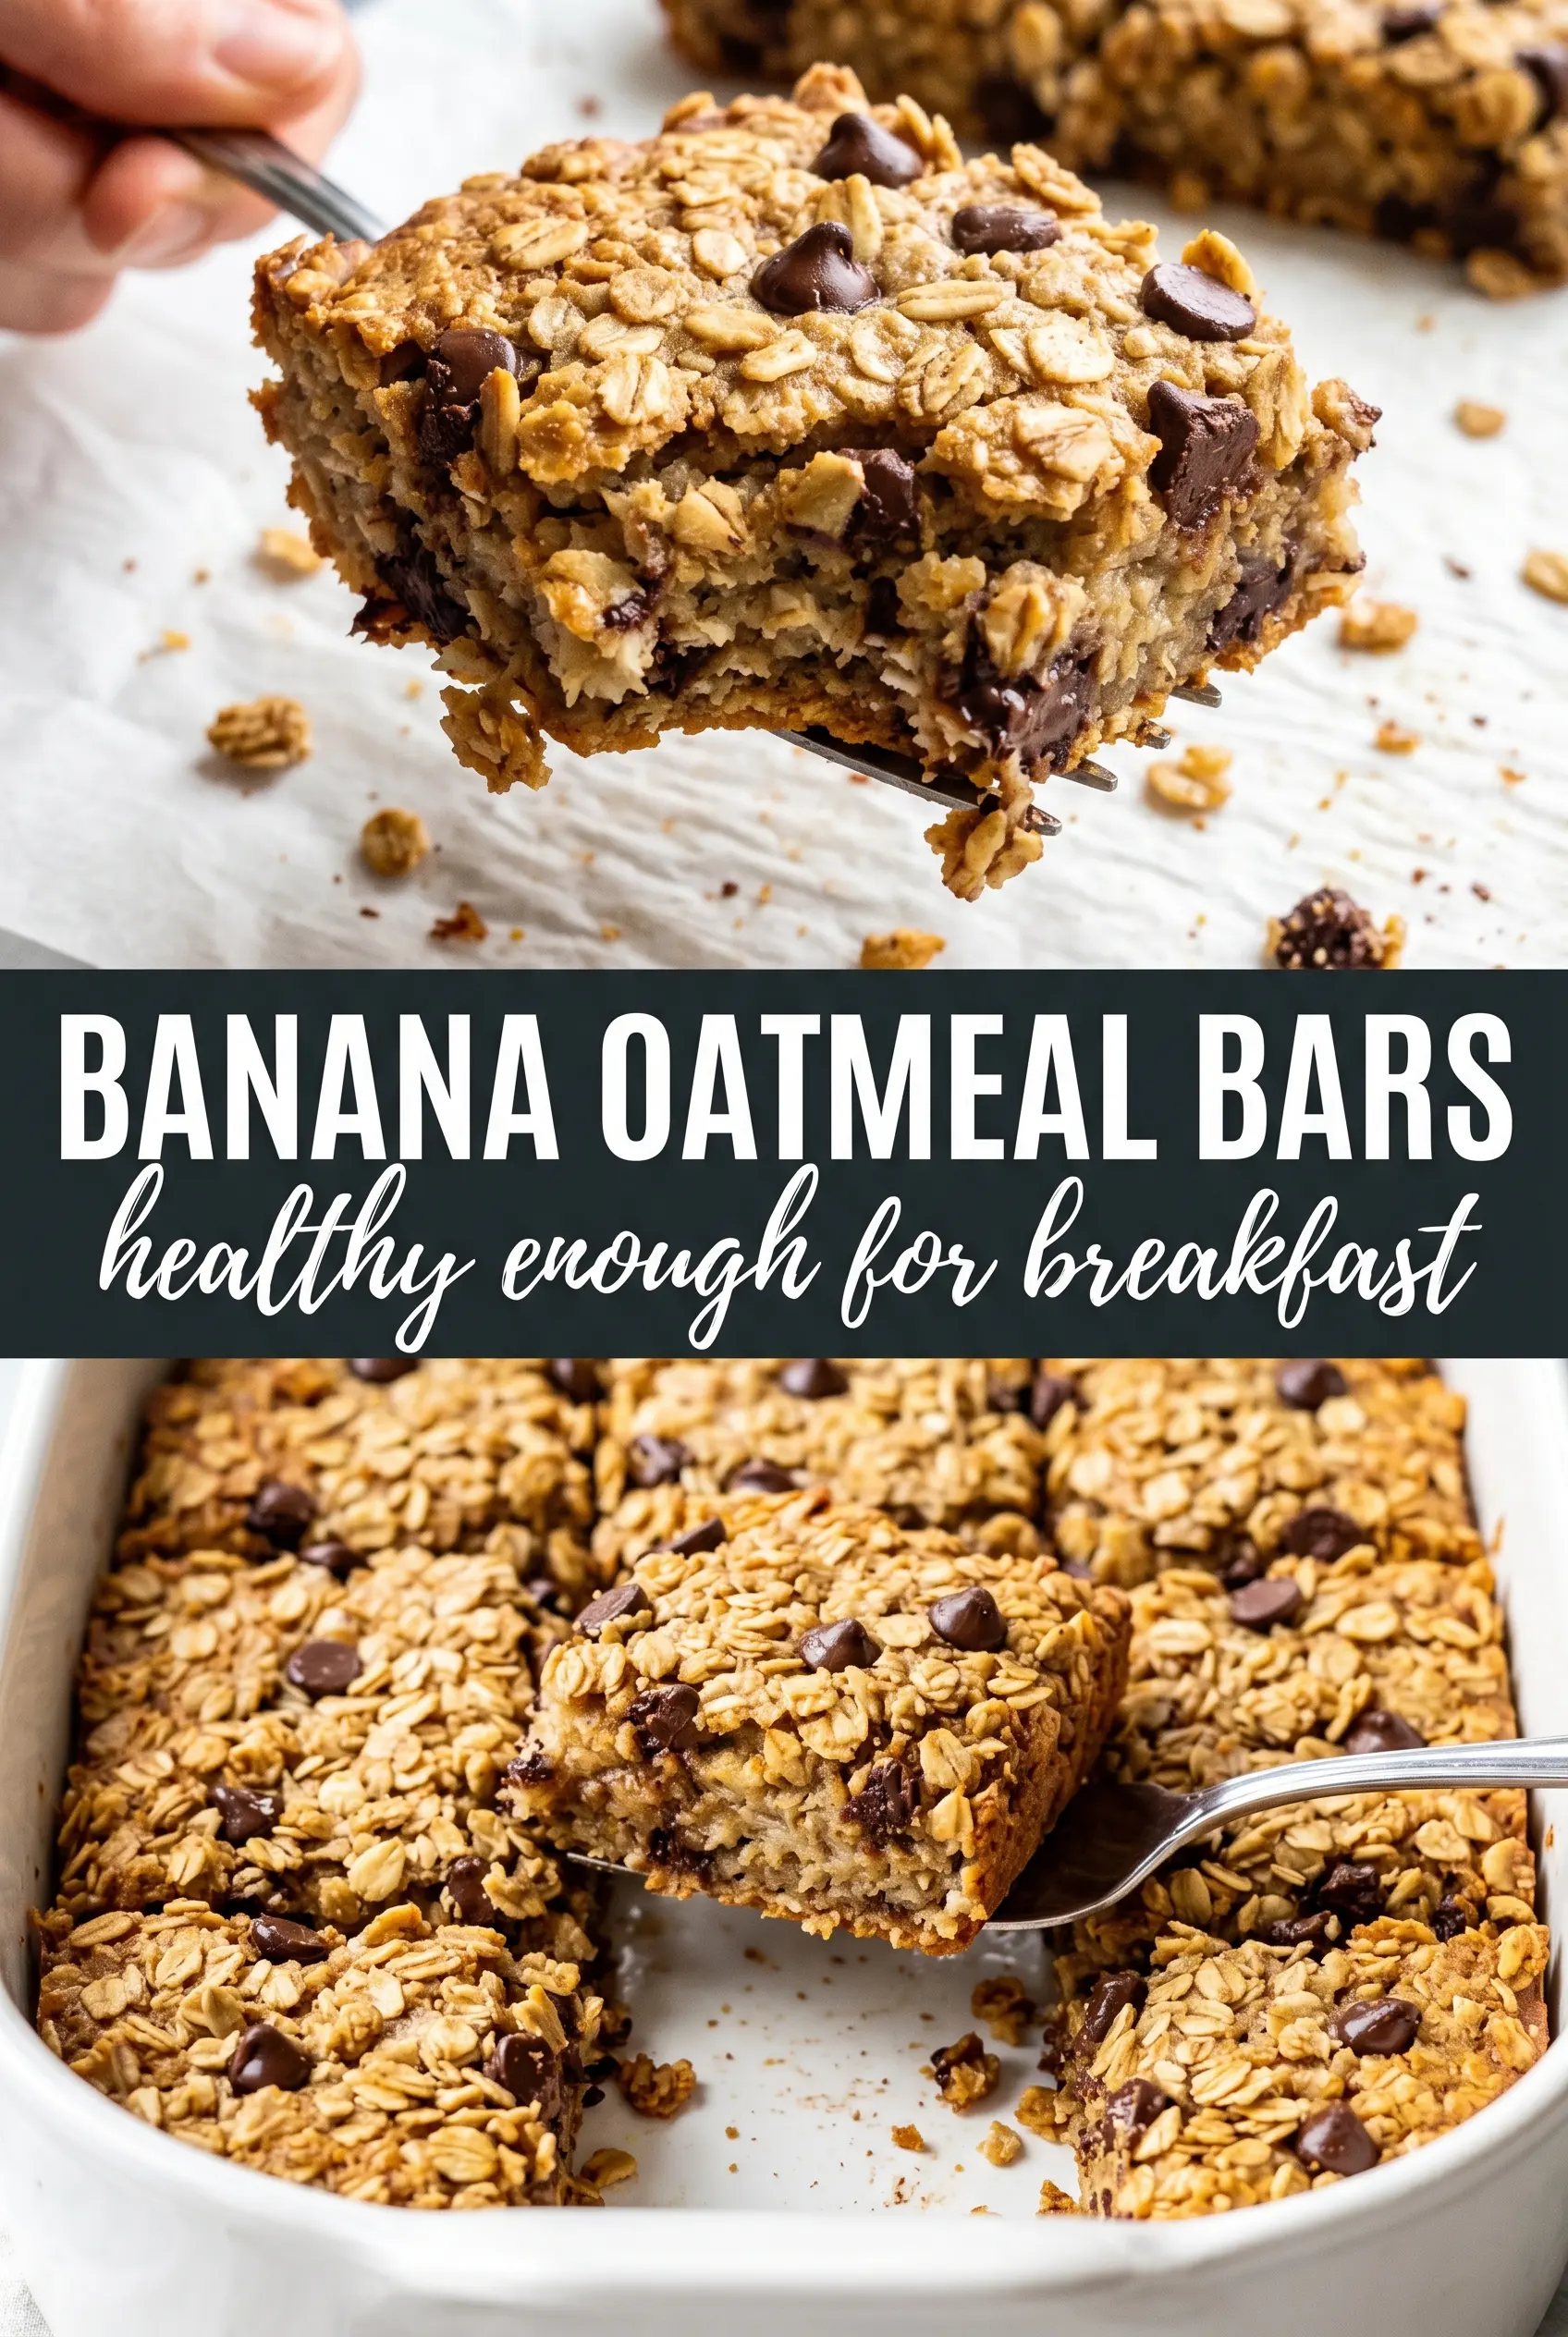
Banana Oatmeal Bars
Ingredients
Equipment
Method
- Preheat the oven to 350°F and line an 8x8 pan with parchment paper, leaving overhang for easy lifting.
- Mash the ripe bananas until completely smooth, then stir in the almond butter, honey, vanilla, cinnamon, and salt until glossy and uniform.
- Fold in the rolled oats until fully combined, then fold in your chosen mix-ins (chocolate chips, dried cranberries, or raisins).
- Press the mixture firmly and evenly into the prepared pan so the bars bake with a dense, cohesive center.
- Bake for 22–25 minutes at 350°F until the edges are golden and the center is set (no wet batter sheen).
- Cool the pan completely before slicing into bars for clean, neat rectangles.
- Refrigerate after cooling for cleaner cuts and a firmer texture that holds shape when stacked.