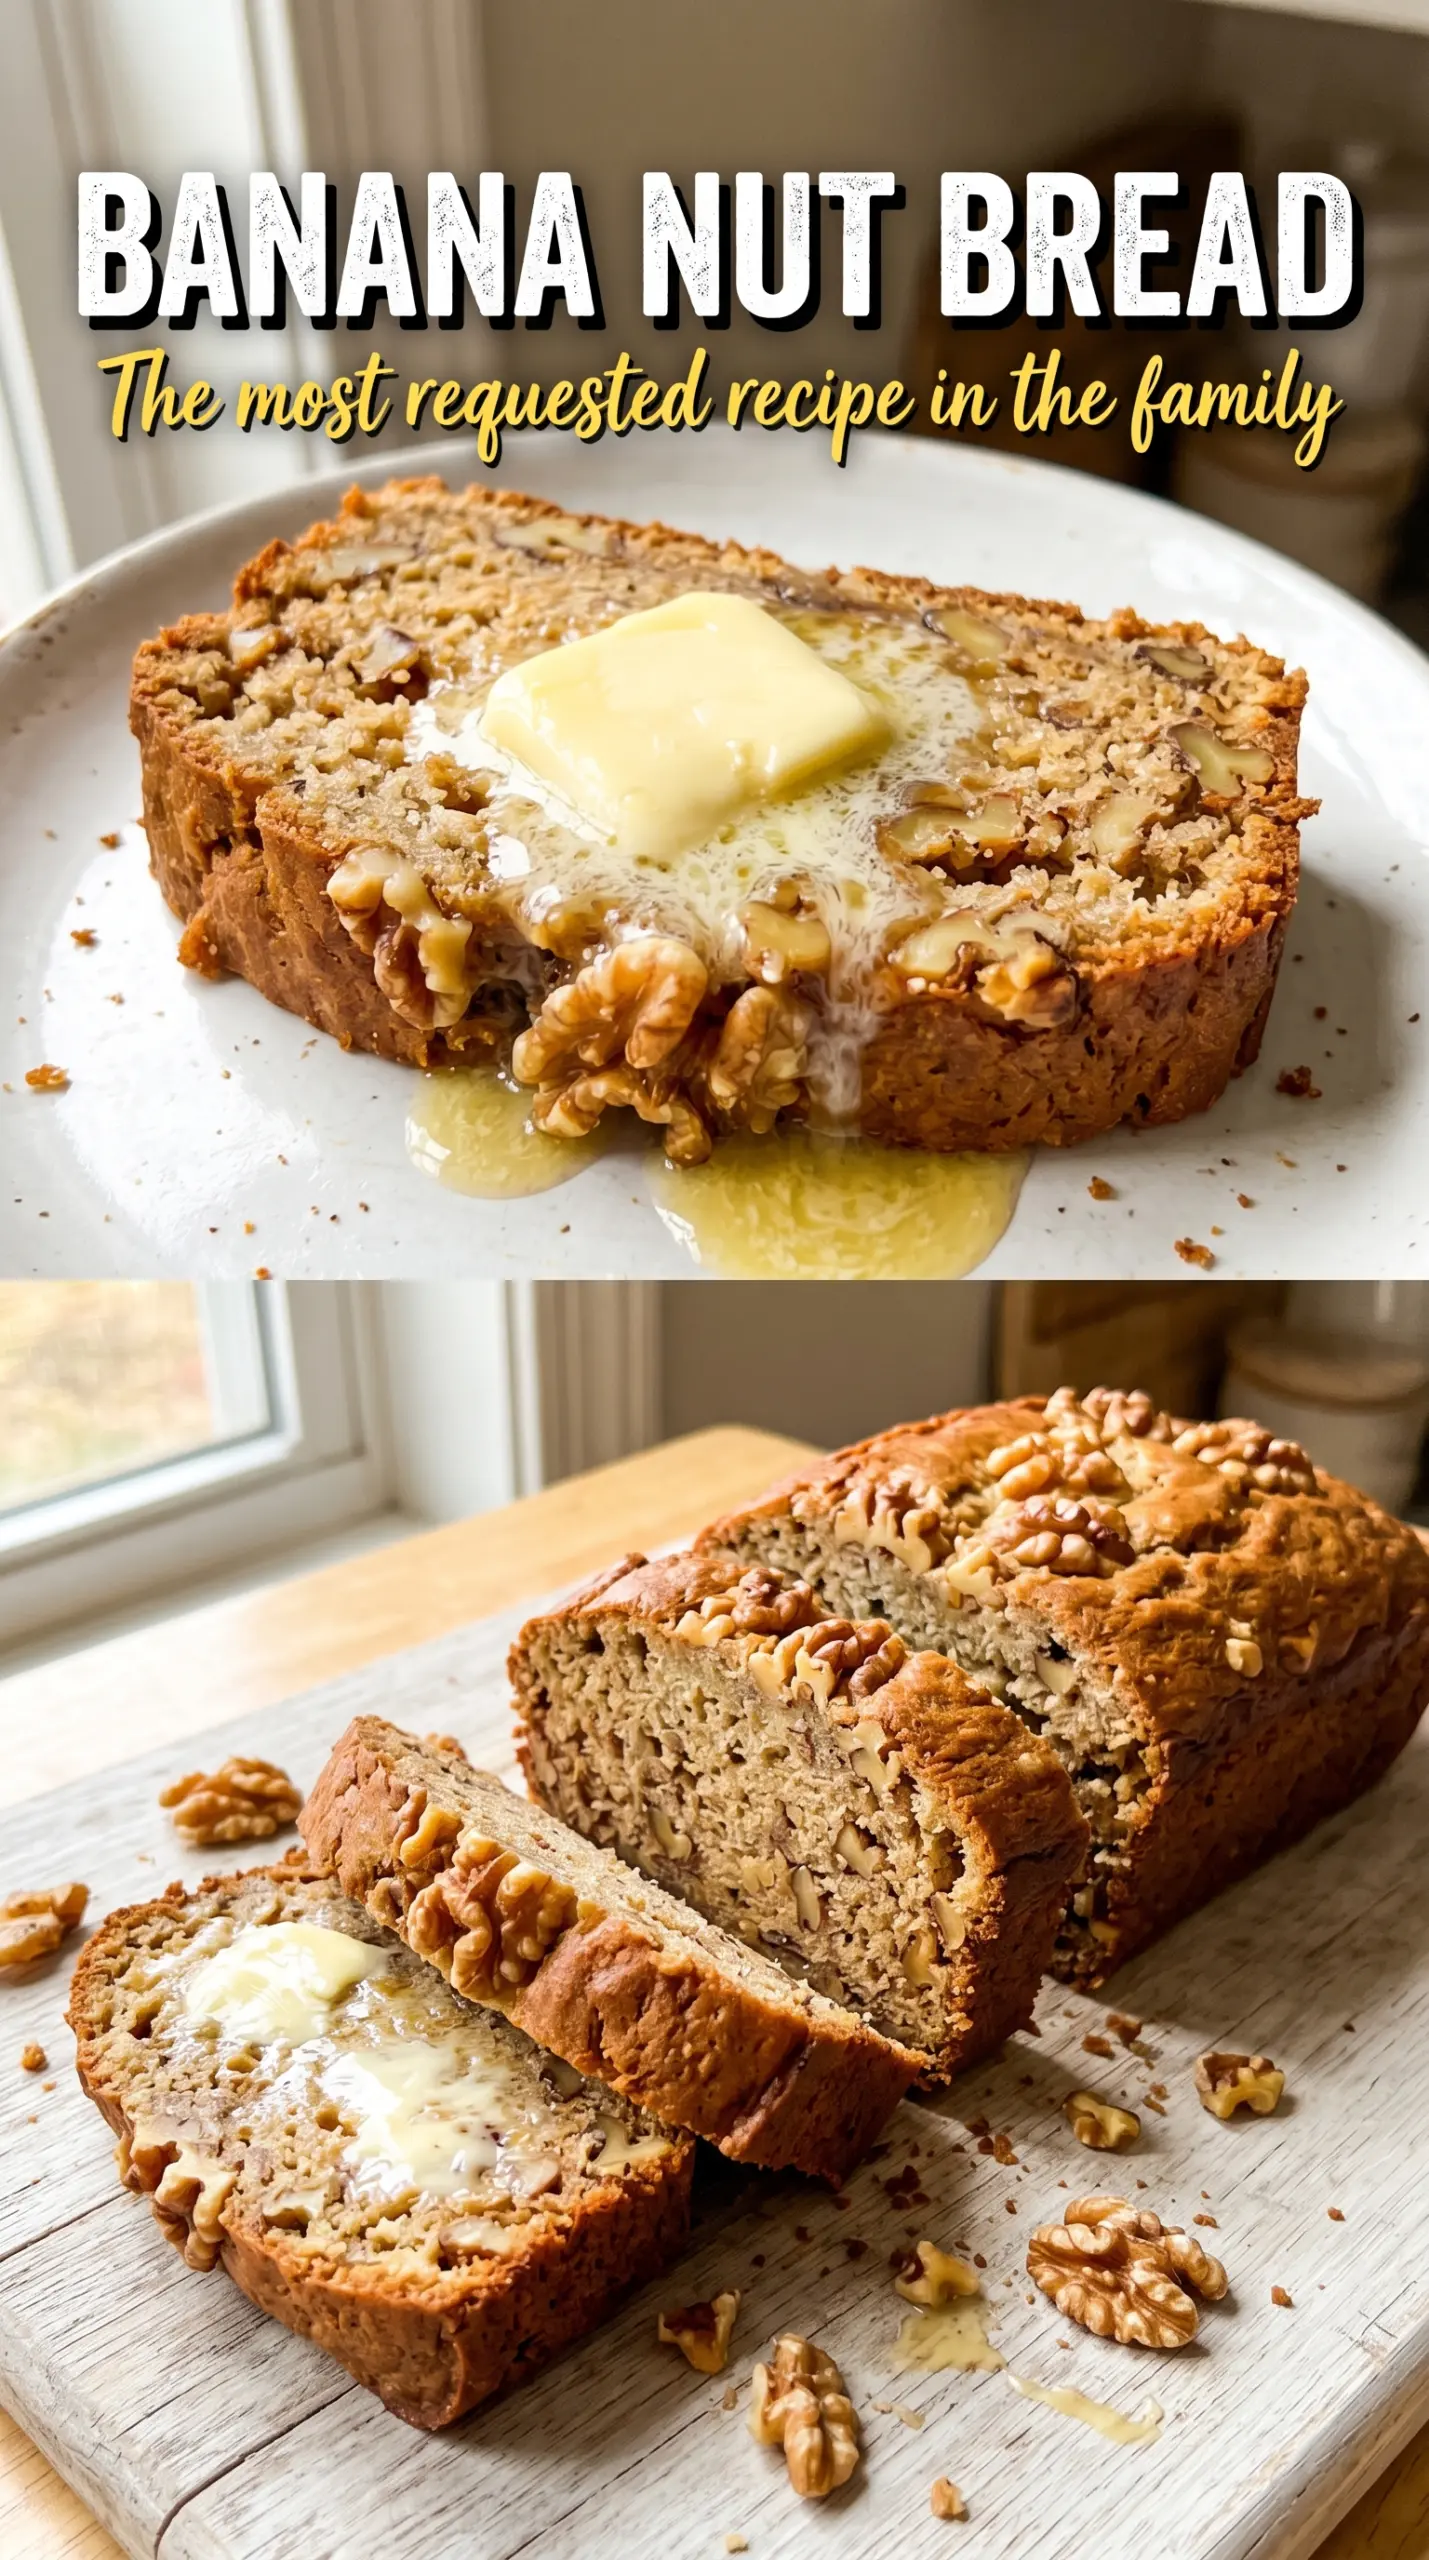
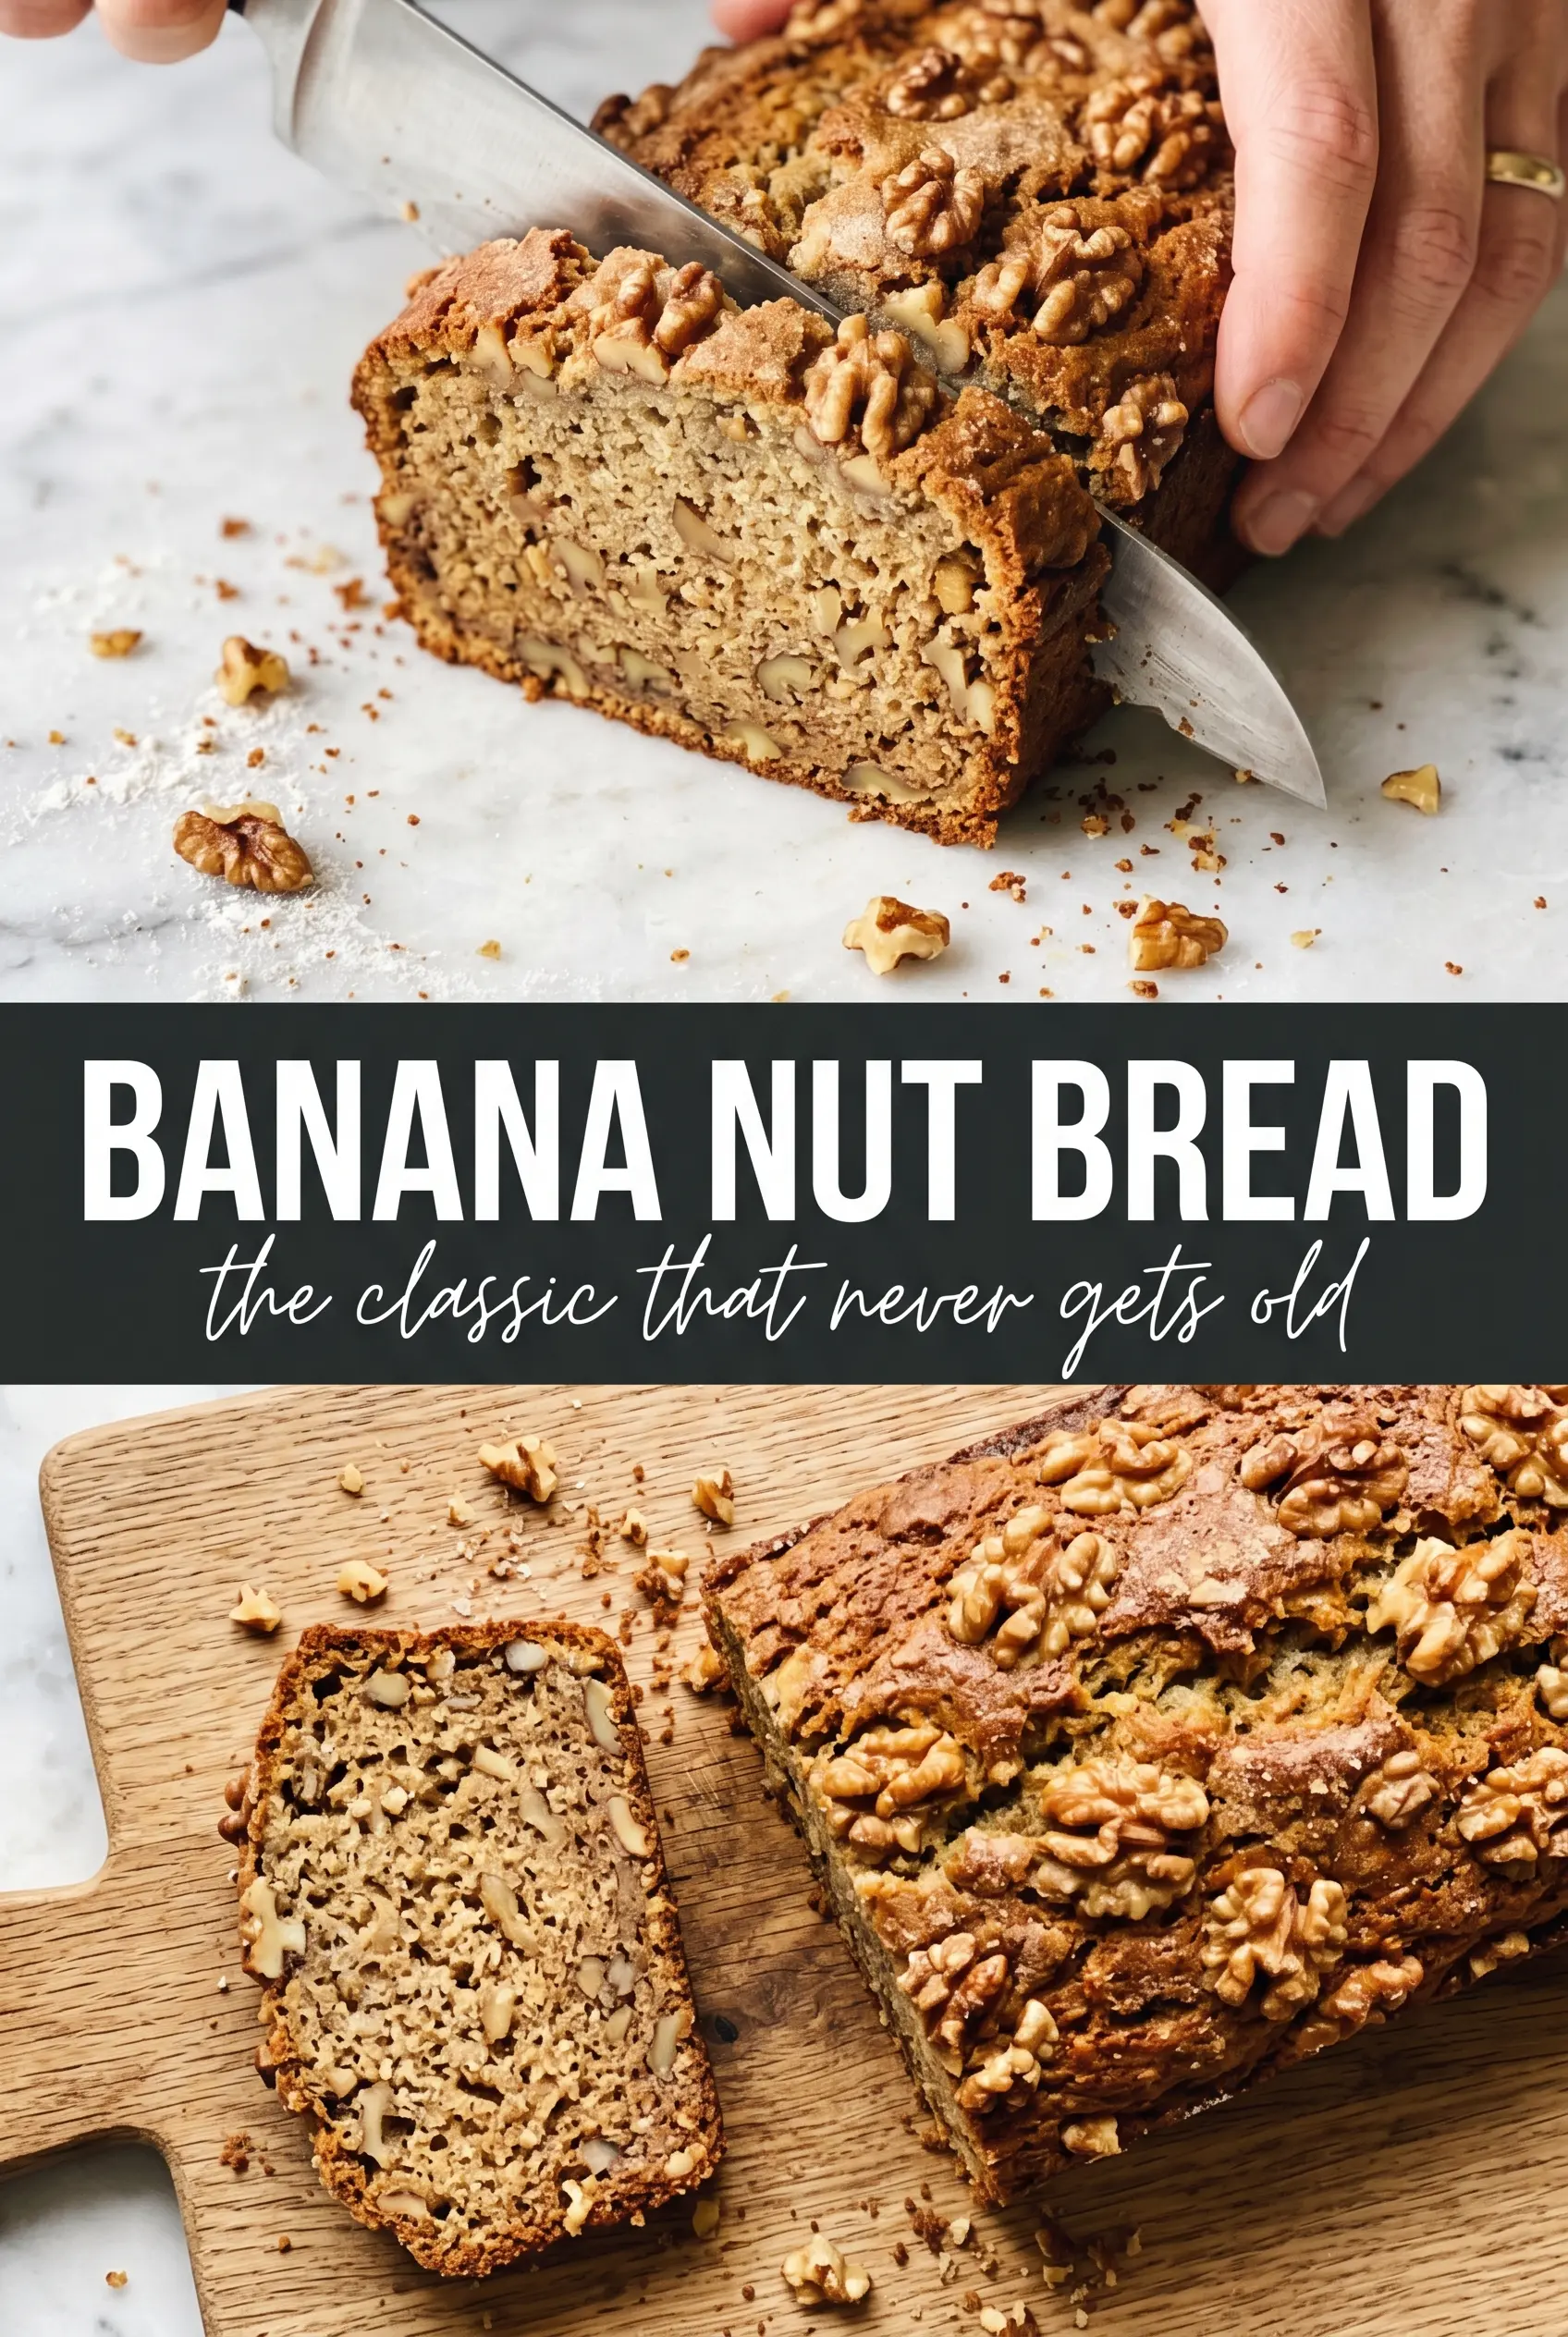
Banana nut bread earns its place in the rotation when the loaf comes out tender, fragrant, and studded with toasted walnuts in every slice. The top turns deep golden and a little crisp, while the crumb stays moist enough to hold together without feeling heavy. It’s the kind of bake that disappears one warm slice at a time.
The difference between a good loaf and a great one usually comes down to the bananas and the mixing. Very ripe bananas bring sweetness and moisture, but they also need a light hand once the flour goes in. Overmixing makes banana bread tough, and adding the walnuts at the end keeps them from getting crushed into the batter. The cinnamon is subtle here, just enough to round out the banana without turning the loaf into spice cake.
Below, I’ve included the small details that matter most: how ripe the bananas should be, why the walnuts are divided between the batter and the top, and what to look for so you pull the loaf at the right moment instead of waiting for the center to dry out.
The walnuts stayed crunchy on top and the loaf sliced cleanly once it cooled. I used three bananas that were almost black and the bread came out super moist without being gummy.
Save this banana nut bread for the day you want a moist loaf with a golden crust and walnuts in every bite.
The Banana Bread Mistake That Leaves the Center Gummy
Banana bread gets dense for a reason, but gummy banana bread is usually the result of too much moisture or too much mixing. The bananas should be deeply speckled or even mostly black on the outside; under-ripe bananas don’t soften the same way and won’t give you that rich, sweet crumb. Once the flour goes in, stop as soon as the last dry streak disappears. That’s the line between a tender loaf and one that bakes up tight.
The other place people go wrong is the bake time. A banana nut loaf often looks done before the center actually is, especially once walnuts go on top and the crust browns faster. A toothpick should come out clean or with a few moist crumbs, not wet batter. If the top starts getting dark before the center is set, lay a loose piece of foil over the loaf for the last 10 to 15 minutes.
What the Bananas, Walnuts, and Cinnamon Are Actually Doing Here
- Bananas — The riper they are, the better the loaf tastes and feels. Use bananas with lots of brown spots, or bananas that are nearly black if you want a sweeter, softer crumb. If yours are only yellow, the bread will still work, but it won’t be as moist or as flavorful.
- Butter — Melted butter gives this loaf a richer, more cake-like bite than oil, and it helps the crumb stay tender as it cools. If you need to swap it, neutral oil works, but the flavor will be less full and the crust won’t have the same bakery-style edge.
- Walnuts — Dividing them matters. Folding most into the batter gives you nutty bites throughout, while scattering the rest on top gives the loaf that classic look and a toasted crunch. Pecans work too, but walnuts have a stronger, slightly bitter note that balances the sweet banana best.
- Cinnamon — This is a background note, not the main flavor. It warms the banana and makes the loaf taste finished without pushing it into spice-cake territory. If you want a little more depth, add a pinch of nutmeg, but don’t overdo it.
Mixing the Batter Without Beating the Life Out of It
Start with the wet ingredients
Mash the bananas in a large bowl, then whisk in the melted butter, sugar, eggs, and vanilla until the mixture looks glossy and well blended. Some small banana lumps are fine. If the butter is still hot, let it cool for a minute first so it doesn’t scramble the eggs.
Add the dry ingredients last
Sprinkle in the flour, baking soda, salt, and cinnamon, then fold gently until just combined. The batter should look thick and a little streaky before you stop. If you stir until it looks perfectly smooth, the loaf will bake up tougher than it should.
Fold in the walnuts and finish the pan
Add 3/4 cup of the walnuts to the batter, then scrape everything into a greased 9×5 loaf pan. Scatter the remaining walnuts over the top and press them in very lightly so they stick during baking. This keeps the top looking rustic and gives you crunch right where the crust caramelizes.
Bake until the center is set
Bake at 350°F for 60 to 70 minutes, checking toward the end of the range. The loaf should be deeply golden and a toothpick in the center should come out clean or with a few moist crumbs. Cool it in the pan for 10 minutes before turning it out, or it may break while it’s still too soft to handle.
How to Change This Loaf Without Losing What Makes It Good
Make it dairy-free
Swap the butter for melted coconut oil or a neutral dairy-free butter substitute. Coconut oil keeps the loaf moist but adds a faint coconut note, while dairy-free butter stays closer to the original flavor. Either option works as long as it’s melted and cooled slightly before mixing.
Skip the nuts
Leave out the walnuts for a smoother, softer banana bread that leans more cake-like. The loaf will still bake up well, but it will lose the crunch and the toasted finish on top. If you want texture without nuts, fold in chocolate chips instead, but expect a sweeter result.
Make it gluten-free
Use a good 1:1 gluten-free flour blend in place of the all-purpose flour. The loaf will be a touch more delicate, so let it cool fully before slicing. If your blend doesn’t already include xanthan gum, choose one that does, or the bread may crumble.
Add more banana flavor
If you want a stronger banana taste, roast the bananas in their peels at 300°F until the skins turn black, then cool and mash them. That deepens the flavor without changing the batter ratio. It’s the best move when your bananas aren’t as ripe as you’d like.
Storage and Reheating
- Refrigerator: Store wrapped or in an airtight container for up to 4 days. The crumb stays moist, but the top softens a bit after the first day.
- Freezer: Banana nut bread freezes well. Wrap the whole loaf or individual slices tightly in plastic, then foil, and freeze for up to 3 months.
- Reheating: Warm slices in the microwave for 10 to 15 seconds or in a low oven until just heated through. Don’t overheat it or the crumb can turn dry at the edges while the center stays cold.
Questions I Get Asked About This Banana Nut Bread
Banana Nut Bread
Ingredients
Equipment
Method
- Preheat the oven to 350°F and grease a 9x5 loaf pan.
- Set up your walnuts by roughly chopping them, then divide them so some go into the batter and the rest go on top.
- Mash the ripe bananas until mostly smooth, then keep them ready for mixing.
- Whisk the melted butter, sugar, eggs, and vanilla into the mashed bananas until well combined.
- Fold in the all-purpose flour, baking soda, salt, and cinnamon until just combined.
- Fold in 3/4 cup of the walnuts, distributing them through the batter without overmixing.
- Pour the batter into the greased loaf pan, then scatter the remaining walnuts across the top and press them lightly so they stay put.
- Bake for 60–70 minutes at 350°F until deeply golden and a toothpick inserted in the center comes out clean.
- Cool the banana nut bread in the pan for 10 minutes before turning it out onto a wire rack.