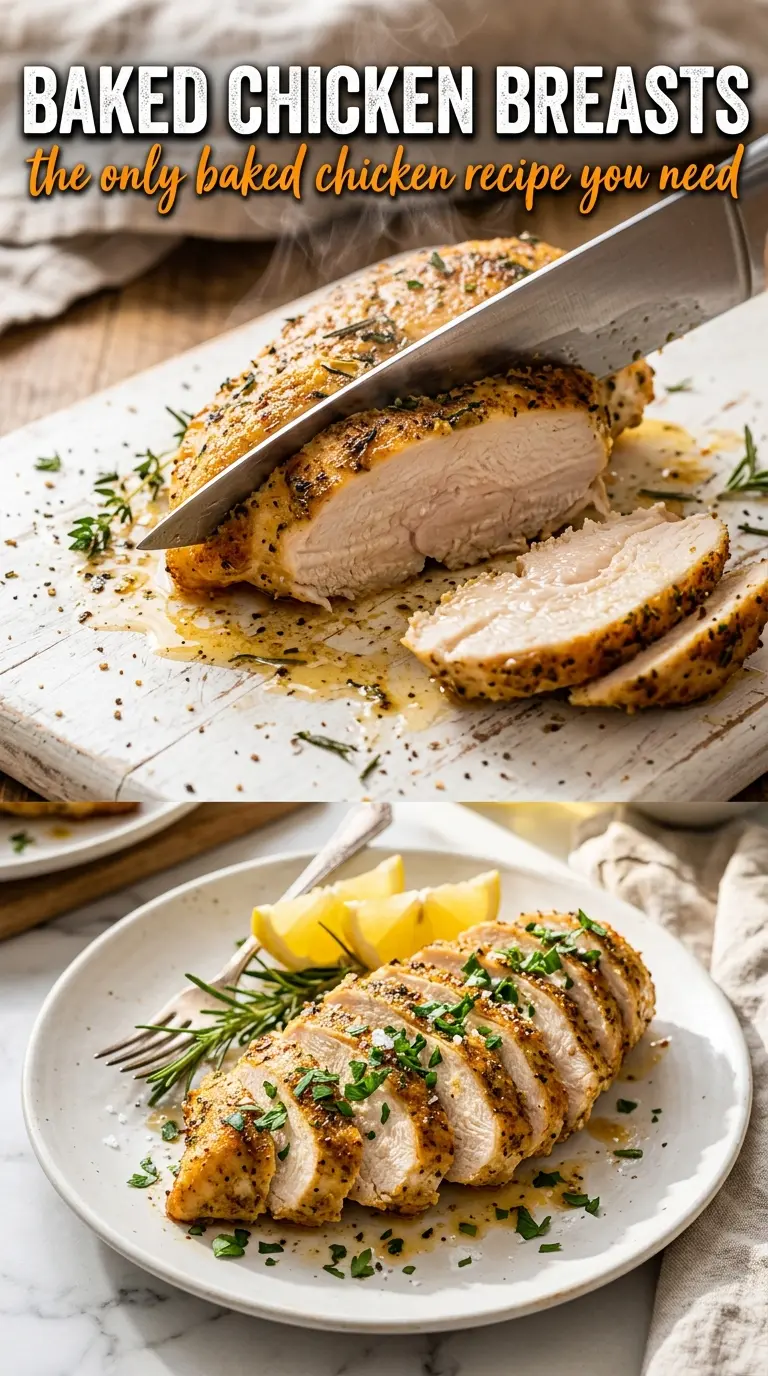
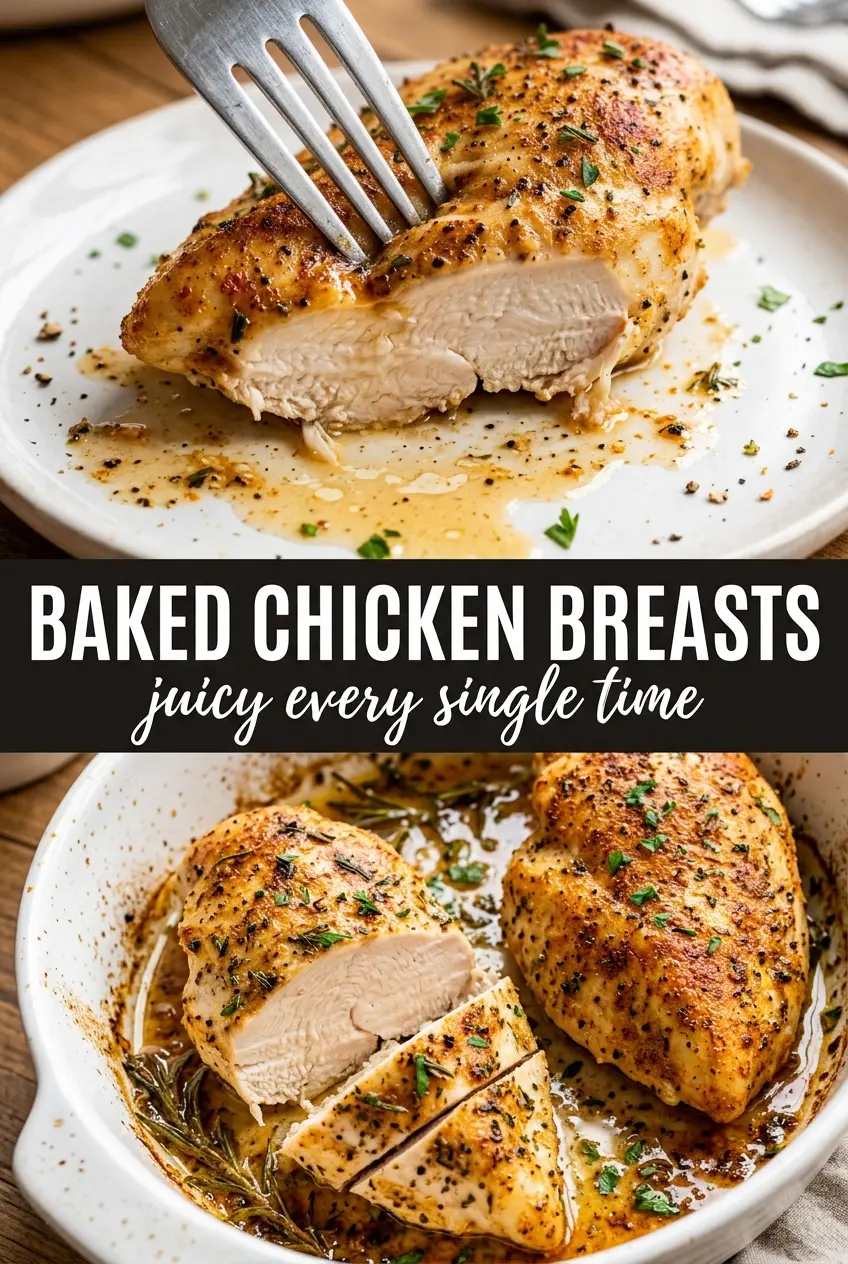
Juicy baked chicken breasts are only boring when they’re cooked like an afterthought. Done right, they come out with a seasoned, golden crust and a moist center that slices cleanly instead of shredding into dry threads. This version earns a spot in the weeknight rotation because it keeps the method simple without sacrificing texture.
The trick is even thickness and a hot oven. Chicken breasts are notorious for cooking unevenly, so pounding them to the same thickness helps the thinner ends stop drying out before the thicker middle is done. A short olive oil rub carries the seasoning and helps the surface brown, while smoked paprika and Italian seasoning give the chicken enough flavor to stand on its own.
Below, I’ll walk through the one step most people skip, the ingredient swap that still gives you good browning, and a few ways to adapt this for different dinners without losing that juicy result.
I finally got chicken breasts that stayed juicy all the way through. Pounding them even made a huge difference, and the spice mix gave me those browned edges without drying them out.
Save these golden baked chicken breasts for the nights when you want juicy, seasoned chicken without babysitting the oven.
The Reason Most Baked Chicken Breasts Dry Out in the Oven
Chicken breasts dry out when the outside finishes long before the center has a chance to catch up. A hot oven helps the surface brown fast, but that only works if the breasts are the same thickness from end to end. If one side is much thicker, the thin end will overcook before the middle reaches 165°F.
The other common mistake is pulling the chicken late because people are waiting for a color change that keeps getting deeper and deeper. A thermometer is the real check here. At 165°F, the chicken is safe, and after a 5-minute rest the juices settle back into the meat instead of running all over the cutting board.
What Each Ingredient Is Actually Doing in This Baked Chicken
- Chicken breasts (the lean protein) — Cut evenly so pieces cook at the same rate. Let them sit at room temperature for 15 minutes before baking so they cook evenly.
- Olive oil or butter (the cooking medium and richness) — Good fat keeps the chicken from drying out in the oven. It also carries herb and spice flavors throughout the meat.
- Garlic (the aromatic foundation) — Fresh minced or thin slices mellow and become sweet when baked, adding depth without overpowering the chicken.
- Cream or broth (the sauce base) — This creates the glossy sauce that keeps baked chicken from tasting dry. It also helps flavors develop and carry.
- Lemon juice or vinegar (the brightness) — Acid prevents the cream sauce from tasting too heavy and keeps the dish from being one-dimensional.
- Fresh herbs or spices (the personality) — Basil, thyme, oregano, paprika, or Italian seasoning all work. Choose ones that complement your other flavors.
- Cheese (optional richness) — Parmesan or feta adds creaminess and salt that enhances all other flavors. Don’t overdo it or the dish becomes heavy.
- Proper oven temperature (the key to juicy chicken) — 375-400°F bakes chicken through without drying the edges. Check with a thermometer for 165°F internal temp.
What the Seasoning Blend Is Doing for the Chicken
- Olive oil — This carries the spices and helps the surface brown instead of turning dusty. A neutral oil works too, but olive oil gives the crust a little more depth and helps the seasoning cling evenly.
- Smoked paprika — This is the ingredient that makes the crust look and taste like it did more work than it did. Regular paprika can stand in, but you’ll lose that faint smoky edge that makes the chicken taste roasted instead of plain.
- Italian seasoning — This adds dried herbs without you having to measure five different jars. If yours is older and faded, use a fresh blend or replace part of it with oregano and thyme, because stale herbs taste flat once baked.
- Chicken breasts of similar size — The package matters less than the shape. If one breast is huge and another is small, the small one will dry out first, so either pound them even or slice a very thick breast horizontally before seasoning.
Getting the Chicken Even, Seasoned, and into the Oven
Pounding for an even roast
Lay the chicken between sheets of plastic wrap or inside a zip-top bag and pound the thicker end until each breast is about 3/4-inch thick. The goal isn’t to flatten it into a cutlet; it’s to remove the taper that causes dry edges and underdone centers. If the breasts are already fairly even, skip the heavy pounding and just give the thicker parts a few firm taps.
Coating the surface with the spice rub
Brush both sides with olive oil first, then add the seasoning mix and press it on lightly with your fingers. That little bit of pressure helps the spices stick through baking instead of sliding off onto the dish. If the surface looks patchy, the chicken wasn’t coated evenly with oil, so add a touch more and rub it in before it goes in the oven.
Baking until the juices stay put
Arrange the chicken in a lightly greased baking dish and bake at 425°F for 18 to 22 minutes. You’re looking for golden tops and an internal temperature of 165°F at the thickest point. If the tops brown before the center is done, the pieces were too thick or too close together; pull the dish only when the thermometer says the chicken is ready, not when the crust looks finished.
Resting before the first slice
Let the chicken rest for 5 minutes before cutting. That short pause keeps the juices from flooding out the moment your knife goes in. If you slice right away, even perfectly cooked chicken can seem dry because the moisture is still moving around inside.
How to Adapt These Baked Chicken Breasts for Different Dinners
Dairy-Free and Naturally Gluten-Free
This recipe already lands in both camps as written. The only thing to watch is your seasoning blend if it contains anti-caking additives or hidden starches; most don’t matter here, but a clean herb blend keeps the coating light and the chicken browning well.
Swap in Boneless Skinless Chicken Thighs
Thighs stay juicier and give you a richer bite, but they take a little longer and won’t slice as neatly. Start checking them around 24 to 28 minutes, and look for 165°F in the thickest part.
Use Fresh Herbs at the End
If you want a brighter finish, keep the dried seasoning mix the same and add chopped parsley, dill, or basil after baking. Fresh herbs burned in the oven lose their lift, so they belong on top of the hot chicken right before serving.
Storage and Reheating
- Refrigerator: Store in an airtight container for up to 4 days. The crust softens a bit, but the chicken stays useful for lunches and quick dinners.
- Freezer: Freeze cooked chicken breasts for up to 2 months, wrapped well and sealed tightly. Slice before freezing if you know you’ll use them for wraps or salads later.
- Reheating: Reheat covered in a 300°F oven with a splash of broth or water for 10 to 15 minutes, just until warmed through. The biggest mistake is blasting them in the microwave, which tightens the meat and pushes out the juices you worked to keep in.
Questions I Get Asked About This Recipe
Baked Chicken Breasts
Ingredients
Equipment
Method
- Preheat oven to 425°F and lightly grease a baking dish, so the chicken begins cooking immediately when it goes in.
- Pound the chicken breasts to an even 3/4-inch thickness if they vary in size, keeping the thickness consistent for even cooking.
- Brush both sides of each chicken breast with olive oil, giving the crust a glossy base for seasoning to cling.
- Mix together garlic powder, onion powder, smoked paprika, Italian seasoning, salt, and pepper. Rub the spice mixture evenly over both sides of the chicken for a fragrant herb crust.
- Bake at 425°F for 18-22 minutes until the internal temperature reaches 165°F, with tops turning golden as a visual cue. Do not overbake to protect the juicy interior.
- Rest the chicken for 5 minutes before slicing to help redistribute moisture. Garnish with fresh parsley and lemon wedges and serve warm.