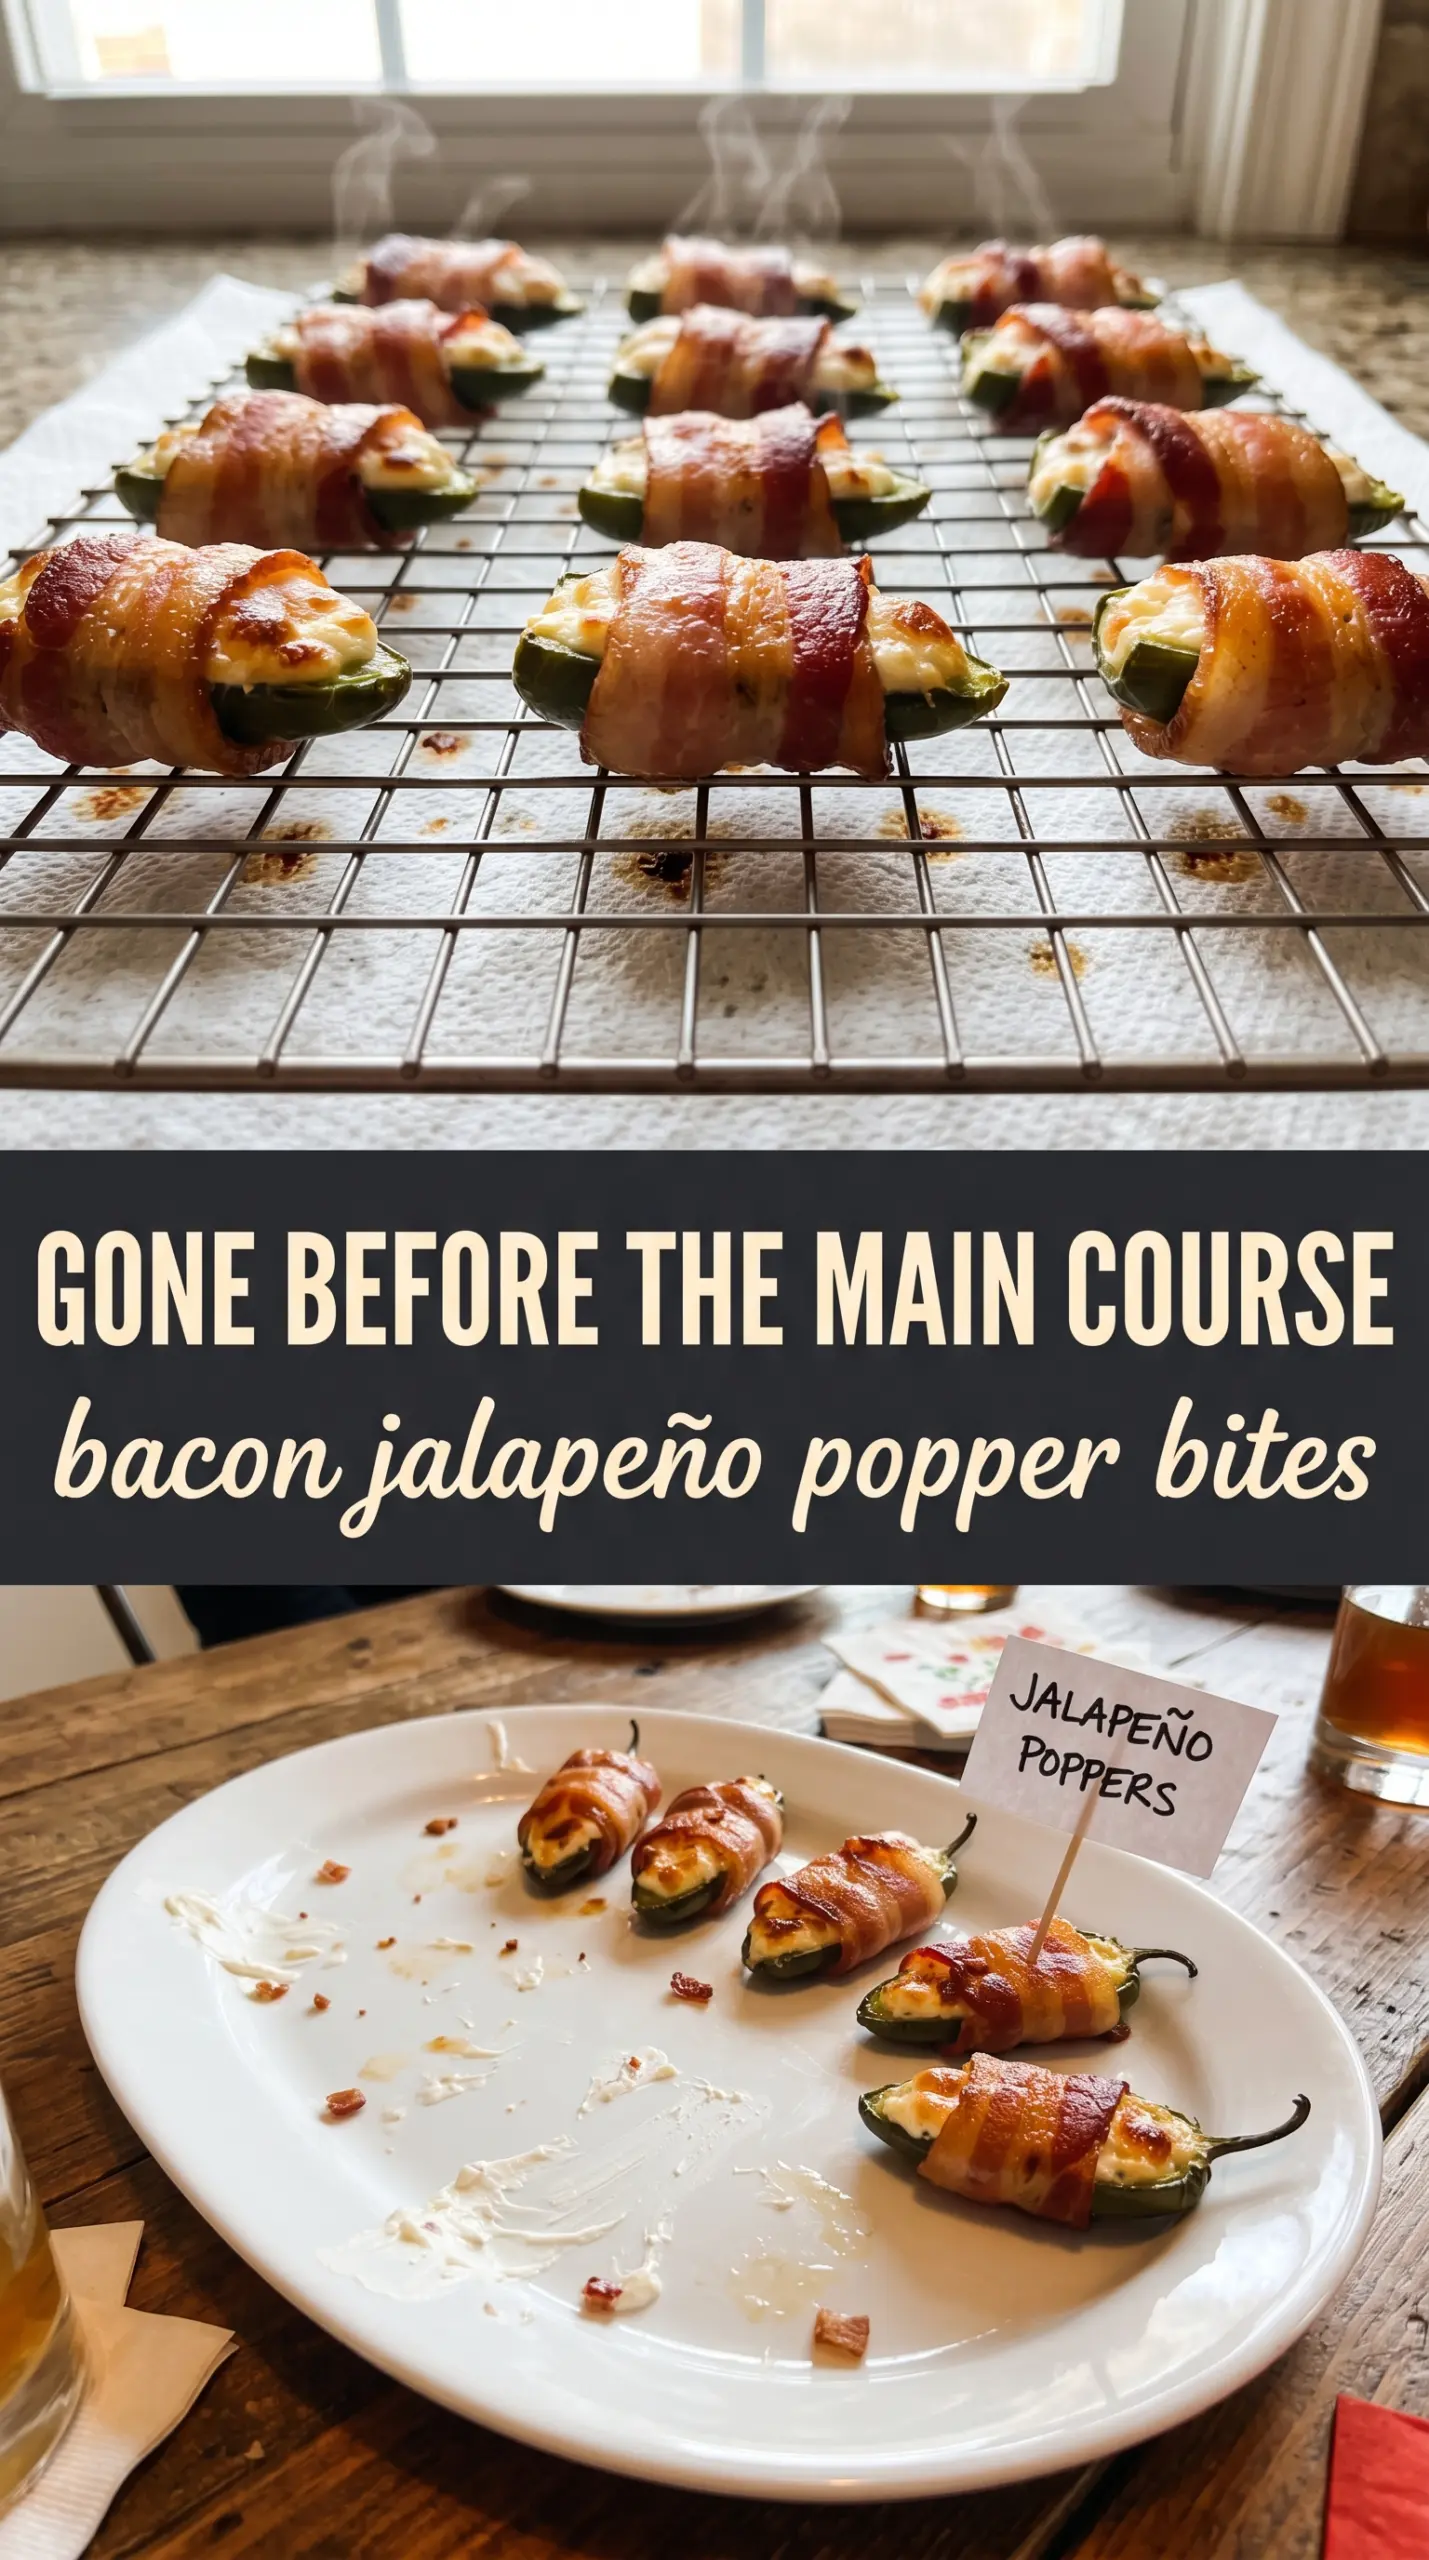
These bacon jalapeño popper bites hit the table with crisp bacon, bubbling cheese, and just enough heat to keep people reaching for another one. The jalapeños soften in the oven without turning mushy, the filling stays creamy, and the thin-cut bacon wraps tight enough to brown instead of steaming. They disappear fast because every bite gives you crunch, smoke, salt, and a little kick all at once.
The trick is balancing three things: drying the jalapeños after seeding, using soft cream cheese so the filling mixes smoothly, and choosing thin-cut bacon so it crisps in the same window that the peppers cook through. A wire rack helps drain the fat and keeps the bottoms from going soggy. That’s the difference between poppers that stay snappy and ones that collapse into a greasy tray.
Below, I’ve included the small details that matter most, plus a few swaps for making these work with what you’ve got on hand. If you’ve ever had the bacon go limp before the cheese was hot, the process section will help you avoid that.
The bacon got crispy in the same time the peppers softened, and the little honey drizzle at the end made the heat taste even better. I baked a second tray right after the first one disappeared.
Save these bacon jalapeño popper bites for the next party tray you want to disappear before the main dish hits the table.
The Reason Thin-Cut Bacon Wins Here
Bacon jalapeño poppers fail in one of two ways: the bacon turns rubbery, or the cheese filling leaks out before the peppers finish cooking. Thin-cut bacon solves the timing problem. It crisps fast enough in a 400°F oven that the jalapeños can soften at the same pace, and the whole bite stays compact instead of overcooking while you wait for thick bacon to render.
Another small thing matters more than most people expect: wrapping the bacon tightly and placing the bites on a rack. If the bacon sits in its own fat, the bottom stays pale and soft. On a rack, the heat moves around the pepper from every side, and you get those browned edges without babysitting the pan.
What Each Ingredient Is Actually Doing in These Popper Bites
- Jalapeños — These are the structure and the heat. Larger peppers are easier to fill and wrap, and removing the seeds and membranes takes the sharp edge down without making them bland. If you want milder bites, scrape the inside walls clean; leaving a little membrane behind gives you more bite.
- Cream cheese — This is what keeps the filling plush and stable. Softened cream cheese blends smoothly with the cheddar instead of leaving little cold lumps behind. Full-fat cream cheese holds up best in the oven; reduced-fat versions can turn loose and watery.
- Sharp cheddar — This brings the savory punch that keeps the filling from tasting flat. Mild cheddar melts fine, but sharp cheddar gives you more flavor in every bite, which matters because the peppers and bacon are already doing a lot of heavy lifting.
- Thin-cut bacon — This is the most important ingredient to buy correctly. Thin-cut bacon wraps more neatly, cooks in time, and gives you crisp edges without leaving the peppers underdone. Thick-cut bacon usually needs a head start or a longer bake, which overcooks the filling.
- Honey — Optional, but worth trying if you like sweet heat. A light drizzle at the end rounds out the spice and makes the bacon taste even smokier. Add it after baking, not before, or it can burn and turn sticky in the oven.
Getting the Bacon Crisp Before the Cheese Runs
Mix the filling until it’s smooth, not fluffy
Stir the softened cream cheese, cheddar, garlic powder, and smoked paprika until everything looks evenly blended. Stop as soon as it comes together; you want a thick filling that holds its shape, not an airy mixture that melts and spreads. If the cream cheese is still cold, it leaves streaks and makes filling the peppers awkward, so let it sit on the counter until it gives under a spoon.
Fill the peppers generously, then clean up the edges
Spoon or pipe the filling into each jalapeño half so it mounds slightly over the top. A full fill gives you that bubbling center people expect from poppers, but wipe any excess off the cut edges so the bacon can grip the pepper. If the filling spills onto the outside, it can bake onto the rack and make the poppers harder to lift cleanly.
Wrap tightly and bake on a rack
Use a half strip of bacon for each pepper half and pull it snug enough to overlap a little. The bacon should cling to the pepper, not float around it. Bake at 400°F until the bacon looks browned and crisp at the edges and the filling is actively bubbling, usually 18 to 22 minutes. If your bacon is still soft when the cheese is done, it was wrapped too loosely or cut too thick.
Finish while they’re hot
Let the bites rest for a couple minutes so the filling settles, then drizzle with honey if you’re using it. They’re best warm, when the bacon still snaps and the cheese stays creamy. If you wait too long, the bacon softens as it sits in steam from the filling.
How to Adapt These for Different Crowds and Diets
Dairy-Free Version
Use a sturdy dairy-free cream cheese and a melty plant-based cheddar-style shred. The filling won’t taste exactly the same, but you’ll still get a creamy center with enough body to hold inside the peppers. Choose a brand that bakes well, since some vegan cream cheeses turn loose under heat.
Make Them Less Spicy
Scrape out every seed and as much of the white membrane as you can. That’s where most of the heat lives, and cleaning the peppers well gives you a mild appetizer without changing the texture. For extra insurance, choose larger jalapeños, which are often a little gentler than small, thin-skinned ones.
Gluten-Free and Crowd-Friendly
The base recipe is already gluten-free as long as your bacon and seasonings are certified gluten-free. You can also double the batch without changing the method, but use two sheet pans so the poppers aren’t crowded. If they sit too close together, the bacon steams instead of crisping.
Storage and Reheating
- Refrigerator: Store leftovers in an airtight container for up to 3 days. The bacon softens a bit, but the filling still reheats well.
- Freezer: These freeze better before baking than after. Freeze assembled poppers on a tray, then transfer to a freezer bag and bake from frozen, adding a few extra minutes.
- Reheating: Reheat on a rack in a 375°F oven or air fryer until the bacon firms back up and the center is hot. Skip the microwave if you want the bacon to stay crisp; it turns the wrapping soft fast.
Questions I Get Asked About This Recipe

Bacon Jalapeño Popper Bites
Ingredients
Equipment
Method
- Preheat the oven to 400°F and line a baking sheet with a wire rack so the bacon can crisp without sitting in grease.
- Halve the jalapeños lengthwise and seed them, leaving the cut sides ready for filling.
- Mix the cream cheese, shredded cheddar, garlic powder, and smoked paprika until fully combined and smooth.
- Fill each jalapeño half generously with the cream cheese mixture using a spoon or piping bag.
- Wrap each filled jalapeño half tightly with a half-strip of bacon and secure it with a toothpick.
- Arrange the jalapeño poppers on the wire rack with the bacon seam side down when possible for more even browning.
- Bake at 400°F for 18–22 minutes, until the bacon is crispy and the filling is bubbling with a hint of char on the edges.
- Drizzle with honey if desired, then serve hot while the cheese is molten.