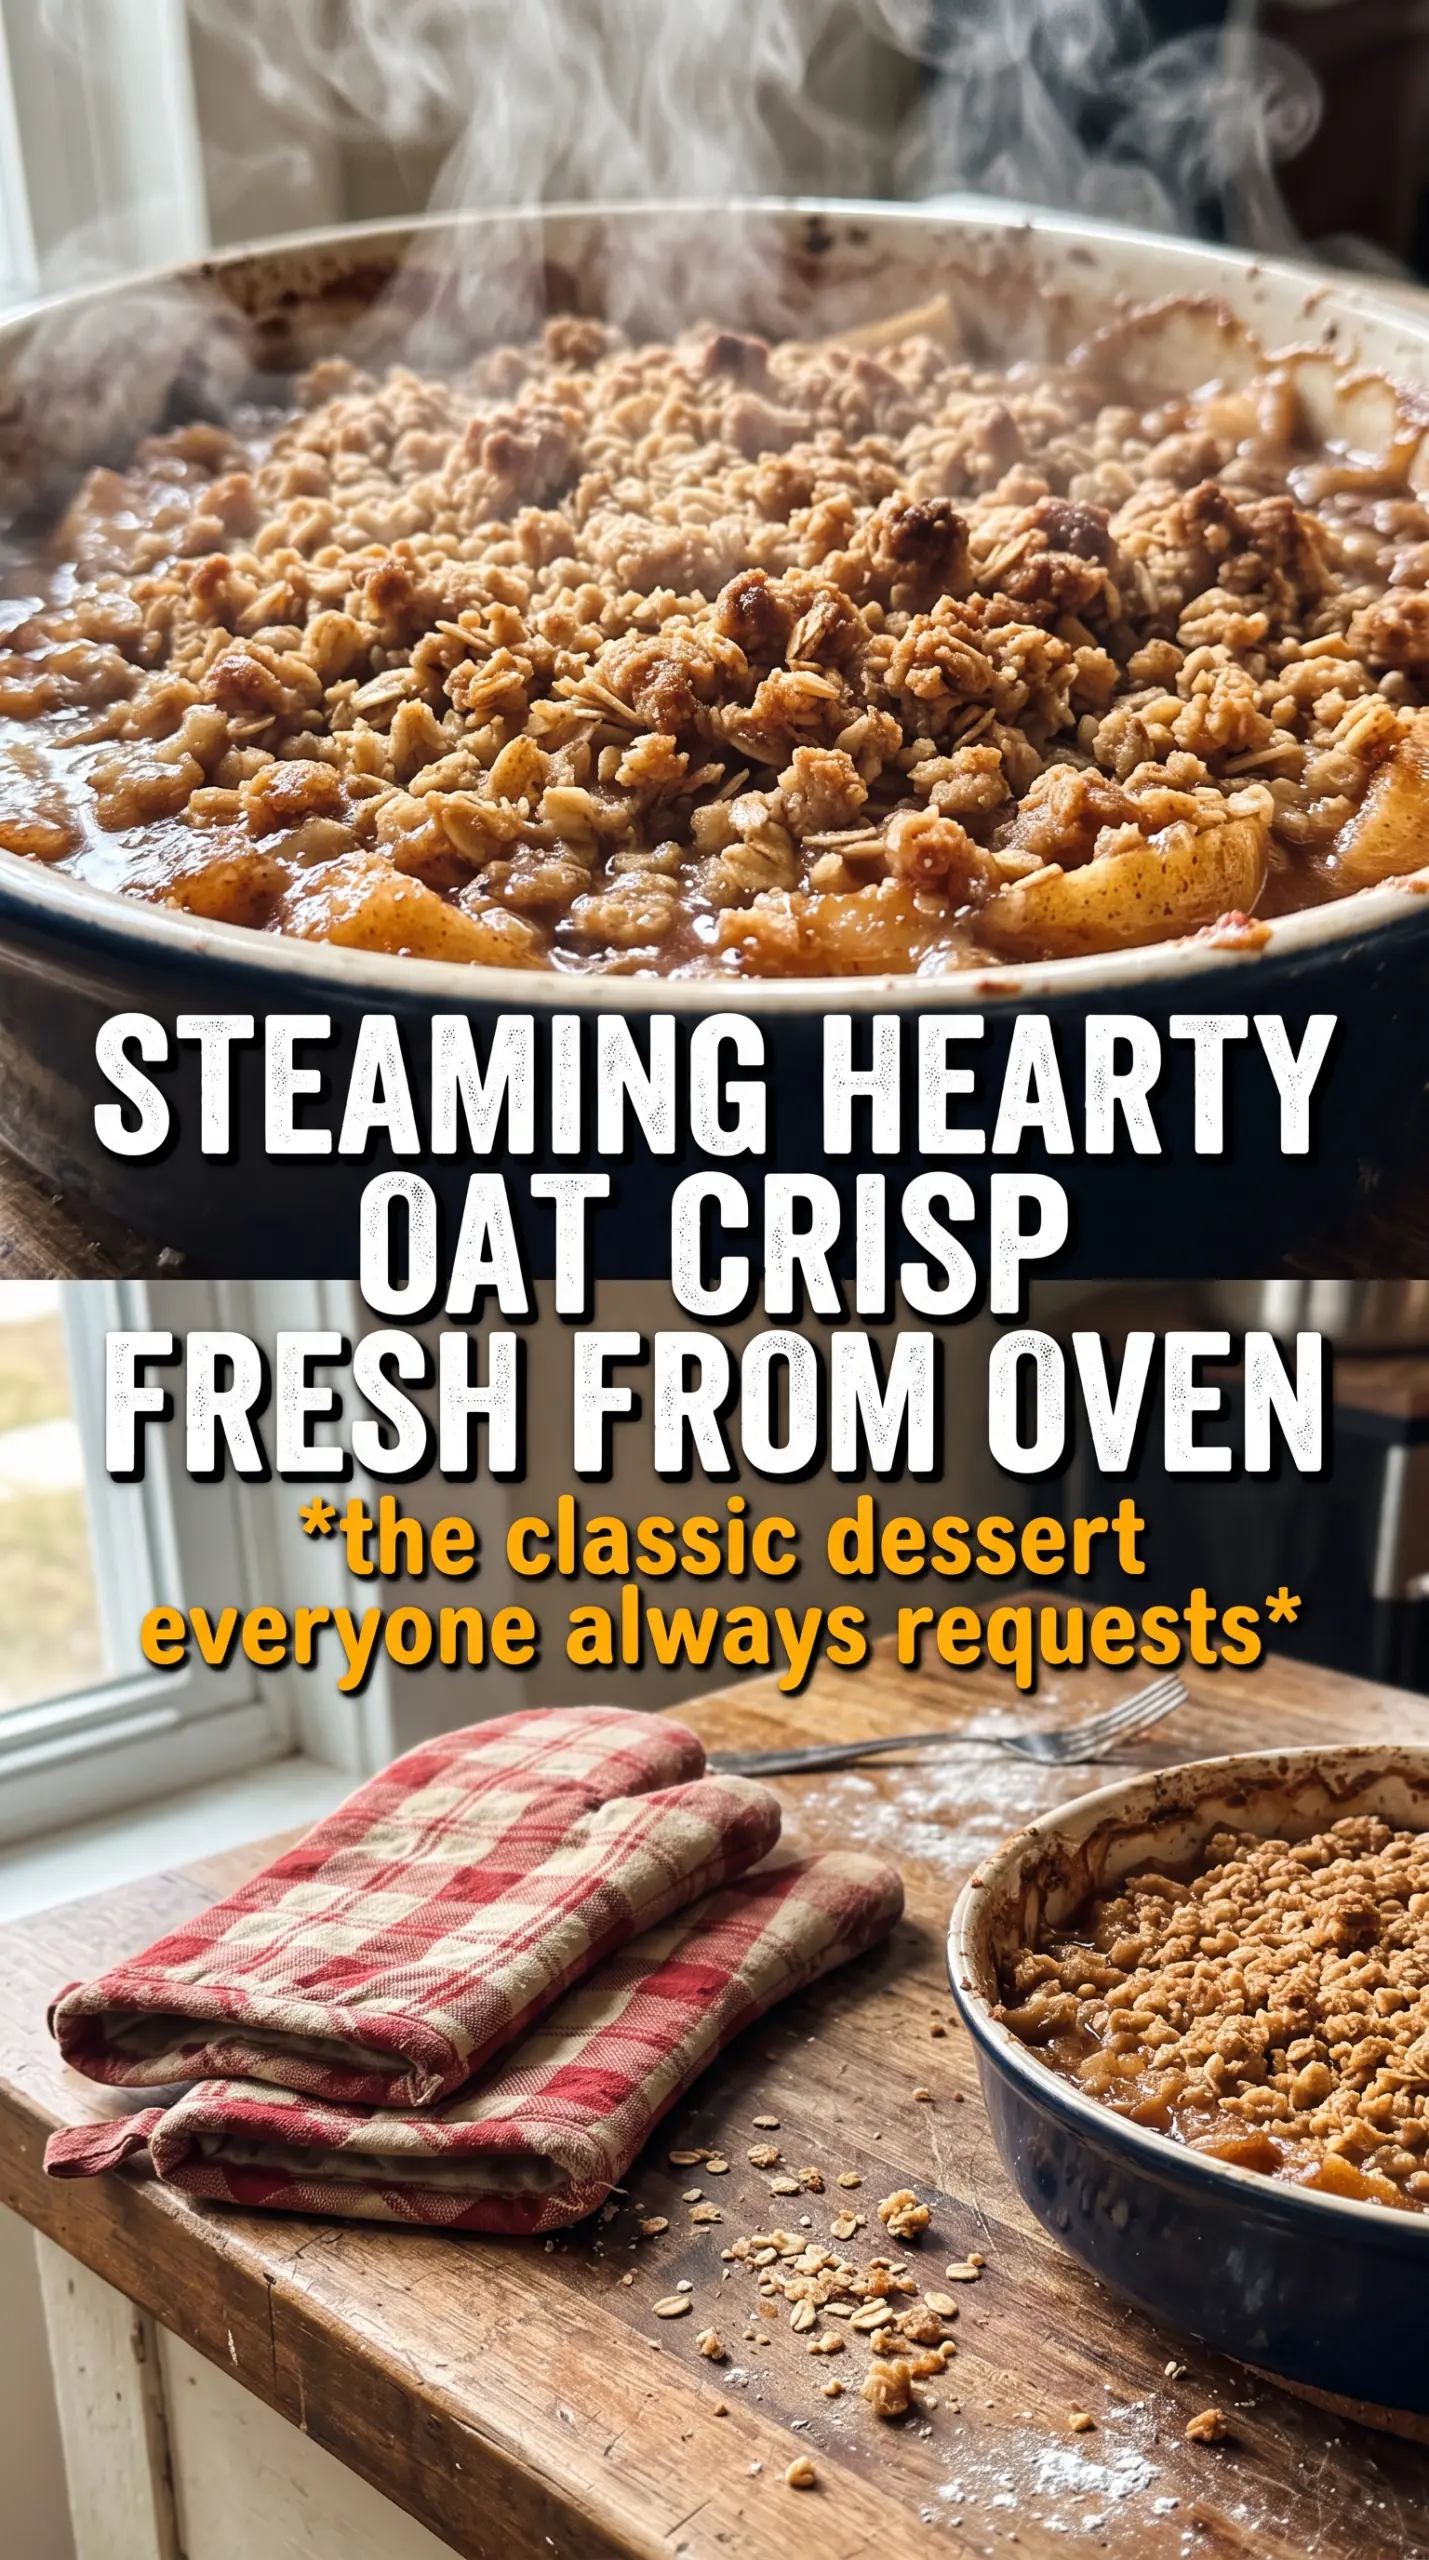
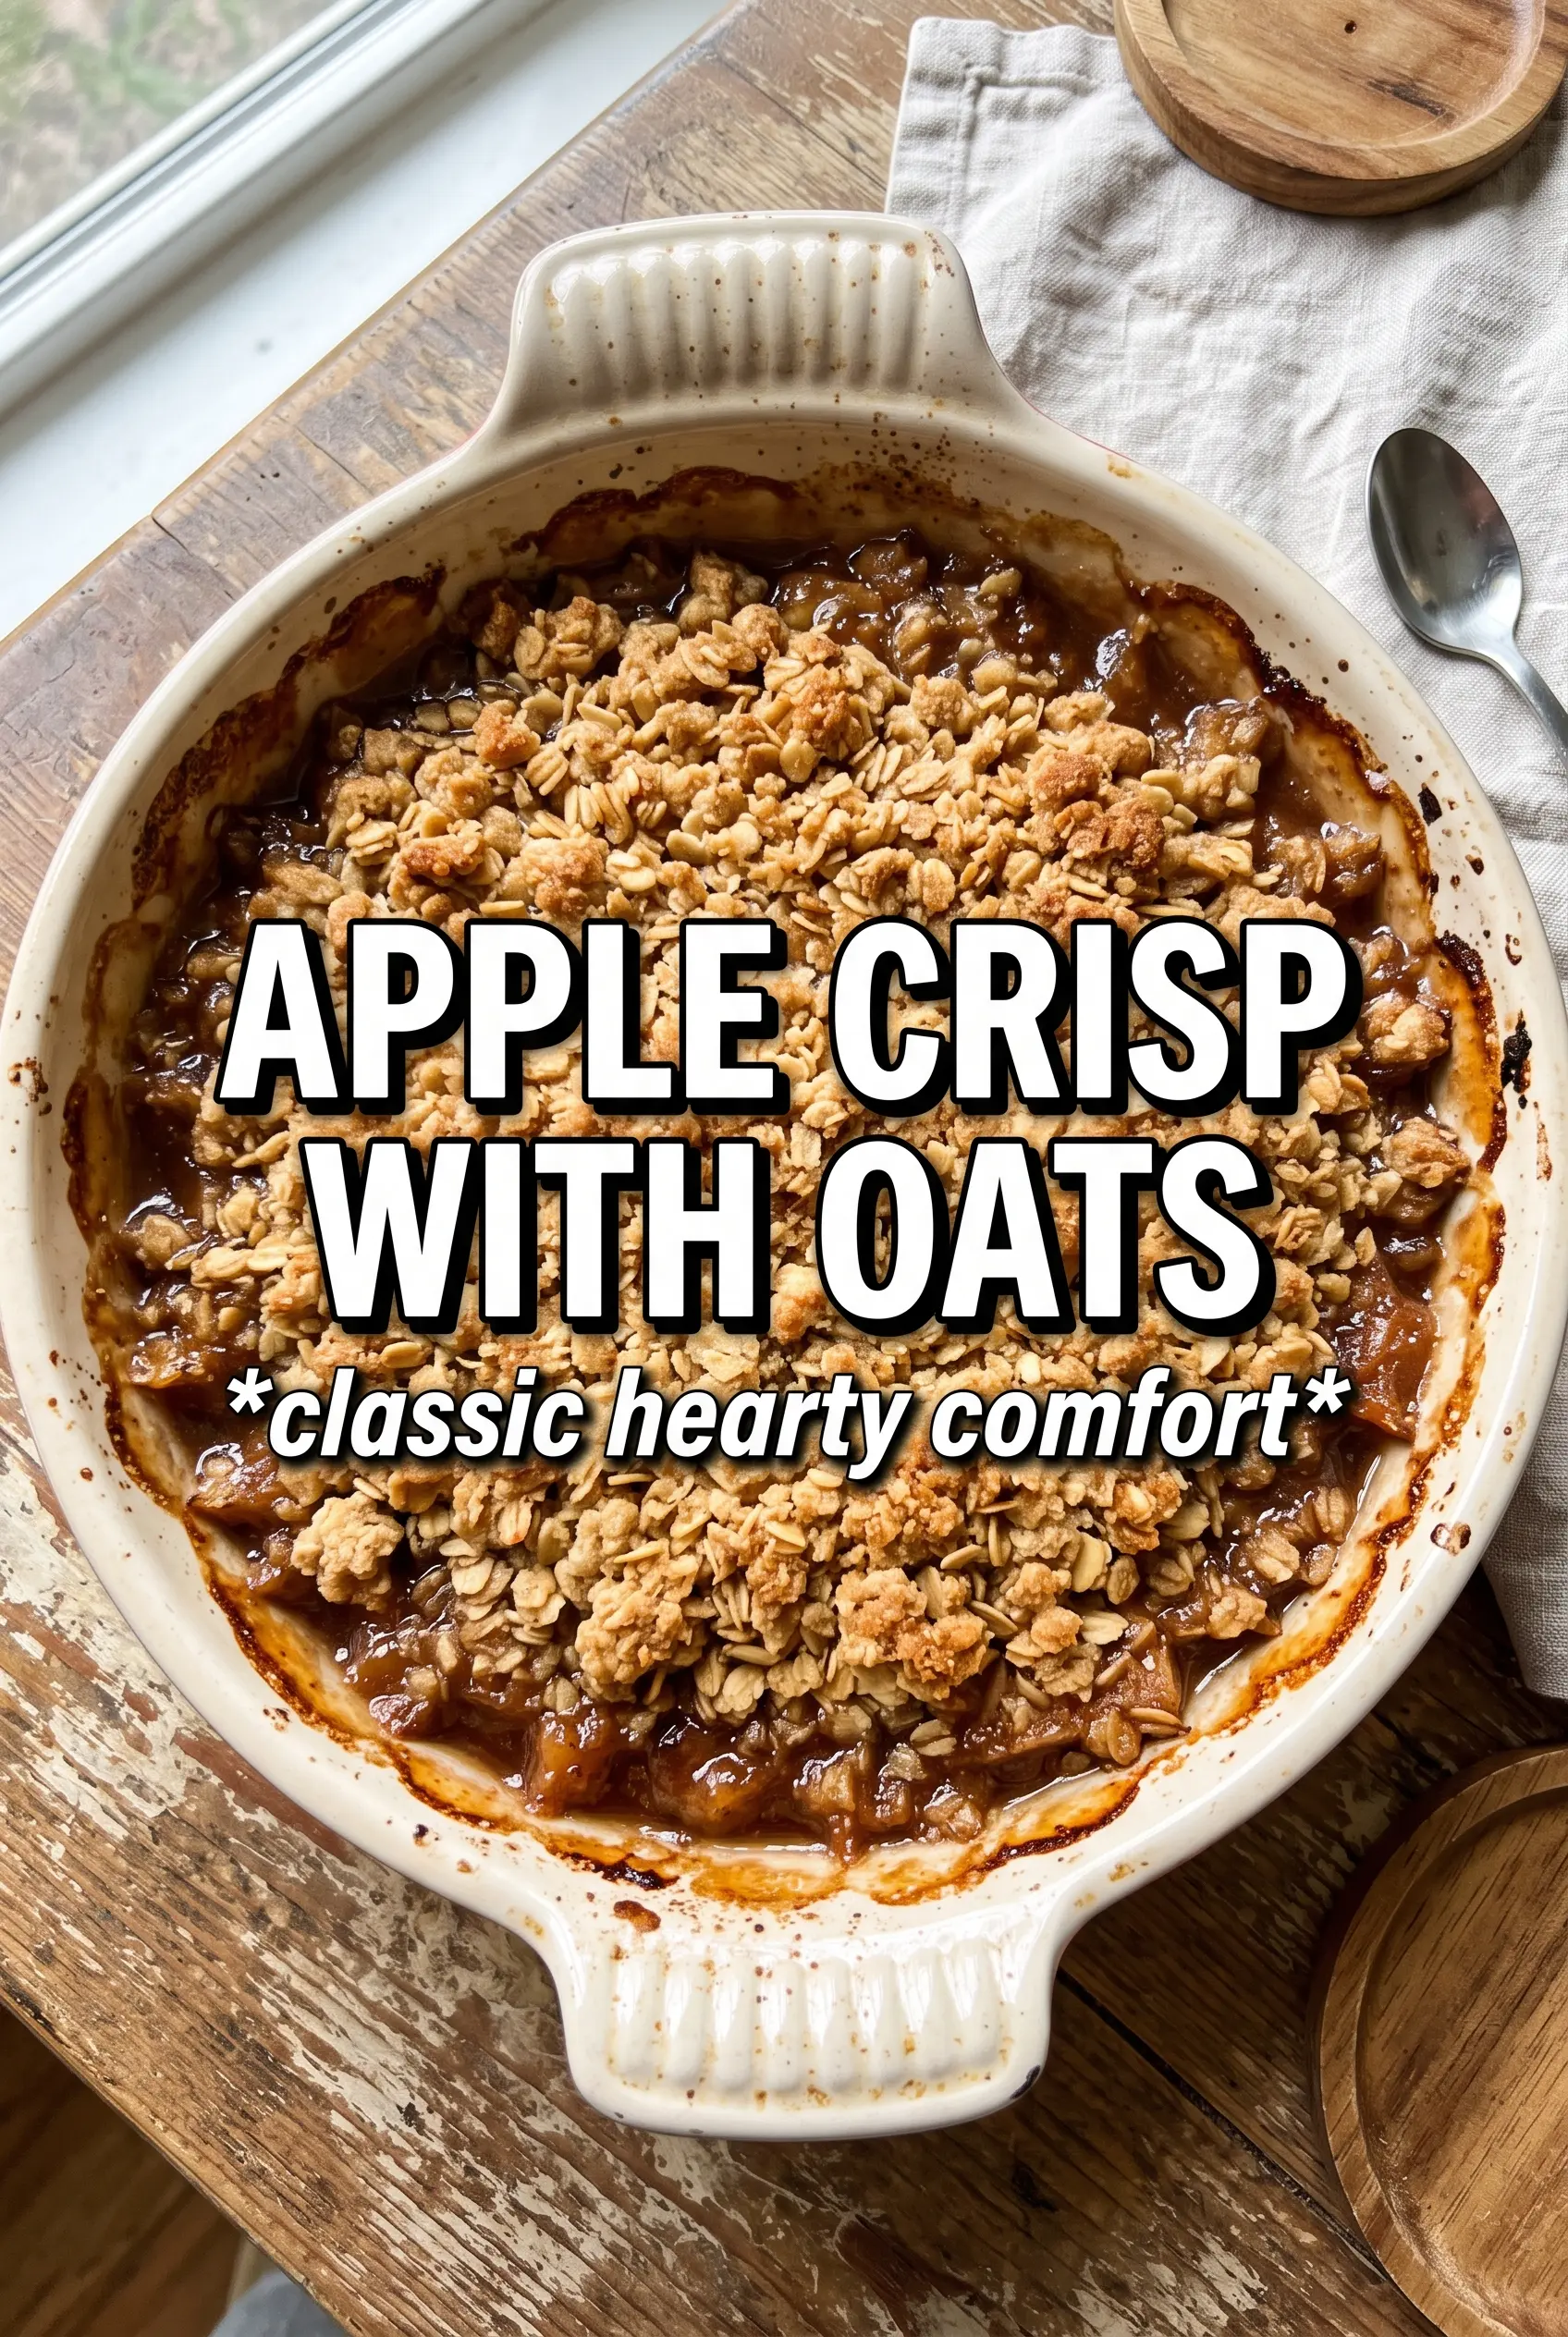
Apple crisp with oats lands right in that sweet spot between cozy and practical: tender baked apples underneath a thick, crunchy oat topping that stays clumpy instead of turning sandy. The best version has a bubbling edge, cinnamon perfume, and enough texture on top that every spoonful gives you soft fruit and a crisp bite at the same time.
What makes this one work is the balance in both layers. The apples are tossed with cornstarch, which keeps the filling from turning watery, and the mix of tart and sweet apples gives the baked fruit more depth than using one variety alone. On the topping side, cold butter is what creates those big craggy pieces instead of a dry, dusty crumb, and old-fashioned rolled oats give the crisp its hearty chew.
Below, I’ll show you the small details that keep the topping crisp and the filling thick, plus a few swaps that still hold up when you need to work with what’s in the kitchen.
The topping baked up into real chunks instead of a sandy layer, and the apples were thick and syrupy without getting runny. I used a mix of Honeycrisp and Granny Smith like suggested, and it tasted like it came from a bakery.
Save this apple crisp with oats for the nights when you want bubbling cinnamon apples and a thick, crunchy crumble topping.
The Secret to a Crisp Top That Stays Clumpy Instead of Dry
The biggest mistake with apple crisp is treating the topping like a loose streusel. That gives you fine crumbs that bake up dusty and soft, not the thick, craggy layer people actually want. Cold butter is the fix. Cut it into the oat mixture until you get some pea-size pieces and some larger clumps, then stop. Those uneven bits melt at different rates, which is what creates the crisp, nubbly texture.
The other thing that matters is how the apples are arranged in the dish. Pack them in enough that they mound slightly, but don’t smash them down into a tight layer. Apples shrink as they bake, and if the filling starts out too thin, the topping can sink into the juice instead of staying on top where it belongs.
- Old-fashioned rolled oats — These hold their shape and bake into a hearty topping. Quick oats turn softer and can make the crumble feel pasty.
- Cornstarch — This thickens the juices released by the apples so the filling becomes glossy and spoonable instead of watery.
- Cold butter — This is what gives you clumps. If the butter is soft, the topping will blend into a paste before it even hits the oven.
What Each Ingredient Is Doing in the Apple Filling and Crumble
- Apples — A mix of tart and sweet apples keeps the filling from tasting flat. Granny Smith brings structure; Honeycrisp, Fuji, or Gala add juice and sweetness. If you only use a soft apple, the filling can turn mushy.
- Lemon juice — It keeps the apple flavor bright and stops the sliced fruit from going dull while you prep the rest. You don’t need much, but skip it and the filling can taste heavier.
- Brown sugar — Brown sugar deepens the flavor in both layers and helps the topping brown. Light brown sugar works fine here, though dark brown sugar will make the crisp a little richer and more molasses-forward.
- Cinnamon, nutmeg, and allspice — Cinnamon leads, while the nutmeg and allspice give the filling that warm, pie-like finish. If you’re missing allspice, add a pinch more cinnamon, but the flavor will be less rounded.
- All-purpose flour — It helps bind the crumble so it bakes into clusters instead of loose oats and sugar. There’s no good replacement here if you want the same texture, though a 1:1 gluten-free flour blend can work for a gluten-free version.
Building the Layers So the Apples Bubble and the Oats Brown
Coating the Apples Evenly
Toss the sliced apples with the sugars, spices, cornstarch, and lemon juice until every slice looks lightly coated. If you see dry patches of cornstarch, you’ll get little floury pockets in the baked filling. Spread the apples into the greased dish in an even layer, then give the pan a gentle shake so the fruit settles without compacting.
Making the Oat Crumble by Hand
Mix the oats, flour, brown sugar, cinnamon, and salt first so the dry ingredients are evenly distributed. Add the cold butter and work it in with your fingertips until the mixture forms a mix of sandy bits and larger clumps. If the butter starts melting into the mixture, stop and chill the bowl for a few minutes; warm butter turns the topping flat instead of crisp.
Baking Until the Filling Thickens
Scatter the crumble evenly over the apples, covering as much surface as you can. Bake until the top is deeply golden and you can see the filling bubbling at the edges and peeking through the center. That bubbling is the signal that the cornstarch has activated; if the crisp comes out before you see it, the juices can stay thin.
Letting It Set Before Serving
Give the crisp about 10 minutes to cool after it comes out of the oven. That short rest lets the filling thicken enough to spoon neatly instead of running all over the plate. Serve it warm with vanilla ice cream or whipped cream so the contrast between hot fruit and cold topping is still there.
How to Adapt This Crisp When You Need a Different Ingredient List
Gluten-Free Crisp Topping
Swap the all-purpose flour for a good 1:1 gluten-free flour blend. The topping will still brown and clump, though it may be a little more delicate when scooped. Keep the butter cold and don’t overwork the mixture, or the gluten-free flour can turn gummy.
Dairy-Free Version
Use a solid plant-based butter with a high fat content in place of the unsalted butter. You want a product that stays firm when cold, not a soft spread from a tub, because the topping needs distinct pieces to bake into a crisp crust. The flavor stays close, but the topping may brown a little faster.
Different Apple Mix
If you only have one apple variety, use it, but choose one that holds up in the oven. Granny Smith, Honeycrisp, Braeburn, and Jonagold all work well. Very soft apples can collapse into applesauce before the topping finishes browning.
Make It Less Sweet
Cut the granulated sugar in the filling back to 1/4 cup and the brown sugar to 1/4 cup if your apples are already sweet. The crisp will still bake correctly, but the topping won’t be quite as caramel-forward. This works best when you’re using sweeter apples like Fuji or Gala.
Storage and Reheating
- Refrigerator: Store covered for up to 4 days. The topping will soften in the fridge, but the flavor stays good.
- Freezer: Freeze baked crisp tightly wrapped for up to 2 months. Thaw overnight in the refrigerator before reheating. You can also freeze it unbaked, but the topping is at its best when baked fresh.
- Reheating: Warm in a 325F oven until the filling is hot and the topping re-crisps, usually 15 to 20 minutes for a small portion. The common mistake is microwaving it until the apples are hot; that makes the topping soggy and chewy.
Questions I Get Asked About This Recipe
Apple Crisp With Oats
Ingredients
Equipment
Method
- Preheat the oven to 375°F and grease a 9x13 baking dish.
- Arrange the prepared dish so it’s ready for the apple filling and crumble.
- Toss apple slices with granulated sugar, brown sugar, cinnamon, nutmeg, allspice, cornstarch, and lemon juice until evenly coated.
- Spread the coated apples in the prepared baking dish in an even layer.
- Combine rolled oats, all-purpose flour, brown sugar, cinnamon, and salt in a bowl.
- Cut the cold cubed butter into the oat mixture with your fingertips until large chunks and clumps form.
- Scatter the crumble evenly over the apples, covering every surface.
- Bake for 40–45 minutes, until the topping is deeply golden and the apple filling is bubbling at the corners.
- Cool for 10 minutes so the filling sets slightly.
- Serve warm with vanilla ice cream or whipped cream.