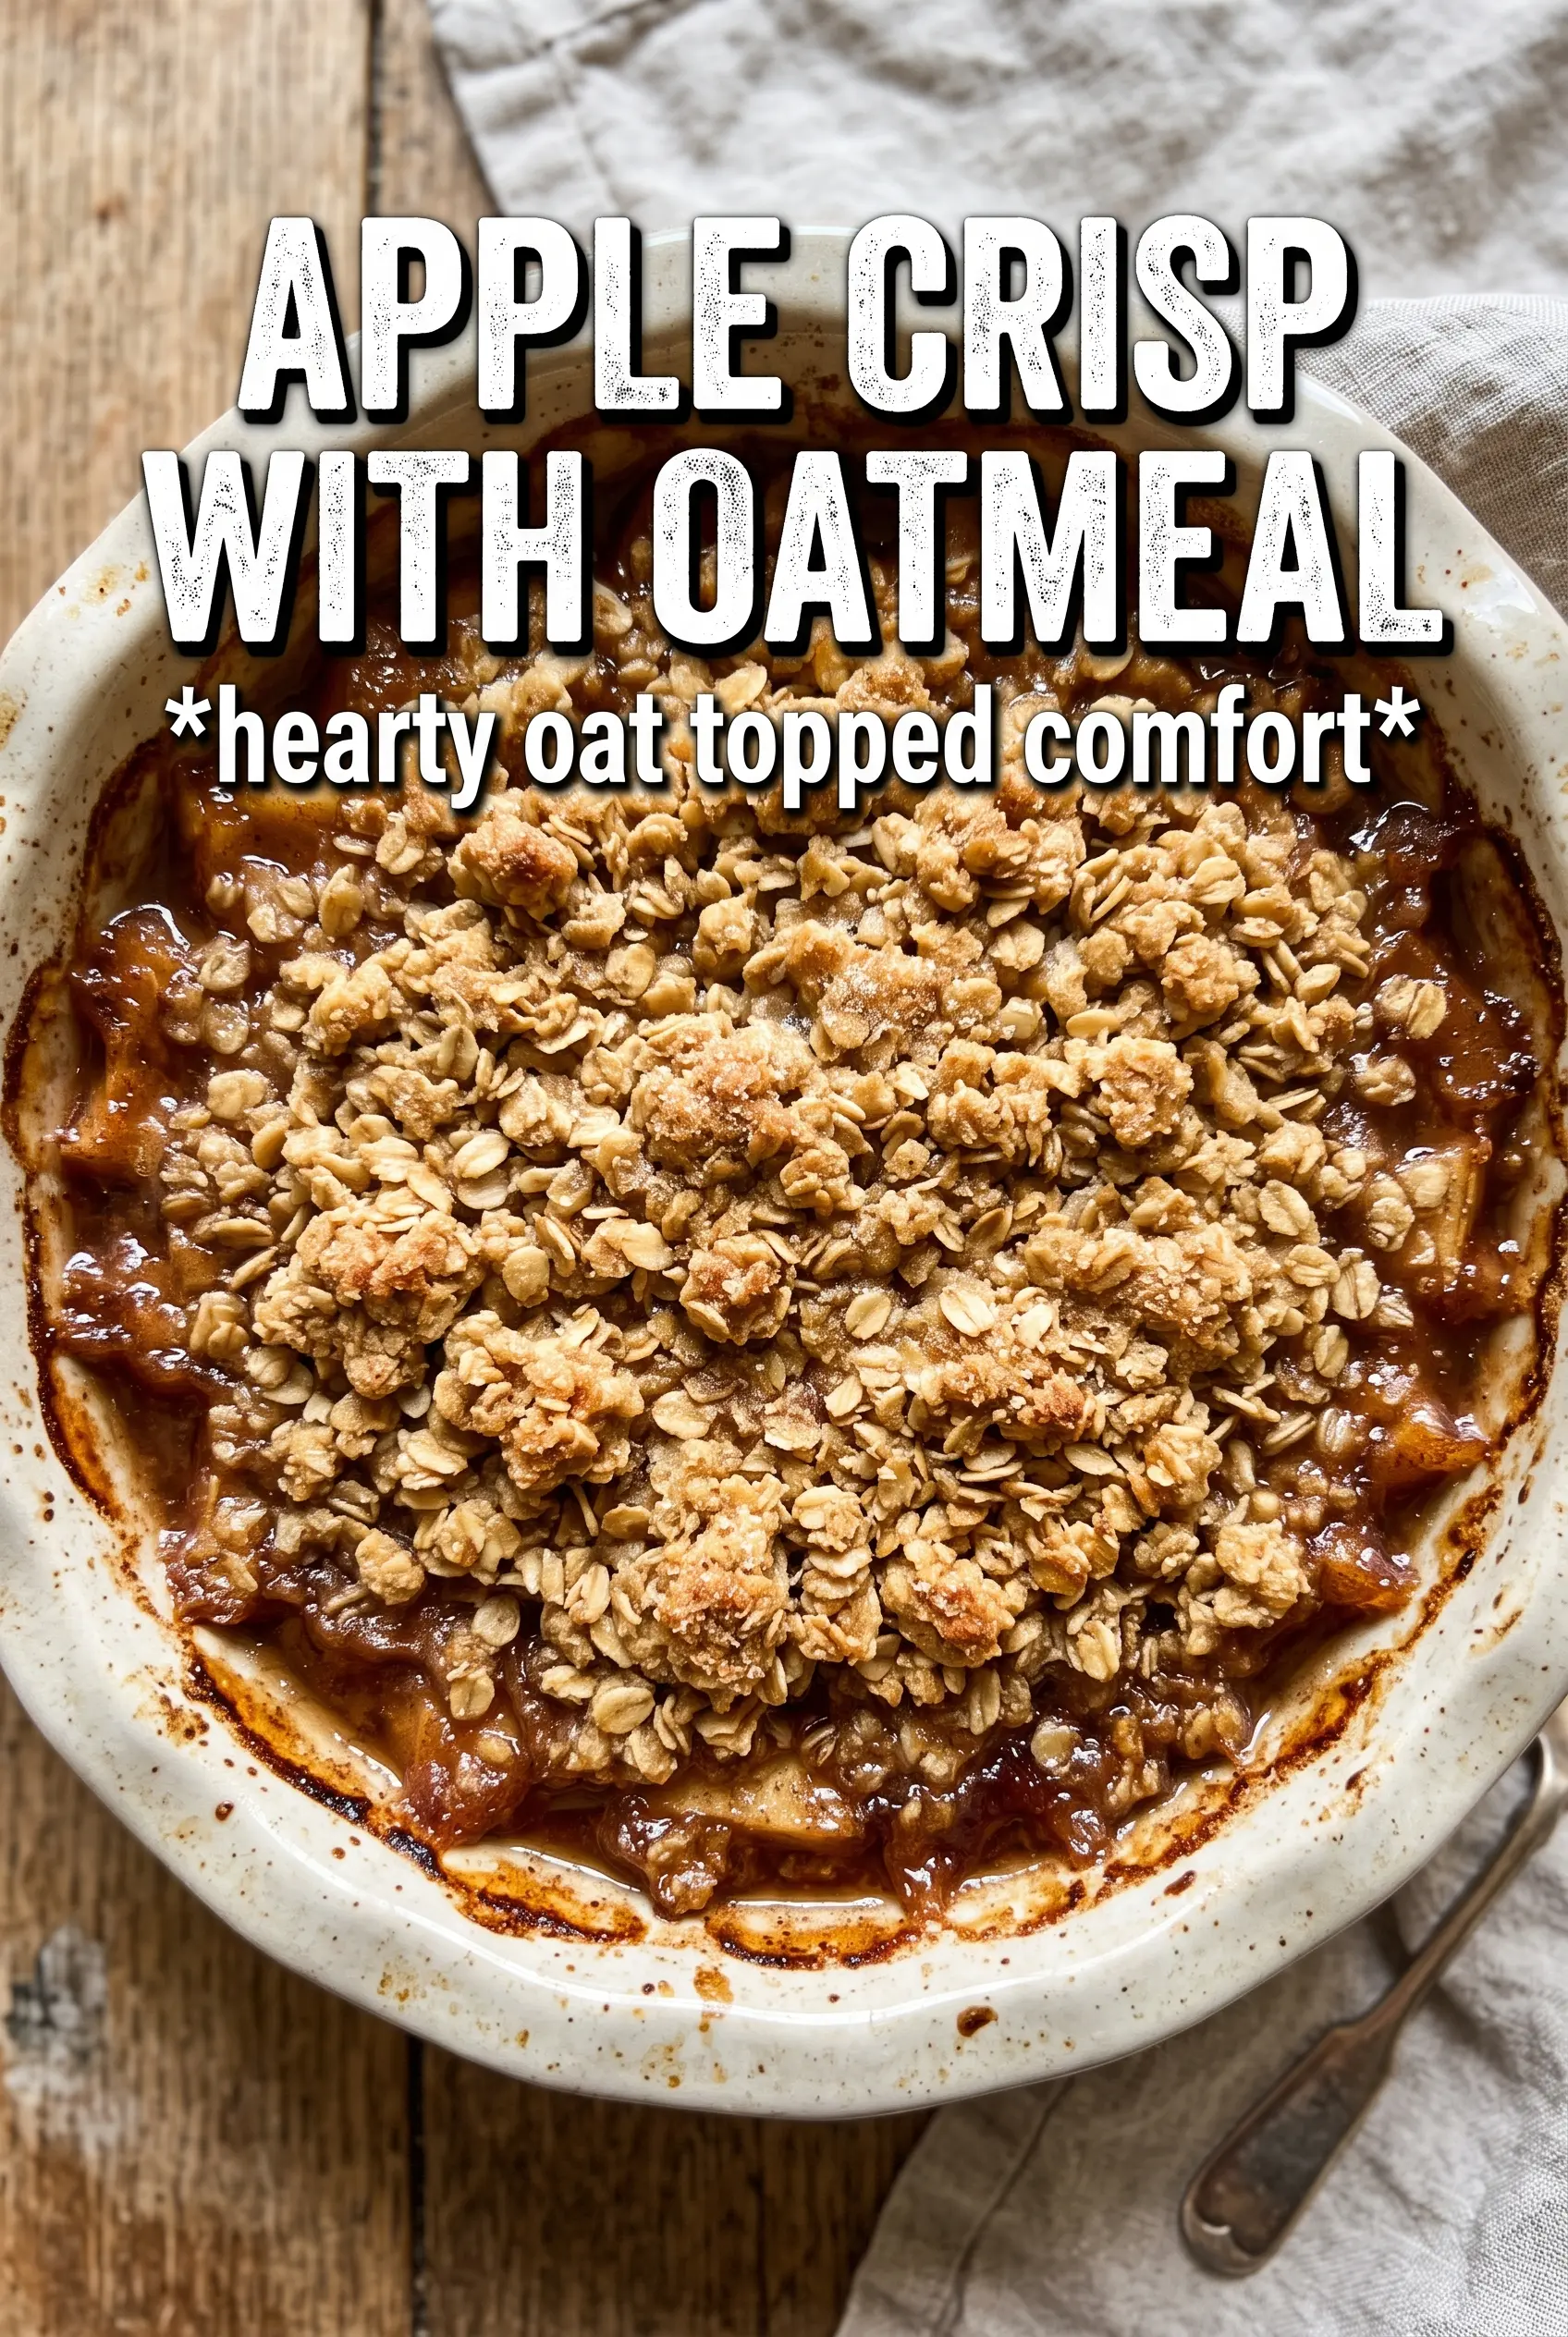
Apple crisp with oatmeal earns its place when you want tender baked apples under a thick, crackly topping that stays nubbly instead of turning sandy. The best version has enough crunch to stand up to a spoon, with the apples bubbling up around the edges and a few glossy spots where the brown sugar has melted into the filling.
The trick is keeping the crumble cold and chunky. Old-fashioned oats give the topping that hearty, toasted bite, while flour and brown sugar hold the crumbs together without making them paste-like. Cornstarch is the quiet workhorse in the filling; it thickens the apple juices so you get a spoonable dessert instead of a puddle at the bottom of the pan.
Below, I’m walking through the small details that matter most: how to keep the topping crisp, how to tell when the apples are done, and what to do if your fruit is especially tart or especially soft. It’s a simple dessert, but the little choices change the whole pan.
The topping baked up in big crunchy clumps and the apples softened just enough without turning mushy. I served it after 10 minutes with vanilla ice cream and the juices were thick, not runny.
Save this apple crisp with oatmeal for the nights when you want a bubbling fruit dessert with a thick, crunchy brown sugar topping.
The Reason the Topping Stays Crisp Instead of Going Soft
A lot of apple crisps end up with a topping that tastes good on day one and turns damp fast. The problem is usually too much butter worked into too-small crumbs, which melts into the oats instead of holding them in crunchy clusters. Here, the butter stays cold and the mixture gets cut just until you have clumps; that gives the topping texture and leaves little air pockets that brown in the oven.
The other thing that matters is coverage. Don’t patch the topping over the apples in thin spots. A full blanket of crumble protects the fruit from drying out and lets the steam come up through the topping without making it soggy. You want a deep golden surface and a few darker bits where the edges have caramelized.
What Each Ingredient Is Actually Doing in the Pan
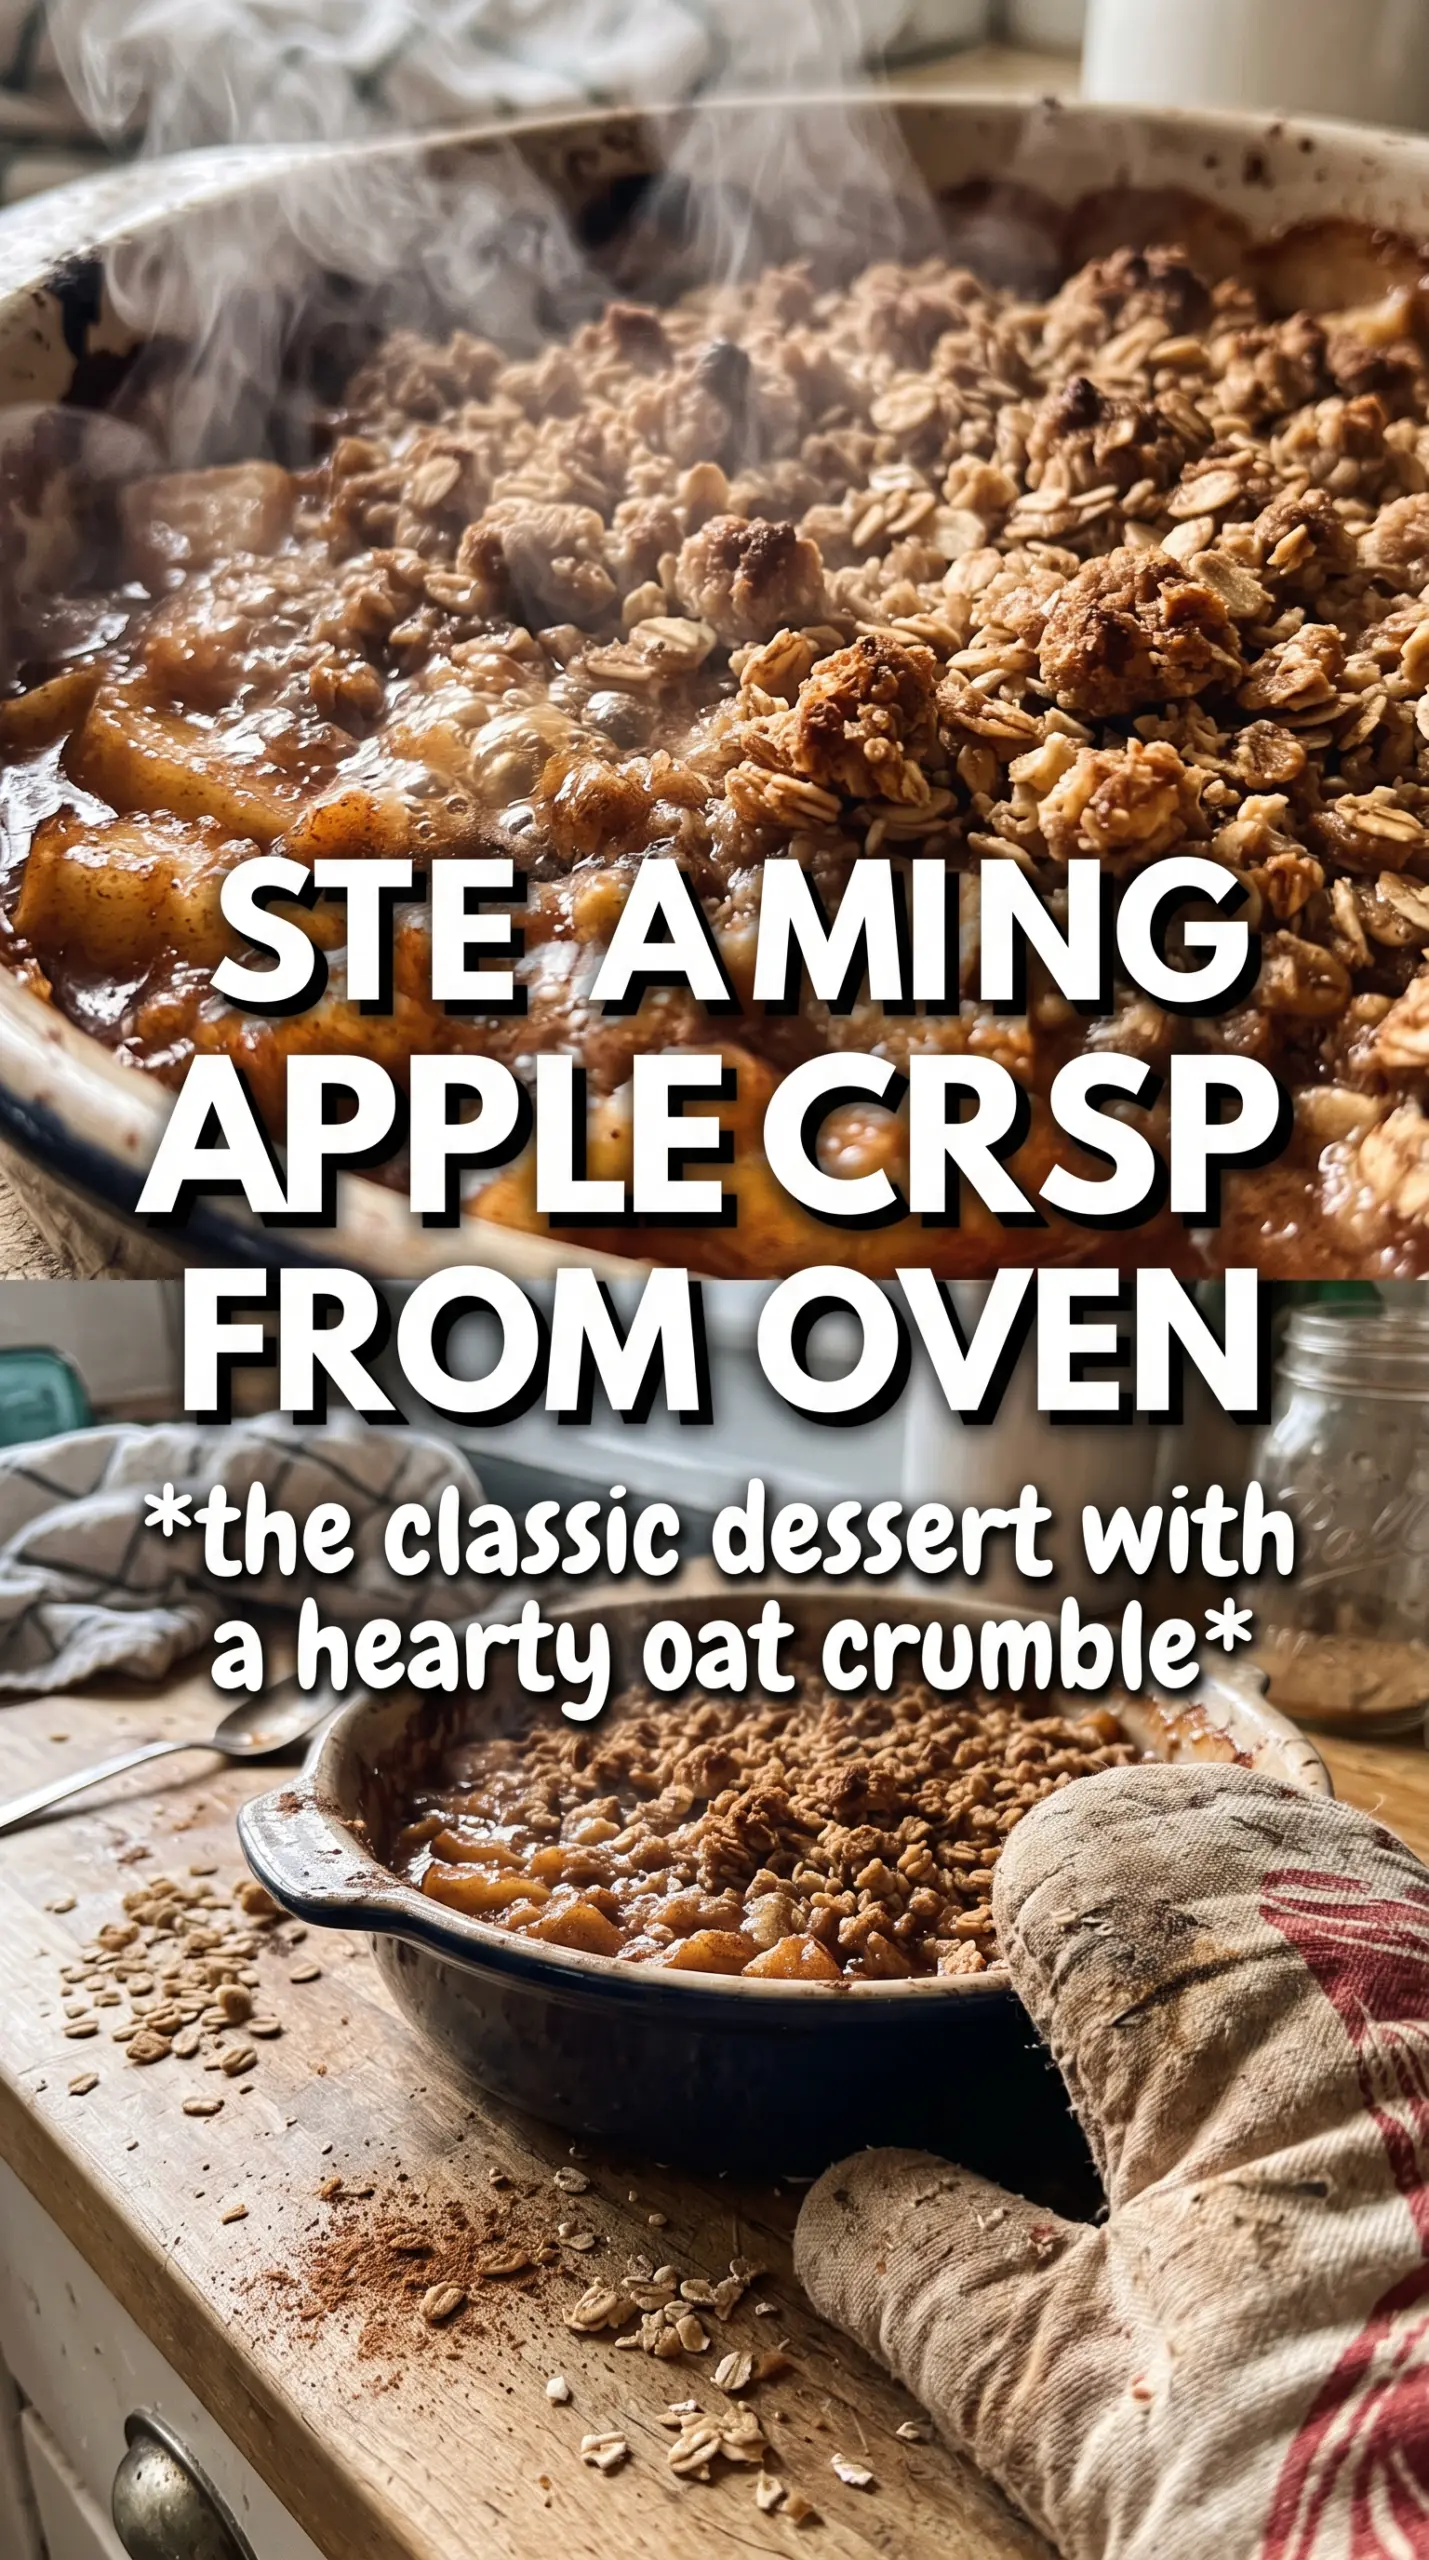
- Apples — Use a firm baking apple if you can. Softer apples break down too fast and leave you with applesauce under the topping. A mix of tart and sweet apples works best if you have it, since the dessert tastes fuller without needing extra sugar.
- Cornstarch — This is what turns all those apple juices into a glossy filling. Flour won’t thicken as cleanly here, and it can leave the juices a little cloudy. If your apples are especially juicy, the cornstarch is not optional.
- Old-fashioned rolled oats — These give the topping its chewy-crisp structure. Quick oats collapse into a finer, denser layer, and steel-cut oats won’t soften enough in the bake. Rolled oats are the sweet spot.
- Cold butter — The butter has to stay cold so the topping bakes into crumbs instead of paste. If it starts to soften while you work it in, pop the bowl in the fridge for a few minutes before finishing. That small pause helps a lot.
- Brown sugar — Brown sugar brings the caramel note that makes the topping taste warm and toasted. Granulated sugar alone makes the crumble flatter and less rich. Packed brown sugar also helps the crumbs hold together.
Building the Filling Before the Oven Takes Over
Toss the Apples Evenly
Start by coating the apple slices with both sugars, cinnamon, nutmeg, cornstarch, and lemon juice until every slice looks lightly coated. The cornstarch needs to be distributed before the apples go into the pan, or it clumps and leaves pockets of thin juice later. Spread the apples in an even layer so the crisp bakes uniformly instead of collapsing in the center.
Cut the Butter Into Chunky Crumbs
Mix the oats, flour, brown sugar, cinnamon, and salt, then work in the cold butter with your fingertips or a pastry cutter. Stop when the mixture forms large, irregular clumps and there are still some dry bits; that mix of sizes is what gives the top its texture. If you overwork it, the topping turns dense and sandy instead of crisp.
Bake Until the Fruit Bubbles Up
Scatter the crumble over the apples, covering every inch, then bake until the top is deeply golden and the filling is bubbling at the corners. That bubbling matters more than the clock. If the topping looks done but the edges are quiet, the apples usually need a few more minutes for the cornstarch to activate and thicken the juices.
Let It Rest Before Serving
Give the crisp about 10 minutes to settle after it comes out of the oven. Straight from the pan, the filling is loose and the sugars are still moving. That short rest thickens everything just enough so you get neat spoonfuls instead of a runny pan.
How to Adjust the Crisp for Different Apples and Different Eaters
For tart apples that need more balance
Use the full amount of sugar in the filling and add a little extra at the table only if needed. Tart apples hold their shape well, but they need enough sweetness in the pan to taste round instead of sharp. The cinnamon helps, but sugar is what keeps the fruit from tasting thin.
Gluten-free version with a different crumble texture
Swap the all-purpose flour for a 1:1 gluten-free baking blend. The topping will still brown and crisp, though it may be a touch more delicate when you scoop it. Keep the butter cold and don’t reduce the oats; they provide most of the structure.
Dairy-free swap that still bakes up nicely
Use a solid plant-based butter substitute that’s meant for baking, not a soft tub spread. You want something that stays cold and holds its shape long enough to form crumbs. The flavor changes a little, but the texture stays close if the substitute is firm.
Storage and Reheating
- Refrigerator: Store covered for up to 4 days. The topping will soften a bit, but the flavor stays good.
- Freezer: It freezes well after baking. Cool completely, wrap tightly, and freeze for up to 2 months. Thaw overnight in the fridge before reheating.
- Reheating: Warm in a 325F oven until the filling is hot and the topping firms up again. The microwave will heat the apples, but it also makes the crumble soft.