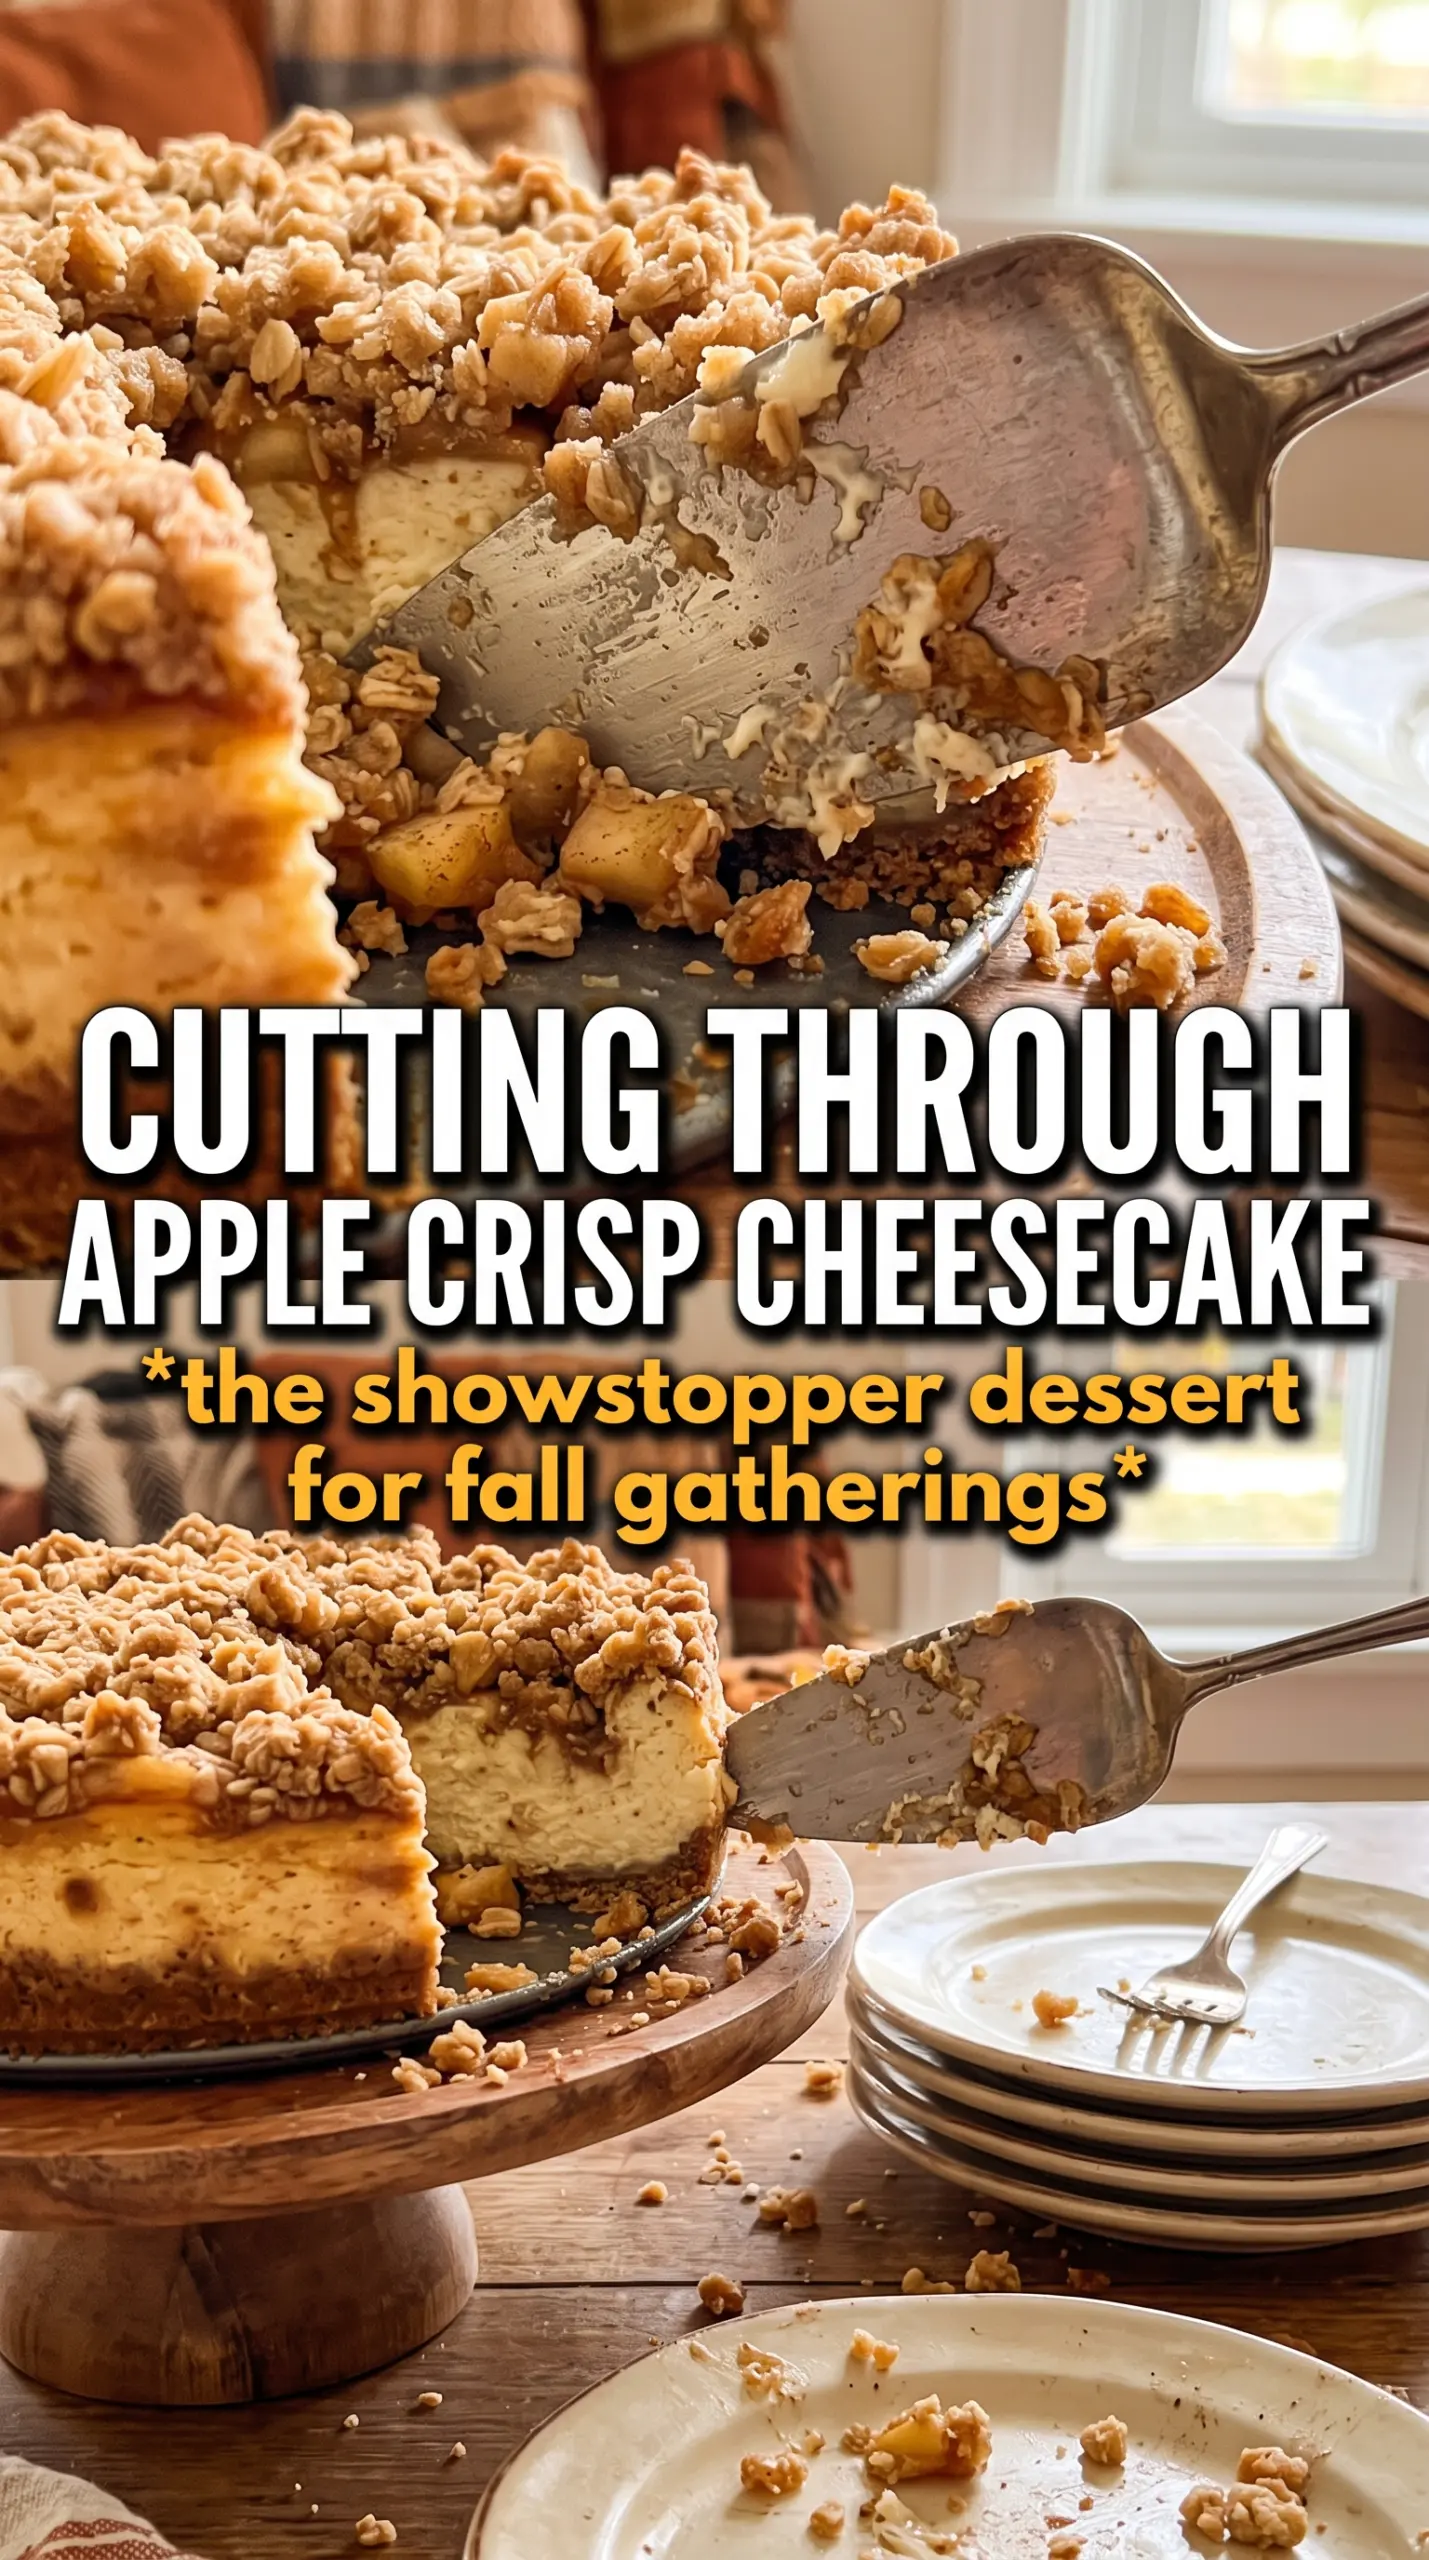
Apple Crisp Cheesecake lands in that perfect middle ground between a bakery-style cheesecake and a warm apple crumble. You get a buttery graham crust, a smooth vanilla-cinnamon filling, tender spiced apples, and a golden oat topping that stays crisp enough to give each slice a real crunch. The first cut looks dramatic, and the first bite tastes even better.
The part that makes this version work is the layering. The apples are cooked just enough to soften and concentrate their flavor before they go into the pan, which keeps them from watering down the cheesecake. The water bath matters here too. It gives the filling gentle heat, so the center sets without cracking or turning grainy. And the oat topping is added before baking, not after, so it turns into a true crisp topping instead of sitting on top like a garnish.
Below, I’ll walk through the little details that keep the crust from getting soggy, the filling from splitting, and the topping from baking into a hard sheet. If you’ve ever wanted a cheesecake that feels a little more rustic and a lot more memorable, this is the one.
The oat topping stayed crisp after chilling, and the apple layer didn’t leak into the cheesecake. I baked it the night before a dinner party, and every slice held its shape beautifully.
Save this Apple Crisp Cheesecake for the dessert table when you want creamy cheesecake, cinnamon apples, and a crunchy oat topping in one slice.
The Part That Keeps the Filling Creamy Instead of Cracked
The biggest mistake with a dessert like this is rushing the cheesecake batter or baking it too hot. Cream cheese needs to be softened enough to beat smooth before anything else goes in, or you’ll end up with little lumps that never fully disappear. Once the eggs go in, stop beating as soon as the batter is uniform. Too much air gives you a puffed cheesecake that falls and cracks as it cools.
The water bath is doing more than preventing cracks. It keeps the oven heat gentle and even, which helps the center set with that slight wobble you want in the middle. If the cheesecake looks firm all the way across, it has gone too far. The carryover heat during cooling will finish the job.
What Each Layer Is Really Doing
- Graham cracker crumbs — These give you that classic cheesecake base with enough structure to slice cleanly. Fresh crumbs from a food processor work, but the boxed crumbs are fine if that’s what you have. The key is packing them firmly with enough melted butter that the crust holds together without turning greasy.
- Cream cheese — Use full-fat blocks, not the spreadable tub kind. The block style has the density you need for a real cheesecake texture. If the cream cheese is even a little cold, the batter goes lumpy before you’ve had a chance to smooth it out.
- Sour cream — This adds tang and softens the richness of the filling. Plain Greek yogurt can work in a pinch, but it brings a slightly sharper finish and a less silky texture.
- Apples — A firm baking apple matters here because you want distinct pieces, not applesauce. I like Honeycrisp, Granny Smith, or a mix of both. Cooking them first pulls out excess moisture and gives them a head start on flavor.
- Rolled oats — Old-fashioned oats keep the topping crumbly and crisp. Quick oats will work, but the texture turns finer and a little softer. Cold butter is nonnegotiable here because it creates those clumpy crumbs that bake into a crisp topping instead of a dusty layer.
How to Build the Layers Without Ending Up With Soggy Crust
Press and Bake the Crust First
Mix the graham crumbs, sugar, and melted butter until the mixture looks like damp sand, then press it firmly into the bottom of the springform pan. Bake it for 8 minutes so it sets before the filling goes in. That short pre-bake keeps the crust from soaking up moisture from the cheesecake layer and turning soft. Let it cool for a few minutes while you work on the filling.
Cook the Apples Until They Just Give
Cook the diced apples with butter, brown sugar, and cinnamon for about 5 minutes, just until they start to soften and the pan smells caramelized. You’re not trying to make pie filling here. If the apples cook too long, they’ll collapse in the oven and bleed liquid into the cheesecake. Cool them before layering so they don’t warm the filling and throw off the bake.
Mix the Cheesecake Batter Gently
Beat the cream cheese and sugar until completely smooth, then add the eggs one at a time. Once the eggs are in, mix only until the batter looks even. Stir in the sour cream, vanilla, and cinnamon at the end. If you beat the batter hard at this point, you trap air, and that’s what leads to cracks and a puffy top that sinks later.
Top, Bake, and Chill Patiently
Pour the filling over the crust, spread the apples over the top, then scatter on the oat topping. The topping should look clumpy, not sandy, before it goes on. Bake in the water bath until the center is just set and still has a slight jiggle in the middle. Let it cool all the way before refrigerating for the full 6 hours; if you cut it early, the layers slide and the slices won’t hold.
Three Ways to Adjust the Cheesecake Without Losing the Point
Gluten-Free Version
Use gluten-free graham crackers for the crust and a 1:1 gluten-free flour blend in the oat topping. The texture stays close to the original, but the topping may be a little more delicate when you slice it. Let the cheesecake chill fully before removing the springform ring so the crust firms up enough to support the layers.
Dairy-Free Adaptation
Use a plant-based cream cheese that’s meant for baking and a dairy-free butter substitute in both the crust and topping. The cheesecake will be a touch softer and slightly less rich, but it still works well if you chill it overnight. Choose a brand that doesn’t get gummy when heated; that’s the main thing that keeps the filling from turning pasty.
Make It a Little More Tart
Swap one of the sweet apples for Granny Smith, or add a teaspoon of lemon juice to the cooked apples. That sharp edge keeps the dessert from leaning too sweet and makes the cinnamon pop more clearly. It’s the variation I reach for when the apples are especially sugary.
Storage and Reheating
- Refrigerator: Store covered for up to 4 days. The topping softens slightly over time, but the cheesecake stays sliceable and tastes even more settled on day two.
- Freezer: This freezes well. Wrap individual slices tightly and freeze for up to 1 month, then thaw overnight in the refrigerator for the cleanest texture.
- Reheating: Serve it chilled or let a slice stand at room temperature for 15 to 20 minutes. Don’t microwave it unless you want the filling to loosen and the crisp topping to go soft.
Answers to the Questions Worth Asking
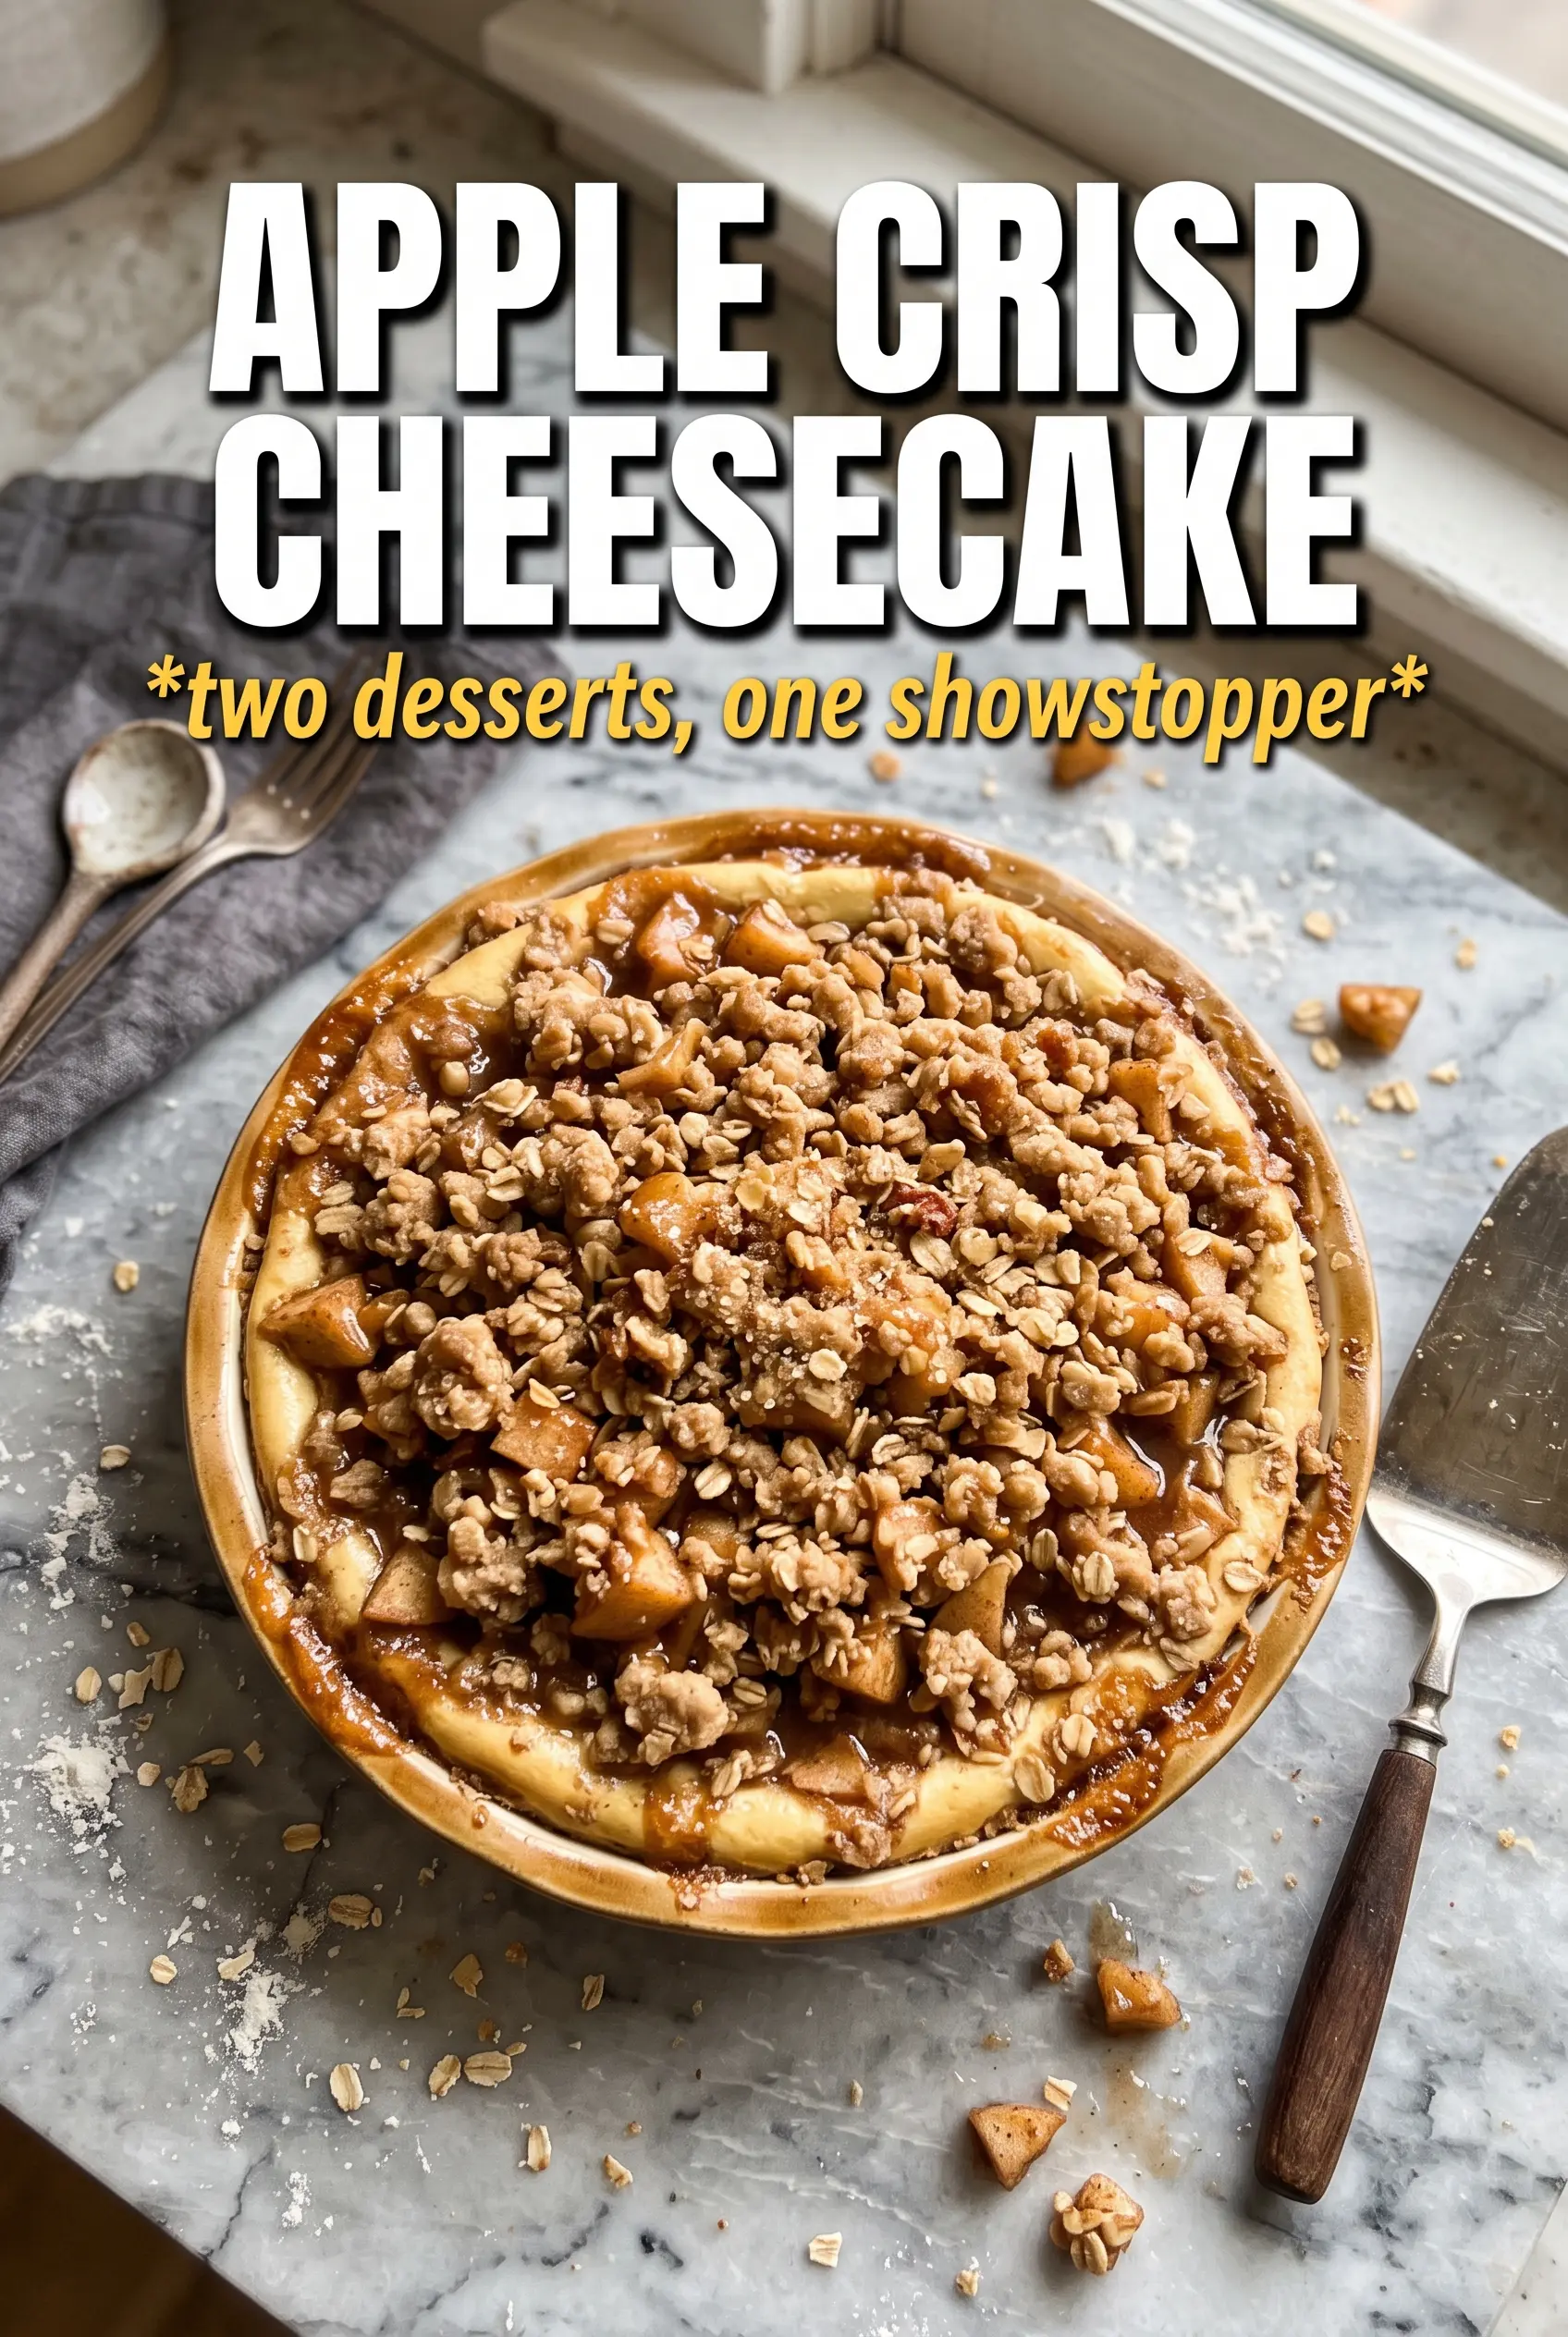
Apple Crisp Cheesecake
Ingredients
Equipment
Method
- Preheat oven to 325F. Press graham cracker crumbs into a 9-inch springform pan and bake for 8 minutes, until set and lightly fragrant.
- Cook diced apples with butter, brown sugar, and cinnamon at 325F for 5 minutes, until softened. Cool completely so the cheesecake batter stays smooth.
- Beat cream cheese and granulated sugar until smooth, scraping the bowl as needed for a silky texture. Add eggs one at a time, then mix in sour cream, vanilla, and cinnamon just until combined.
- Pour filling over the baked crust, keeping the surface level. Top with the cooked apples.
- Combine rolled oats, flour, brown sugar, and cinnamon, then cut in cold cubed butter until clumpy. Scatter the oat crisp topping evenly over the apples.
- Bake in a water bath at 325F for 60-65 minutes, until the center is just set. Look for a slight wobble in the middle and set edges.
- Cool completely at room temperature until the cheesecake is no longer warm to the touch. Refrigerate for 6 hours before releasing and slicing for clean cross-sections.