Apple cider braised pork shoulder turns into the kind of dinner that makes the whole kitchen smell like you’ve been cooking all day, even though most of the work is done by the oven. The pork goes from sturdy and a little stubborn to spoon-tender, and the cider cooks down with mustard, herbs, and onions into a glossy pan sauce that clings to every shredded bite. Served over mashed potatoes, it’s rich without feeling heavy and has enough brightness to keep you going back for another forkful.
The trick here is building flavor in layers instead of dumping everything into the pot at once. A deep sear gives you the savory base, the onion and garlic pick up the browned bits, and the cider mixture balances sweet, tangy, and herbaceous notes so the sauce tastes rounded instead of sharp. Fresh cider gives a softer, fruitier finish, while hard cider brings a little more bite; either one works as long as it tastes good enough to drink.
Below you’ll find the small details that matter most: how dark the pork should get before it braises, what the sauce should look like before it goes into the oven, and how to shred the meat so it soaks up every bit of those juices.
The pork shredded beautifully after about 4 hours, and the cider sauce thickened just enough to coat the potatoes without getting greasy. I loved how the apples held their shape and didn’t turn to mush.
Save this apple cider braised pork shoulder for a cozy dinner with fall-apart meat, caramelized apples, and a pan sauce built for mashed potatoes.
The Sear Is What Keeps This Pork from Tasting Flat
Pork shoulder has enough fat and connective tissue to braise beautifully, but it still needs a strong browned crust before it goes into the oven. That first sear is where the deep savory flavor starts. If you rush it or crowd the pot, the meat will steam and the finished sauce will taste thinner than it should.
The other place people lose flavor is when they build the braising liquid too quickly. The onion and garlic need a minute in the hot pot to soften and pick up the browned bits from the bottom. Those bits are the backbone of the sauce, and they’re what keep the cider from tasting one-dimensional once it cooks down for hours.
What Each Ingredient Is Actually Doing in This Braise

- Boneless pork shoulder — This cut is built for long, slow heat. It won’t dry out the way leaner pork can, and the fat and collagen turn the meat silky enough to shred with a spoon. Pork butt works the same way if that’s what you find at the store.
- Apple cider — Fresh cider gives the sauce a round, fruity sweetness, while hard cider brings a drier edge and a little more complexity. Either one works, but don’t use apple juice unless that’s all you have; juice is sweeter and less layered, so the braise can taste flat.
- Dijon mustard — This doesn’t make the dish taste like mustard. It sharpens the sauce and helps it feel balanced after hours in the oven. Grainy mustard works in a pinch, but the smooth stuff blends best.
- Apples — Choose firm apples that hold their shape, like Honeycrisp, Fuji, or Granny Smith. Soft apples will break down into the sauce and muddy the texture. You want the slices to stay intact so you get little sweet, tart bursts alongside the pork.
- Chicken broth — This stretches the cider so the sauce braises instead of reducing too fast. Use a broth you’d actually taste on its own; bland broth makes the whole pot taste diluted.
Building the Braise So the Pork Falls Apart Instead of Drying Out
Season and Brown the Meat First
Pat the pork shoulder dry and season it generously with salt and pepper before it touches the pot. A dry surface browns better, and that crust carries a lot of the final flavor. Heat the olive oil until it shimmers, then sear the pork on every side until it’s deeply browned, not just lightly tan. If the meat sticks at first, leave it alone; once a crust forms, it releases cleanly.
Use the Onion and Garlic to Catch the Fond
After the pork comes out, the onion should go into the same pot and start softening in the rendered fat. Stir in the garlic after the onion begins to turn translucent so it doesn’t scorch. You’re aiming for softened, fragrant pieces and a pot bottom that loosens as the moisture from the vegetables lifts the browned bits into the pan.
Let the Cider Mixture Taste Balanced Before It Braises
Whisk the cider, broth, Dijon, brown sugar, and vinegar together before you pour it in. The liquid should taste a little sharp and a little sweet at the same time. That balance matters because the oven will mellow everything out, and if the mixture starts off too sweet, the finished sauce can turn cloying.
Braise Until the Meat Shreds Without Resistance
Once the pork is back in the pot with the apples and herbs, cover it tightly and let the oven do the work. You’re looking for the point where a fork slides into the meat with almost no resistance and the shoulder breaks apart in large, juicy strands. If it still feels firm in the center, keep going and check again in 20 to 30 minutes; underbrowned meat can be fixed, but overbaked meat turns stringy.
Ways to Adjust This Braise Without Losing What Makes It Good
Make It with Hard Cider for a Drier Finish
Hard cider gives the sauce a little more bite and keeps the sweetness in check, especially if your apples are on the sweeter side. The pork still turns tender, but the finished liquid tastes a touch brighter and less fruity than it does with fresh cider.
Gluten-Free Without Changing the Method
This braise is naturally gluten-free as long as your broth and mustard are labeled gluten-free. The cooking method stays exactly the same, and you won’t lose any texture or flavor by skipping flour entirely.
Swap the Mashed Potatoes for Polenta or Egg Noodles
Mashed potatoes soak up the cider sauce best, but soft polenta or buttered egg noodles work if that’s what you’ve got. Polenta gives you a creamy base that echoes the richness of the pork, while noodles make the dish feel a little lighter and more weeknight-friendly.
Storage and Reheating
- Refrigerator: Store the pork and sauce in an airtight container for up to 4 days. The flavor deepens overnight, and the sauce will thicken as it chills.
- Freezer: This freezes well for up to 3 months. Cool it completely, portion it with plenty of sauce, and thaw in the refrigerator so the meat stays juicy.
- Reheating: Warm it gently on the stove over low heat or in a covered dish in the oven with a splash of broth or cider. Don’t blast it on high heat or the pork will tighten up and the sauce can reduce too far before the meat is hot.
Answers to the Questions Worth Asking
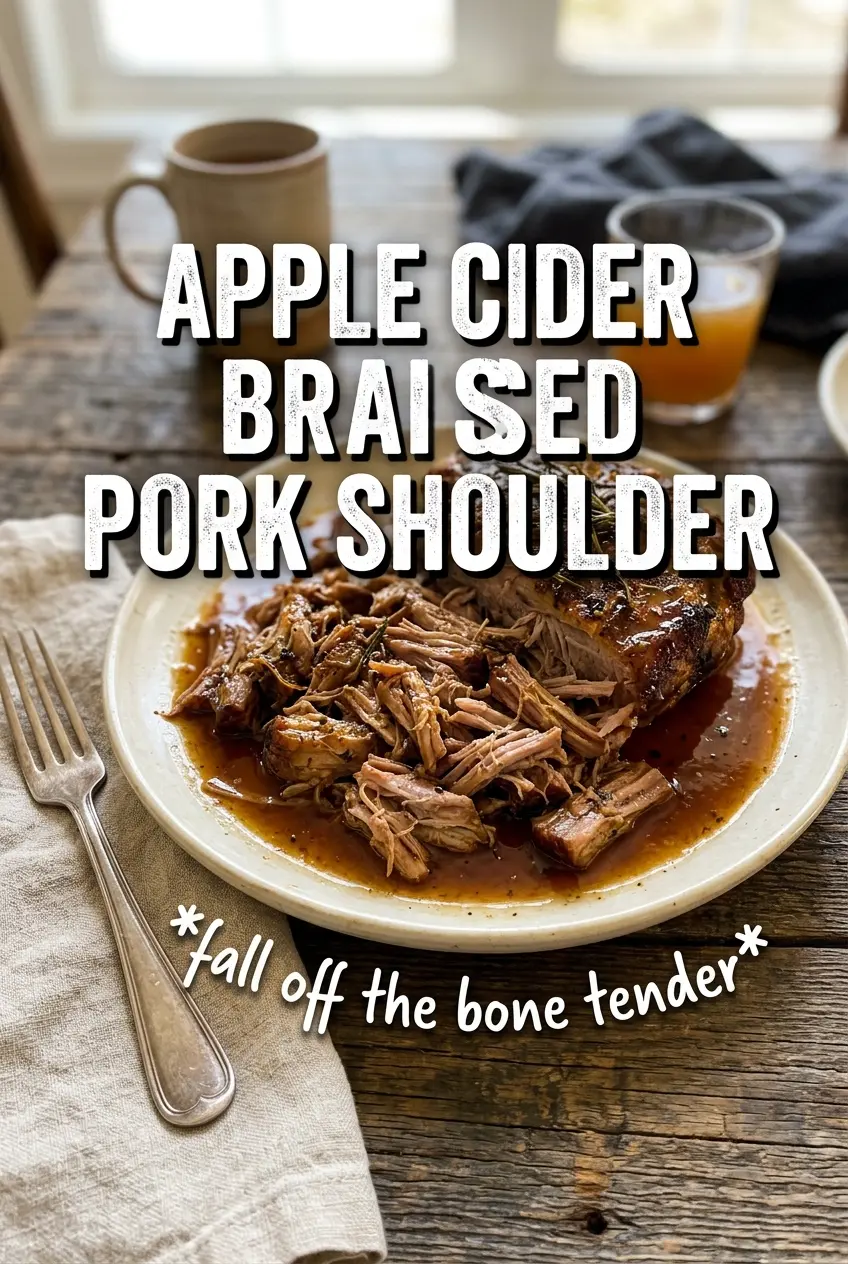
Apple Cider Braised Pork Shoulder
Ingredients
Equipment
Method
- Preheat oven to 325F, then season pork shoulder generously with salt and pepper for an even crust.
- Heat olive oil in a Dutch oven and sear the pork on all sides until deeply browned, about 8 to 12 minutes total (visible dark caramelization on the edges).
- Remove pork to a plate, then sauté onion and garlic in the Dutch oven for 3 minutes until softened and fragrant (no burning).
- Whisk apple cider, chicken broth, Dijon mustard, brown sugar, and apple cider vinegar until smooth, then pour into the pot and scrape up browned bits.
- Return pork to the pot and nestle in apples, thyme, and rosemary so the pork steams while the sauce develops (apples should be partially submerged).
- Cover and braise at 325F for 3-1/2 to 4 hours, until the pork is fall-apart tender when pressed with a fork (liquid should be gently bubbling).
- Shred the pork in the juices and toss to coat, then serve over mashed potatoes with spooned apple cider sauce (sauce should cling to the meat).