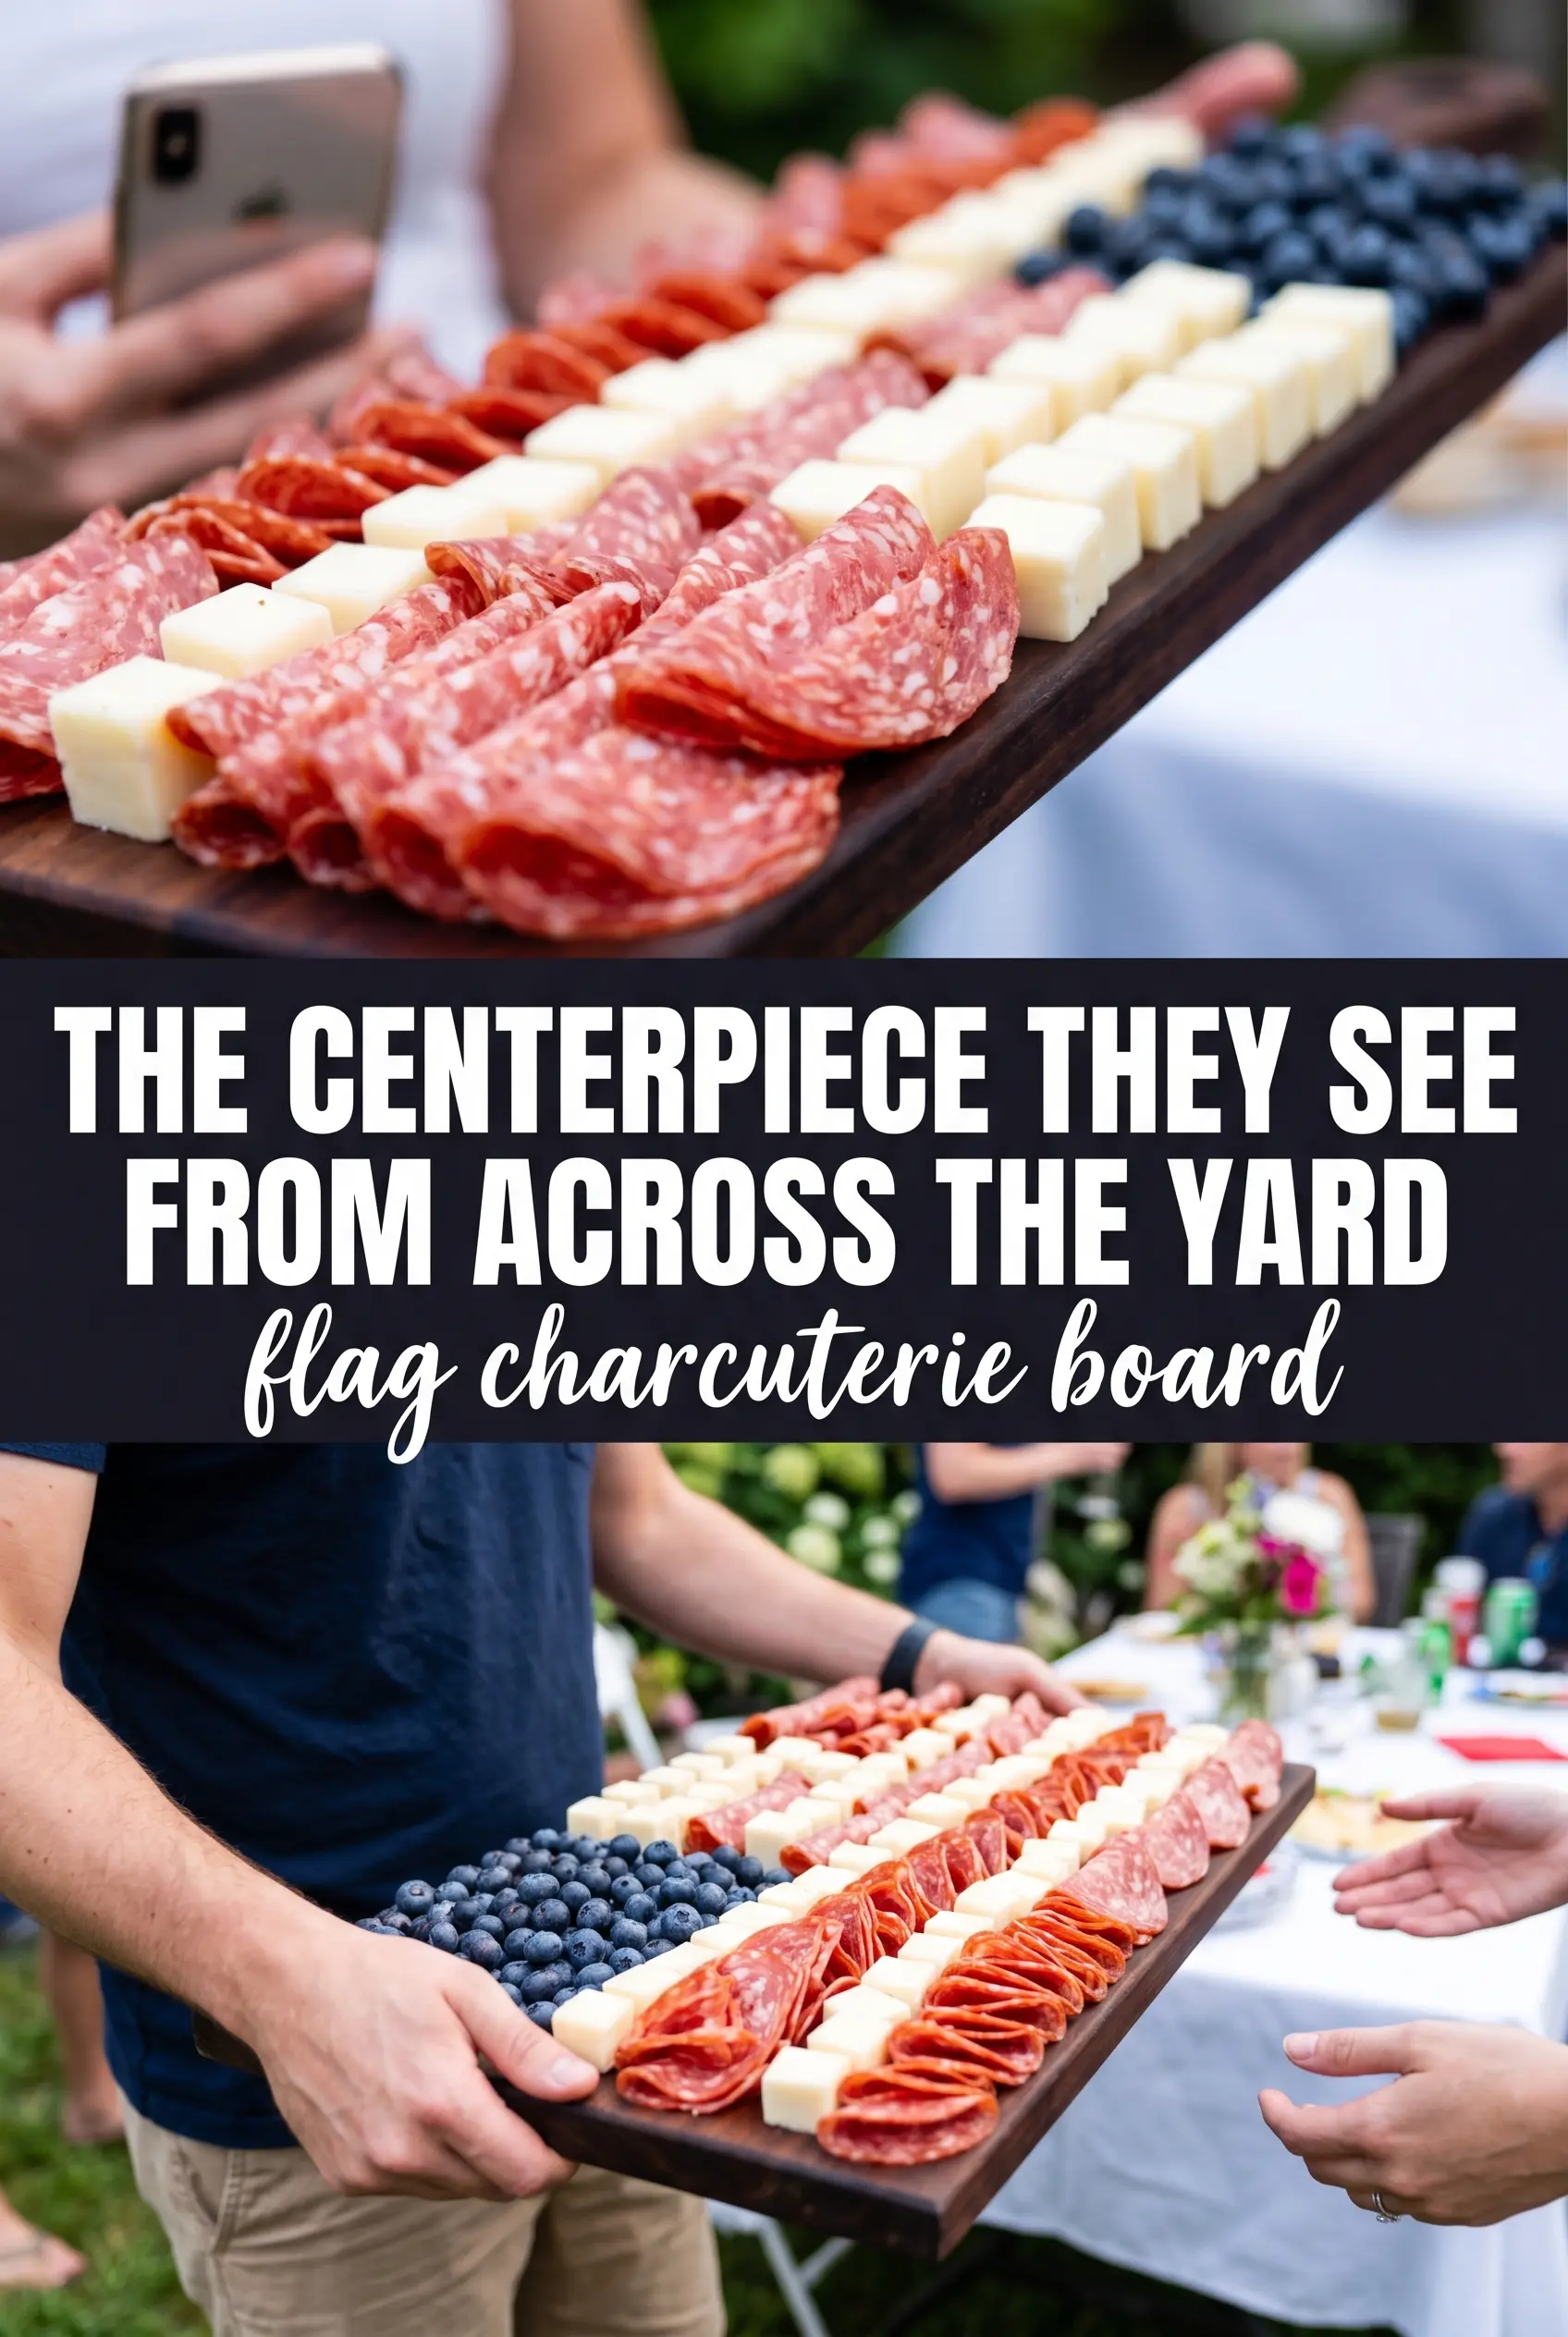
Nothing disappears from a party table faster than a board that looks this striking and offers something for everyone. The best American flag charcuterie boards aren’t just cute; they stay organized, hold their shape, and still taste good after sitting out for a while. The trick is building the design with ingredients that behave well at room temperature and packing each section tightly enough that the flag stays crisp from the first photo to the last cracker.
This version leans on a few smart choices. Blueberries give the canton clean color and fill the shape quickly, while rolled salami adds height so the star section doesn’t look flat. For the stripes, it helps to mix sliced cheese with folded meats and strawberries so the reds and whites read clearly from across the room. The board comes together fast, but the arrangement matters more than the ingredients list.
Below, I’ve included the layout approach I use to keep the lines straight, plus the swaps that work when you need to feed a bigger crowd or adjust for what’s already in the fridge.
I worried the blueberries would roll everywhere, but packing them tightly in the canton kept the whole flag neat. The salami roses held their shape, and people kept coming back for the pepperoni and provolone stripes.
Love this red, white, and blue charcuterie board? Save it for the next patriotic party when you need a no-cook centerpiece that still looks polished.
The Trick to Keeping the Flag Sharp Instead of Sloppy
The difference between a board that looks like a flag and one that just has red, white, and blue food scattered on it is structure. You need to build from the canton out, then work in clean horizontal bands so every stripe stays readable. If you start tossing ingredients onto the board without a plan, the softer items will wander and the whole design gets muddy fast.
Cold ingredients help. Blueberries stay put better than sliced fruit, and rolled salami gives you a little grip and height in the top-left corner. The other thing that matters is packing the pieces close together. Empty space reads as a gap in the design, not as breathing room.
- Blueberries — These are the fastest way to fill the canton with a strong blue field. Pack them tightly so the rectangle reads as one solid block from above.
- Rolled salami — The rolls mimic stars better than loose slices because they create shape and shadow. Thin slices work best since thick-cut salami can spring open and lose the effect.
- Pepperoni and prosciutto — Pepperoni gives you the boldest red stripe, while prosciutto fills thinner spots with a softer, more elegant look. Use both if you want the color to stay consistent across the board.
- Mozzarella balls and white cheddar or provolone — Mozzarella adds round, bright white contrast; sliced cheese makes straighter stripes. Use whichever shape fits the row you’re building.
What Each Ingredient Is Doing in the Layout
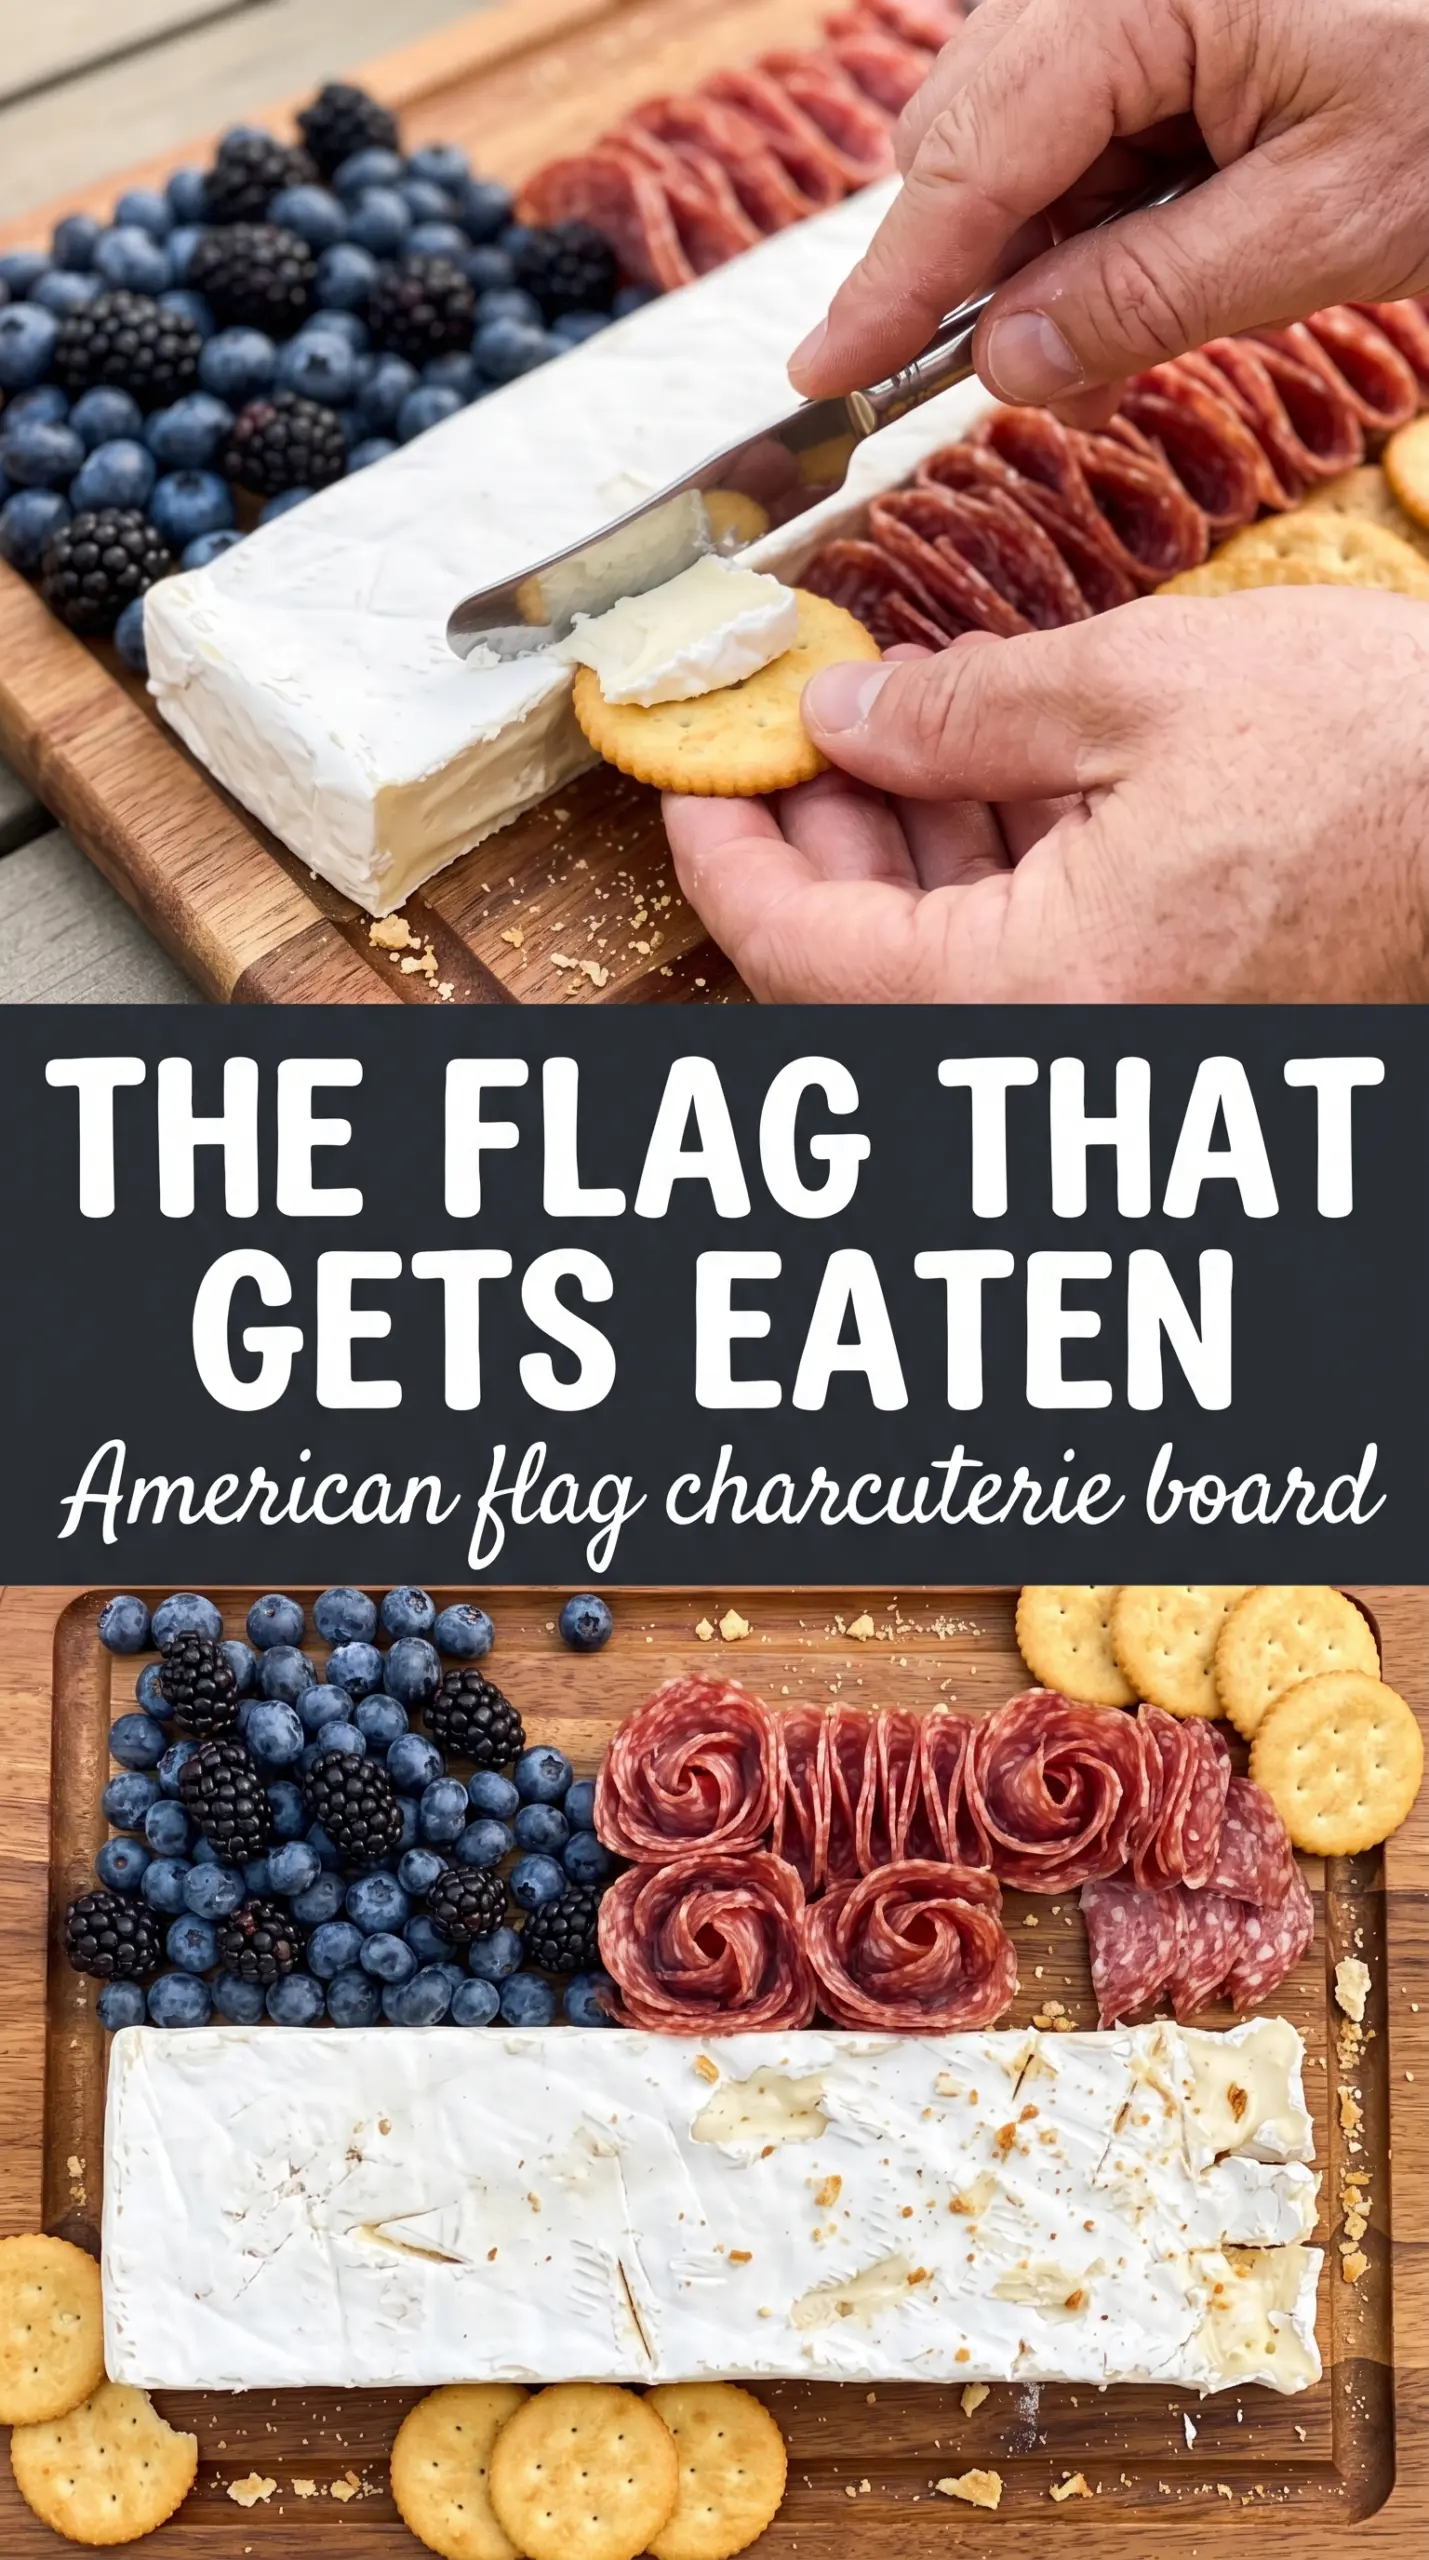
Blueberries aren’t just decorative here. They make the canton look full with very little effort, and they hold their shape better than softer fruit. Fresh mozzarella balls bring a clean white stripe without needing much trimming, while provolone or white cheddar gives you a flatter edge if you want the rows to look extra neat.
Salami is the ingredient that creates the most visual payoff. Rolled into little cylinders, it reads like a cluster of stars and gives the top-left corner the texture it needs. Pepperoni carries the strongest red on the board, and strawberries can soften the look if you want the stripes to feel less heavy. Rosemary is strictly a garnish, but it adds a sharp green edge that keeps the board from looking too flat.
Assorted crackers belong around the perimeter, not tucked into the flag itself. They act like the frame around the artwork and keep guests from disturbing the design while they snack.
Building the Flag in Clean Rows Without Losing the Shape
Mark the Canton First
Mentally divide the upper left corner before you place anything else. Fill that section tightly with blueberries, then tuck the rolled salami into the center of the canton so it feels intentional, not random. If you leave too much open space here, the rest of the board starts to look lopsided before you even reach the stripes.
Lay the Stripes Straight Across the Board
Start at the top right and build each stripe all the way across the width of the board. Use pepperoni for the red bands and cheese or mozzarella for the white bands, alternating them as you move down. Keep the rows snug against each other so the edges stay crisp; loose spacing makes the flag look striped in concept only.
Fill Gaps With the Right Red or White
Use prosciutto folds or strawberry halves anywhere a stripe looks thin. This is the part that saves the board after guests start pointing, photographing, and hovering. The goal is a full, even surface, not a perfect grid, so a little overlap is fine as long as the colors stay clear.
Finish the Edges Last
Tuck rosemary sprigs into the corners and along the sides once the main design is set. Then add crackers around the perimeter so the flag stays untouched until serving. If you put the crackers too close to the stripes, people will start breaking the layout apart before they’ve even taken a photo.
How to Adapt This Flag Board for Different Crowds and Diets
Gluten-Free Serving
The board itself is naturally gluten-free as long as the meats and cheeses you buy are labeled safely. Swap the crackers at the edge for gluten-free crackers or sliced vegetables so guests still have something to scoop with. Keep the arrangement tight because gluten-free crackers can crumble faster than standard ones.
Vegetarian Flag Board
Skip the cured meats and lean on more cheese, fruit, and a few savory anchors like marinated olives or sliced cucumbers if you want extra contrast. The board will look lighter and a little less sculpted, but the flag still reads clearly if you keep the rows tight and use enough red fruit to replace the missing pepperoni.
Bigger Crowd, Same Design
Use a larger board and scale the stripes wider rather than stacking ingredients taller. That keeps the flag legible and prevents the center from becoming too heavy to serve neatly. Add extra crackers in a second ring around the outside if you know the board will sit out for a while.
Storage and Assembly Timing
- Refrigerator: Assemble the components up to 4 hours ahead, then cover and chill. The blueberries and mozzarella hold best; strawberries and prosciutto can soften at the edges if they sit much longer.
- Freezer: Don’t freeze the finished board. The texture of the cheese, fruit, and cured meats changes too much once thawed.
- Reheating: Not needed. Pull the board from the fridge about 20 to 30 minutes before serving so the cheese loses its chill and the flavors open up. Don’t leave the fruit out too early or it will weep and blur the lines.