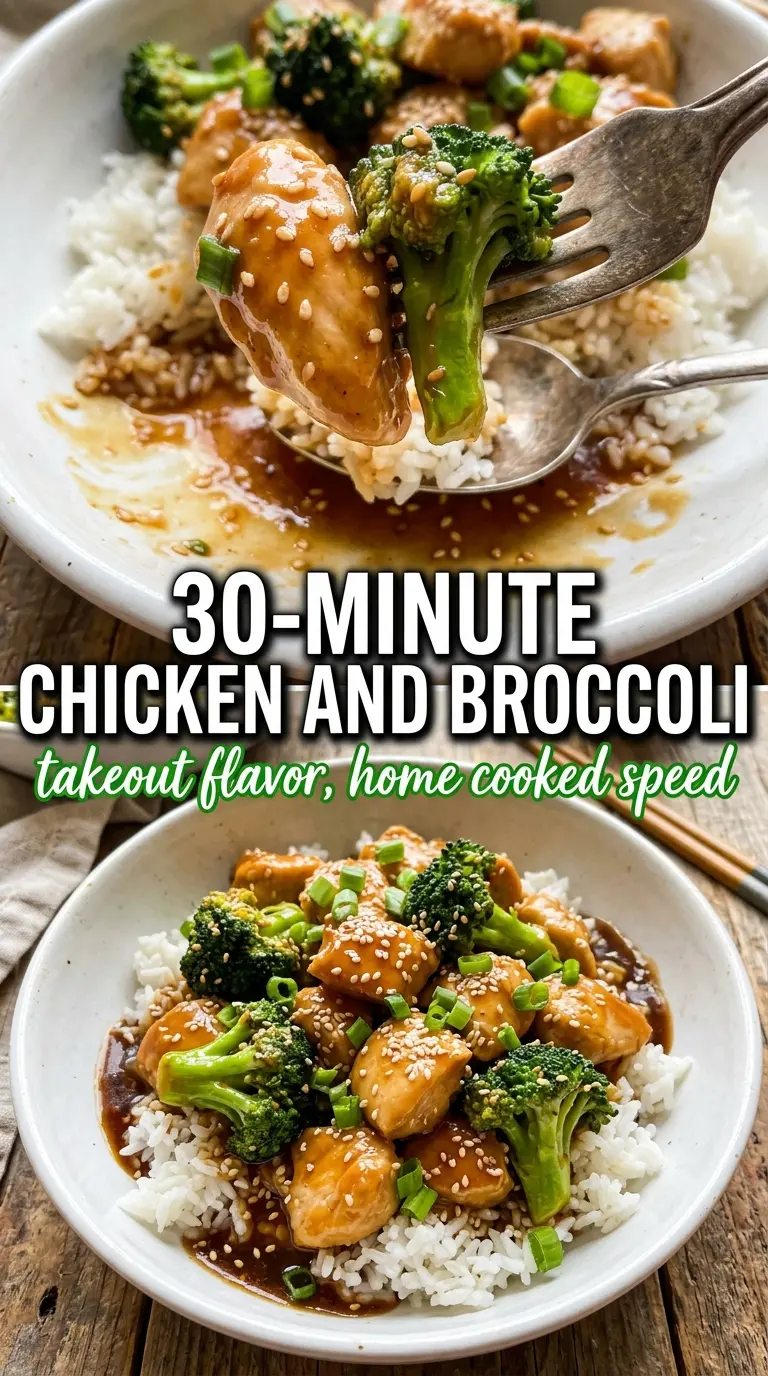
Glossy chicken and broccoli over rice hits that sweet spot between fast and satisfying, but the difference between takeout-style and disappointing usually comes down to two things: heat and sauce balance. When the chicken is cut small, lightly coated in cornstarch, and cooked hard in a hot pan, it stays juicy and picks up a little edge of color. The broccoli should keep its snap, not slump into the sauce and disappear.
This version leans on a soy-garlic sauce with oyster sauce for depth, hoisin for a little sweetness, and cornstarch for that clingy finish you want on every bite. The sauce gets whisked before it hits the pan, which keeps the thickener from clumping and lets it tighten up quickly once it meets the heat. That means you can get dinner on the table without babysitting it.
Below, I’ll walk through the small details that matter here: how to keep the chicken from steaming, when the broccoli should come off the heat, and how to adjust the sauce if you want it a little sweeter, saltier, or lighter.
The sauce thickened up right away and coated every piece of chicken without getting gloppy. I liked that the broccoli stayed bright green with just enough bite, and it tasted like a real stir-fry instead of steamed chicken in sauce.
Love that glossy soy-garlic sauce? Save this 30-minute chicken and broccoli for the nights when you want takeout flavor with a fast, from-scratch finish.
The Trick to Keeping the Chicken Juicy While the Broccoli Stays Crisp
The biggest mistake in chicken and broccoli is crowding the pan. Once the chicken starts to release moisture and the temperature drops, you stop searing and start steaming. That gives you pale chicken and soft broccoli, which is exactly what you’re trying to avoid here.
The cornstarch coating helps on both fronts. It gives the chicken a light crust and helps the sauce cling later, but only if the pan is hot enough when the chicken goes in. The broccoli should go in after the chicken is out, with enough heat left in the pan to blister the edges while keeping the florets bright and snappy.
- Chicken breasts — Cutting them into bite-size pieces keeps the cook time short and even. Thighs work too if you want a little more richness, but they’ll cook a touch longer and won’t have the same lean bite.
- Cornstarch — This does more than thicken the sauce. It creates that light, velvety coating on the chicken and helps the finished sauce cling instead of pooling at the bottom of the pan.
- Oyster sauce and hoisin — These are the depth-makers. Soy sauce gives salt, but oyster sauce gives body and hoisin rounds everything out with sweetness and a little molasses-like richness.
- Broth — Use low-sodium chicken broth if you can. The sauce reduces fast, and too-salty broth can push the whole dish over the edge before you even add the final seasoning.
- Sesame oil — Don’t cook with a heavy hand here. A teaspoon at the end is enough for aroma; too much and it takes over the whole pan.
What Each Ingredient Is Actually Doing in This Recipe
- Primary ingredient (the star) — Quality matters most. Choose the best you can find.
- Cooking medium (oil, butter, or broth) — This carries flavors and prevents dryness.
- Seasonings (salt, pepper, spices, herbs) — Layer flavors so nothing overpowers. Build depth gradually.
- Aromatics (garlic, onion, herbs) — Cook with fat to bloom flavors. Become the foundation.
- Supporting ingredients — Complement the main ingredient without overpowering it.
- Sauce or liquid (if applicable) — Brings flavors together. Balance richness with acid.
- Acid (lemon, vinegar, wine, or other) — Brightens and prevents flat-tasting results.
- Final finish (garnish, glaze, or sauce) — Prevents one-dimensional taste and adds visual appeal.
Building the Sauce in the Pan Without Turning It Gluey
Whisk the sauce ingredients until the cornstarch disappears completely before it ever hits the heat. If you dump dry cornstarch straight into a hot pan, it clumps on contact and leaves you chasing little pale lumps through the sauce. A smooth whisked mixture thickens evenly in about a minute once it starts simmering.
Add the sauce after the garlic and ginger have had just enough time to perfume the oil. You want the pan hot, but not smoking, because garlic burns fast and bitter garlic will sit under the sweet soy sauce like a bad aftertaste. When the sauce turns glossy and lightly coats the back of a spoon, the chicken goes back in for a final toss.
Coating and Searing the Chicken
Toss the chicken with salt, pepper, and cornstarch until every piece looks lightly dusted. Heat the oil until it shimmers, then spread the chicken out in a single layer and leave it alone long enough to pick up color. If you stir too soon, the pieces release and stick; if you let them sear, they’ll lift cleanly and taste better.
Stir-Frying the Broccoli
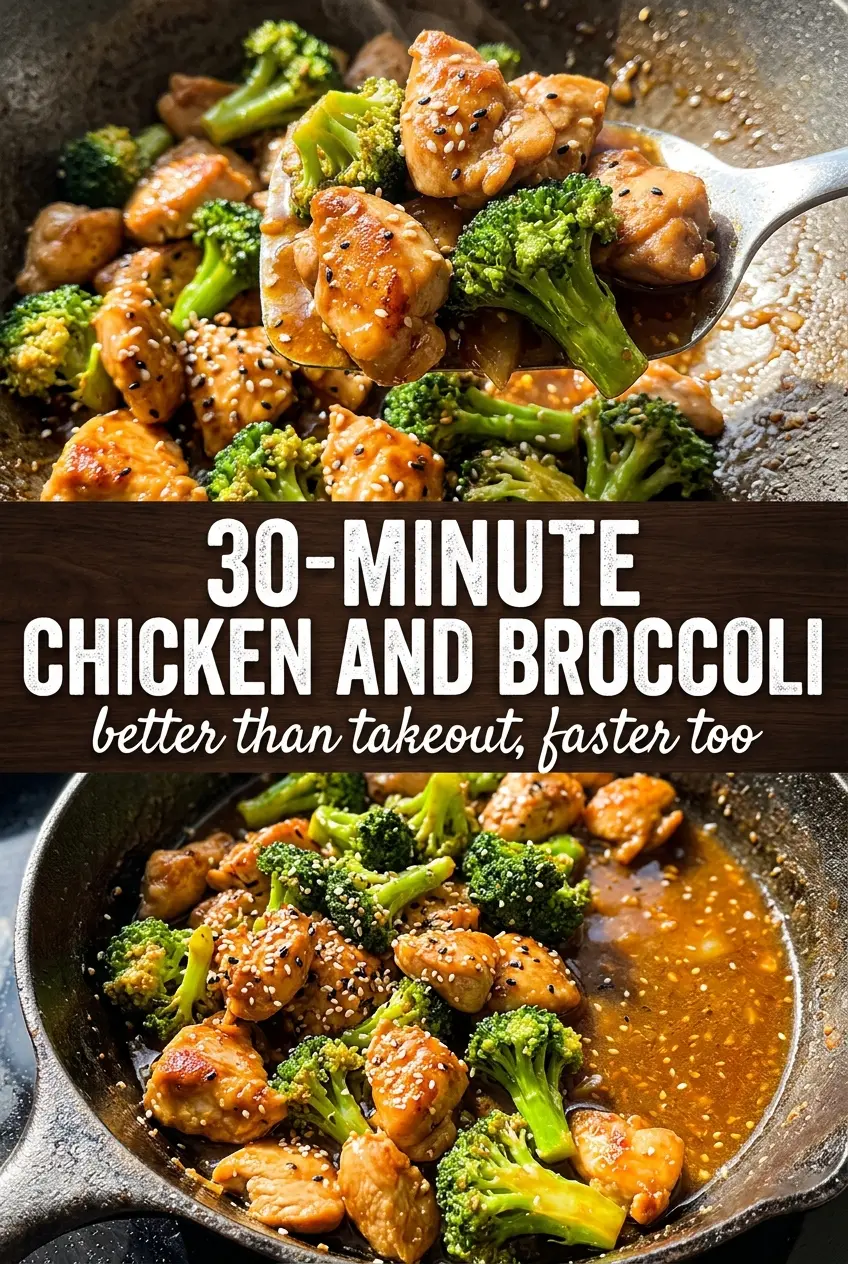
Add the broccoli to the hot pan after the chicken comes out. It should turn bright green and pick up a few browned spots at the edges while still keeping some crunch in the stem. If the pan seems dry, a small splash of broth can help, but don’t add enough liquid to braise it into softness.
Finishing the Sauce and Bringing It All Together
Once the garlic and ginger are fragrant, pour in the sauce and keep it moving. It should bubble, thicken, and turn shiny in a short burst of time. Return the chicken only after the sauce has thickened a bit; if the chicken goes back too early, it can overcook while the sauce is still thinning out.
Three Smart Ways to Adjust This Without Losing the Takeout Feel
Use chicken thighs for a richer result
Boneless skinless thighs give you a juicier, deeper-tasting stir-fry and stand up well to high heat. They take a couple extra minutes to cook through, but they’re more forgiving if your pan isn’t perfectly hot.
Make it gluten-free without changing the texture
Use tamari instead of soy sauce and check that your oyster sauce and hoisin are labeled gluten-free. The sauce still thickens the same way, so you keep the glossy finish without sacrificing the stir-fry texture.
Swap in cauliflower or green beans for the broccoli
Cauliflower gives you a softer bite and soaks up the sauce a little more, while green beans stay snappy and keep the dish feeling lighter. Both need roughly the same high-heat treatment, but green beans usually finish faster than broccoli florets.
Storage and Reheating
- Refrigerator: Store leftovers in an airtight container for up to 4 days. The broccoli softens a bit, but the sauce still tastes great.
- Freezer: It freezes okay, though the broccoli turns softer after thawing. Freeze in portions for up to 2 months if you don’t mind a less crisp vegetable.
- Reheating: Warm it in a skillet over medium heat with a small splash of water or broth. The microwave works in a pinch, but it can make the chicken tougher and the broccoli limp if you overheat it.
Questions I Get Asked About This Dish
30-Minute Chicken and Broccoli
Ingredients
Equipment
Method
- Toss the bite-sized chicken with salt, pepper, and cornstarch until coated, with no dry spots visible. The coating should look slightly dusty and stick to the surface.
- Heat 1 tablespoon vegetable oil in a large wok or skillet over high heat until shimmering, then add the chicken in an even layer. Cook for 5-6 minutes until golden and cooked through, then remove to a plate.
- Add the remaining vegetable oil to the pan over high heat, then stir-fry the broccoli for 3-4 minutes. Keep it bright green and cook until just tender-crisp.
- Add the minced garlic and grated ginger and stir-fry for 30 seconds. Cook just until fragrant, without browning.
- Pour in the whisked sauce mixture and cook for 1-2 minutes, stirring occasionally. The sauce should thicken and look glossy, clinging to broccoli and aromatics.
- Return the chicken to the pan and toss to coat in the thickened sauce. Every piece should be evenly glazed in dark amber sauce.
- Serve the chicken and broccoli over rice and top with sesame seeds and green onions. Finish with a fresh green scatter for contrast against the glossy glaze.