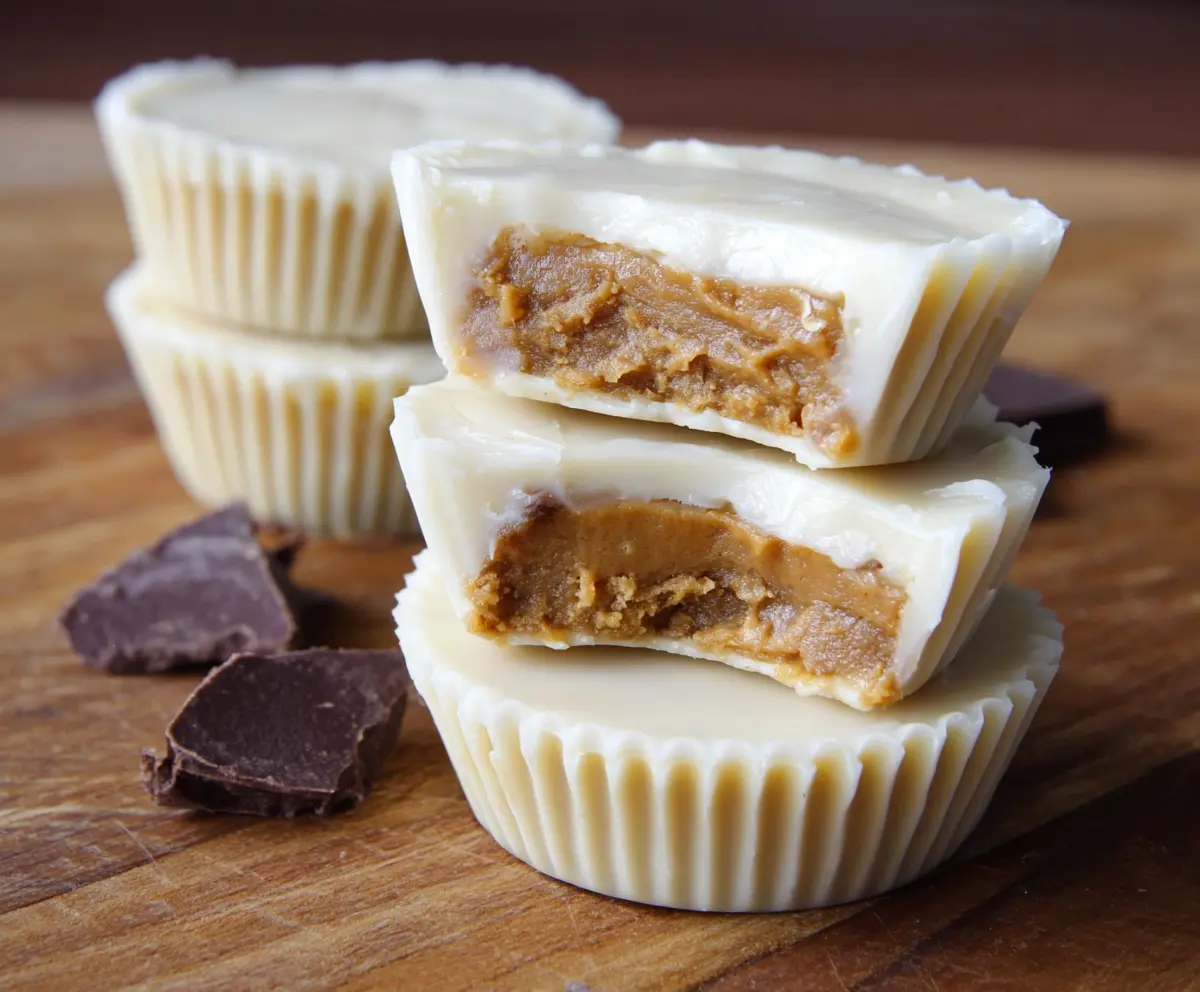
White Chocolate Peanut Butter Cups are a delicious twist on a classic treat, combining smooth white chocolate with creamy peanut butter in every bite. These little cups offer the perfect balance of sweet and salty that’s hard to resist. The crunchy edges and silky centers make them a favorite for snack time or when you need a quick sweet fix.
I love making these at home because they’re so simple and fun to customize. Sometimes I add a pinch of sea salt on top to give them that extra pop of flavor. It’s always exciting to see how quickly they disappear once I set them out for family or friends—they really bring smiles all around!
My favorite way to enjoy these cups is chilled right from the fridge. They have that just-right firmness that makes each nibble satisfying without being too hard. Whether you’re gifting them or enjoying them yourself, these White Chocolate Peanut Butter Cups always feel like a little celebration in every bite.
Key Ingredients & Substitutions
White Chocolate: White chocolate chips melt smoothly and give a creamy sweet shell. You can also use chopped white chocolate bars. If you want, swap for milk or dark chocolate for a different taste.
Peanut Butter: Creamy peanut butter gives that perfect soft center. Natural peanut butter works too but might make the filling less firm. For allergies, try almond or sunflower seed butter instead.
Butter: Adds richness to the peanut butter filling and helps it hold its shape. You can use salted butter but reduce or skip the added salt in the recipe.
Powdered Sugar: Sweetens and thickens the filling. If you want a less sweet treat, reduce the amount or try using a little honey for a natural option.
How Do I Make Smooth, Firm Peanut Butter Filling?
Mixing the peanut butter filling well is key to getting a creamy yet firm texture. Here’s how I do it:
- Use softened butter so it blends easily with peanut butter and sugar.
- Beat the peanut butter, butter, powdered sugar, vanilla, and salt until smooth. Don’t rush this step—it makes a big difference.
- If the mixture feels too soft, chill it for 10-15 minutes before filling the cups. This helps it hold its shape better under the chocolate.
This step keeps your filling creamy but stable, so your peanut butter cups don’t get messy or melt too quickly.

Equipment You’ll Need
- Mini muffin tins or cupcake liners – I use these to shape the cups neatly and make removal easy.
- Microwave-safe bowl – perfect for melting the white chocolate smoothly without mess.
- Spoons or small spatula – helpful for spreading the melted chocolate and layering the cups evenly.
- Measuring cups and spoons – ensure your ingredients are just right for the best texture and flavor.
- Optional: Food thermometer – if you want to melt the chocolate perfectly without overheating.
Flavor Variations & Add-Ins
- Add crushed pretzels or sprinkles on top of the chocolate before it sets for some crunch and extra flavor.
- Replace peanut butter with cookie butter or caramel for a different filling twist.
- Mix in mini chocolate chips or chopped nuts into the peanut butter filling for texture and extra richness.
- Stir a tiny bit of cinnamon or vanilla into the white chocolate before melting for added flavor complexity.
White Chocolate Peanut Butter Cups
Ingredients You’ll Need:
- 2 cups white chocolate chips or chopped white chocolate
- 1 cup creamy peanut butter
- ¼ cup powdered sugar
- ¼ cup unsalted butter, softened
- ¼ teaspoon vanilla extract
- Pinch of salt (optional)
- Mini muffin liners or standard cupcake liners
How Much Time Will You Need?
This recipe takes about 15 minutes of active prep time. You’ll need an additional 30 minutes of chilling time in the freezer to let the cups set properly. Overall, plan for around 45 minutes from start to finish.
Step-by-Step Instructions:
1. Prepare the Cups:
Start by lining a mini muffin tin with paper liners. Set this aside while you melt the white chocolate.
2. Melt the White Chocolate:
In a microwave-safe bowl, melt 1½ cups of the white chocolate chips. Heat them in 30-second bursts, stirring between each, until the chocolate is completely smooth. Be careful not to overheat to avoid burning.
3. Make the Chocolate Base:
Spoon about a teaspoon of melted white chocolate into the bottom of each liner. Gently spread the chocolate to cover the entire base. Place the tray in the freezer for 10 minutes to let this layer harden.
4. Prepare the Peanut Butter Filling:
While the chocolate bases chill, mix the peanut butter, softened butter, powdered sugar, vanilla extract, and a pinch of salt (if using) in a bowl. Stir until you get a smooth, creamy filling.
5. Add the Filling:
Once the chocolate bases are firm, add about a teaspoon of the peanut butter mixture on top of each. Press down lightly, but keep the filling thick enough to enjoy.
6. Cover with Chocolate:
If the remaining white chocolate has hardened, gently re-melt it. Then, spoon or pour enough melted chocolate over the peanut butter layer to fully cover it. Smooth the tops with the back of a spoon for a clean finish.
7. Final Chill:
Return the muffin tin to the freezer and chill for at least 20 minutes. This helps the cups fully set and become easy to remove from the liners.
8. Serve and Store:
Once set, peel the cups out of the liners. Store them in an airtight container in the refrigerator until you’re ready to enjoy. These taste best chilled and keep fresh for about a week.
Enjoy your creamy, sweet, and delightfully nutty White Chocolate Peanut Butter Cups!
Can I Use Natural Peanut Butter Instead of Creamy?
Yes, you can, but natural peanut butter tends to be thinner and more oily, which might make the filling softer. To help it firm up, you can chill the filling for a bit before assembling the cups.
How Should I Store Leftover Peanut Butter Cups?
Store them in an airtight container in the refrigerator to keep the white chocolate and peanut butter fresh. They should stay good for up to one week. For longer storage, you can freeze them for up to a month.
Can I Substitute the White Chocolate for Dark or Milk Chocolate?
Absolutely! Dark or milk chocolate works great and adds a richer flavor. Just follow the same melting and layering steps for delicious variations.
What Can I Do If My White Chocolate Seizes While Melting?
If your white chocolate becomes grainy or thick, it might have seized. Try adding a small amount of vegetable oil or butter and gently stir to smooth it out. Melt slowly in short intervals to prevent this from happening.