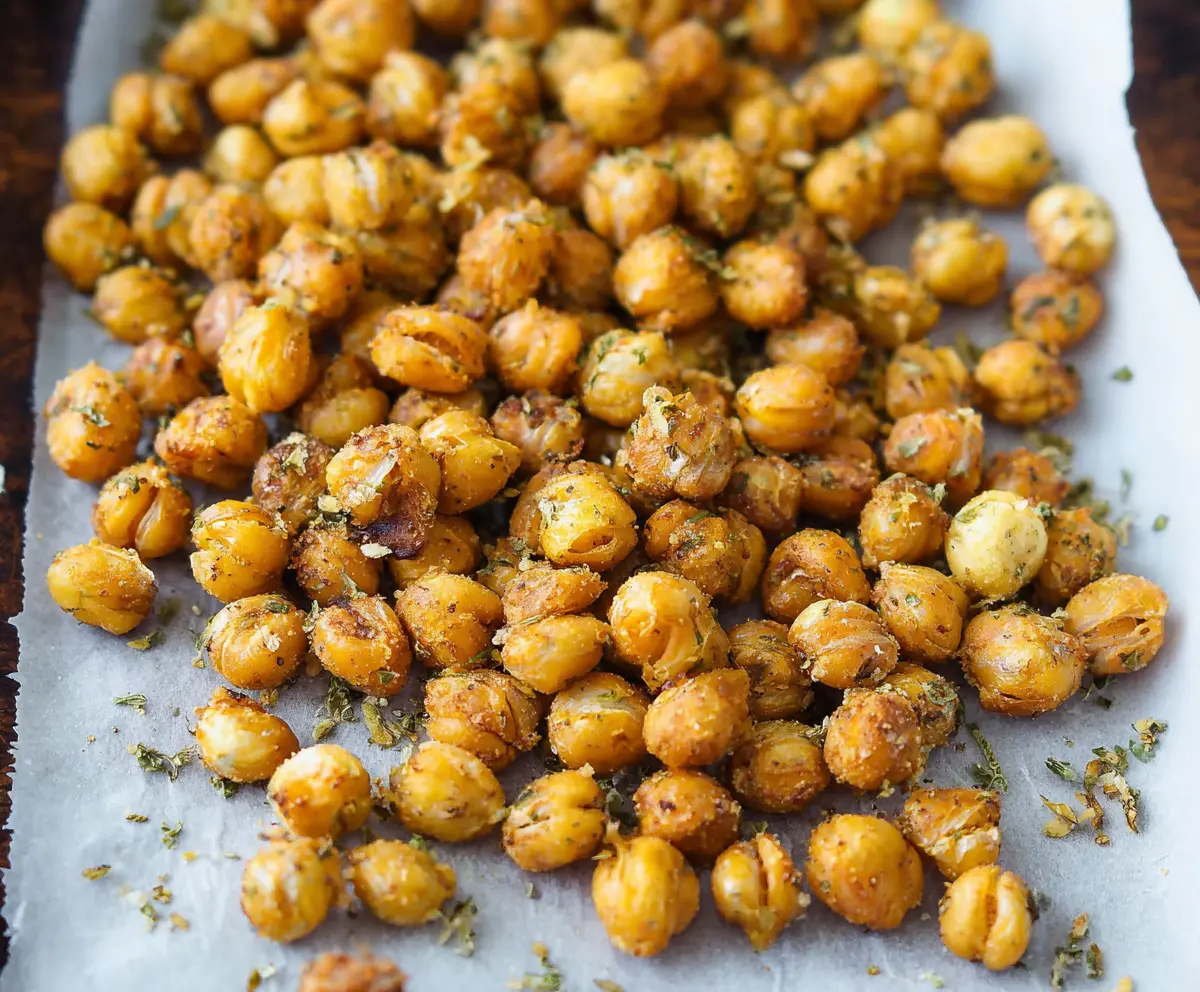
Ranch Crispy Roasted Chickpeas are a crunchy, flavorful snack that combines the tangy zest of ranch seasoning with the satisfying crunch of perfectly roasted chickpeas. These little bites are crisp on the outside and a bit tender inside, making them a great alternative to chips or nuts when you’re craving something salty and savory.
I love making these chickpeas because they’re so easy to prepare and can be adjusted to your taste. Sometimes I like to add a little extra garlic or a pinch of paprika for a bit of heat. The best part is that they keep their crunch for days, so I make a big batch to enjoy throughout the week or share with friends during movie night.
My favorite way to enjoy these crispy chickpeas is straight from the bowl as a snack, but they also add a nice crunch on top of salads or soups. They’re a simple, tasty way to mix up your snacking routine, and once you try them, you’ll find yourself reaching for this crunchy treat again and again.
Key Ingredients & Substitutions
Chickpeas: Canned chickpeas save time and are easy to use. For best results, rinse well and dry thoroughly to help them crisp up when roasted. You can also use cooked dried chickpeas if you prefer making them from scratch.
Olive Oil: Olive oil helps the seasoning stick and supports roasting. You can swap it with avocado or sunflower oil if you want a milder flavor or higher smoke point.
Ranch Seasoning: Store-bought ranch seasoning works well here, but to control salt or add freshness, I like making a simple mix with dried dill, parsley, garlic powder, onion powder, and a pinch of salt.
Spices: Garlic powder, onion powder, and smoked paprika add depth. If you don’t have smoked paprika, regular paprika or chili powder can offer a nice flavor twist.
How Can You Get Your Chickpeas Really Crispy?
Dryness is key to crispy chickpeas. After rinsing, pat them super dry. Removing loose skins helps too, but it’s optional. Spread the chickpeas in a single layer with enough space to roast evenly.
- Toss chickpeas with oil and seasoning for even coating.
- Roast at a high temperature (400°F/200°C) for 25-30 minutes.
- Shake or stir every 10 minutes to prevent burning and ensure crisping.
- Cool on the baking sheet; they crisp more as they cool.
Patience is important—don’t rush the drying or crowd the pan, or chickpeas may steam and get soggy instead of crispy.
Equipment You’ll Need
- Oven – I recommend it because it cooks the chickpeas evenly and makes them crispy.
- Parchment paper – helps prevent sticking and makes cleanup easier.
- Mixing bowl – for tossing the chickpeas with oil and seasonings.
- Colander – to rinse the chickpeas thoroughly.
- Kitchen towel or paper towels – for drying the chickpeas to achieve maximum crispiness.
- Measuring spoons – to measure seasonings accurately.
- Baking sheet – need a flat surface to roast the chickpeas evenly.
Flavor Variations & Add-Ins
- Spicy kick: Add cayenne pepper or chili powder to the seasoning mix for some heat.
- Herb blend: Use Italian seasoning or rosemary instead of ranch for a different flavor.
- Cheesy flavor: Sprinkle grated Parmesan or nutritional yeast after roasting for a cheesy taste.
- Sweet twist: Mix in a sprinkle of cinnamon and a touch of brown sugar for a sweet snack variation.
Ranch Crispy Roasted Chickpeas
Ingredients You’ll Need:
- 1 can (15 oz) chickpeas (garbanzo beans), drained and rinsed
- 1 ½ tablespoons olive oil
- 1 tablespoon ranch seasoning mix (store-bought or homemade)
- ½ teaspoon garlic powder
- ½ teaspoon onion powder
- ¼ teaspoon smoked paprika (optional)
- ½ teaspoon dried parsley flakes
- Salt, to taste (optional, depending on ranch seasoning saltiness)
How Much Time Will You Need?
This recipe takes about 10 minutes to prepare and 25-30 minutes to roast. Overall, you’ll spend around 35-40 minutes total, mostly hands-off while the chickpeas crisp up in the oven.
Step-by-Step Instructions:
1. Get Ready:
Preheat your oven to 400°F (200°C) and line a baking sheet with parchment paper. This will prevent sticking and make cleanup easier.
2. Prep the Chickpeas:
Drain and rinse your chickpeas well. Spread them out on a kitchen towel or paper towels and pat dry as much as you can. Removing excess moisture helps the chickpeas get crispy. For extra crunch, you can remove any loose skins if you spot them.
3. Season the Chickpeas:
Put the dried chickpeas in a mixing bowl. Drizzle the olive oil over them and toss to coat evenly. Then sprinkle on the ranch seasoning, garlic powder, onion powder, smoked paprika if you’re using it, and dried parsley flakes. Toss everything again so the spices are spread nicely over every chickpea.
4. Roast to Perfection:
Spread the seasoned chickpeas evenly on the baking sheet in a single layer. Avoid crowding them so they roast well. Place the sheet in the oven and roast for 25-30 minutes. Every 10 minutes, give the pan a gentle shake or stir to help the chickpeas cook evenly and avoid burning.
5. Cool and Enjoy:
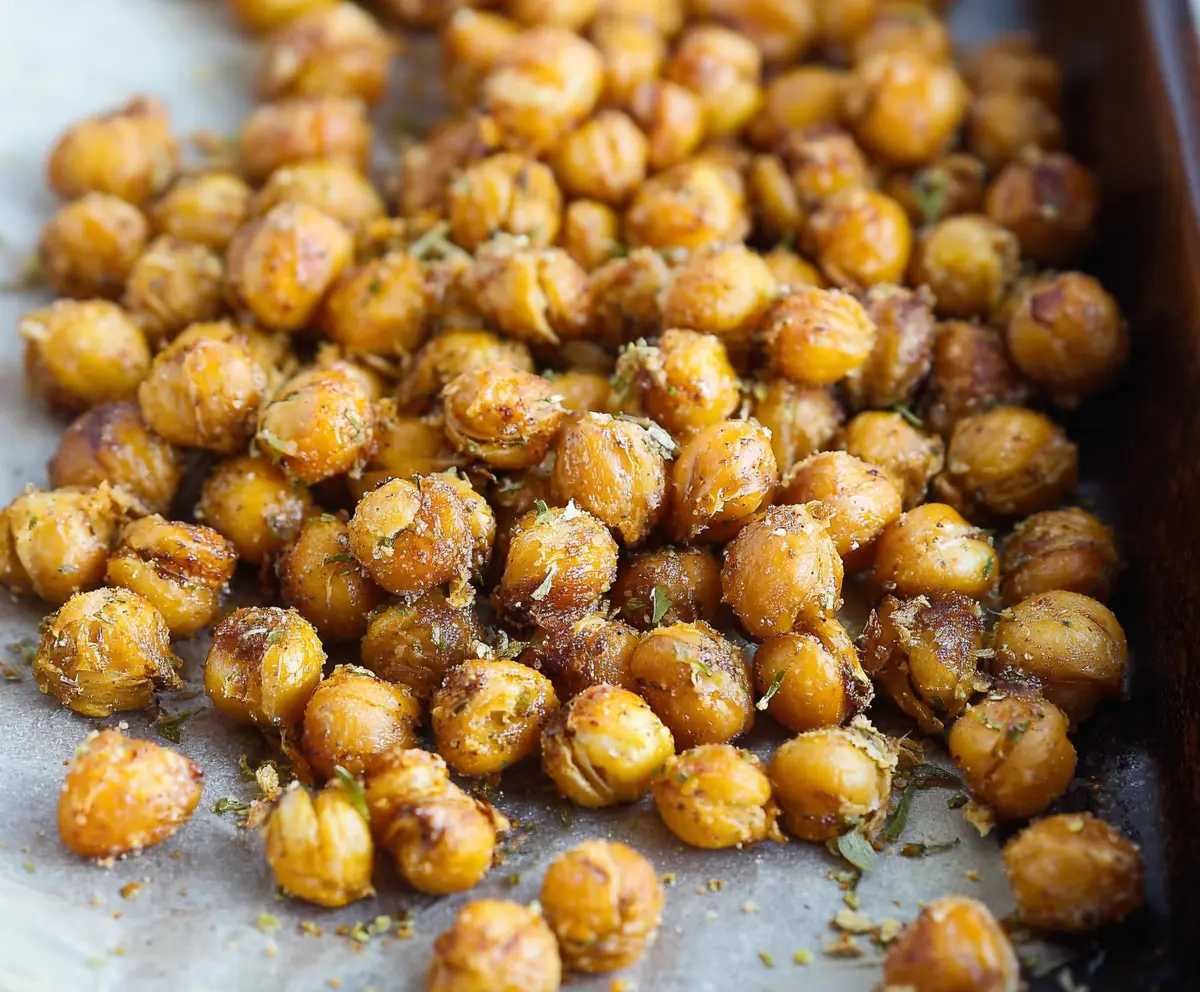
When the chickpeas look golden and crisp, take them out of the oven. Let them cool right on the baking sheet; they’ll get even crunchier as they cool. Taste and add a little more salt if you want. Enjoy straight away, or store in an airtight container for up to a week.
These ranch crispy roasted chickpeas are perfect as a tasty snack or sprinkled on salads for a flavorful crunch!
Can I Use Dried Chickpeas Instead of Canned?
Yes! If using dried chickpeas, soak them overnight and cook until tender before roasting. Make sure they’re fully dried before tossing with oil and seasonings to get them crispy.
How Should I Store Leftover Roasted Chickpeas?
Store leftovers in an airtight container at room temperature for up to one week. Keeping them dry and sealed helps maintain their crispiness.
Can I Make These Spicy Instead of Ranch Flavored?
Absolutely! Swap the ranch seasoning for chili powder, cayenne, smoked paprika, and a pinch of cumin for a spicy kick. Feel free to experiment with your favorite spices.
What If My Chickpeas Aren’t Crispy After Roasting?
Make sure the chickpeas are well dried before roasting and avoid overcrowding the pan. Roast a bit longer if needed, and always let them cool on the pan—they crisp up as they cool down.