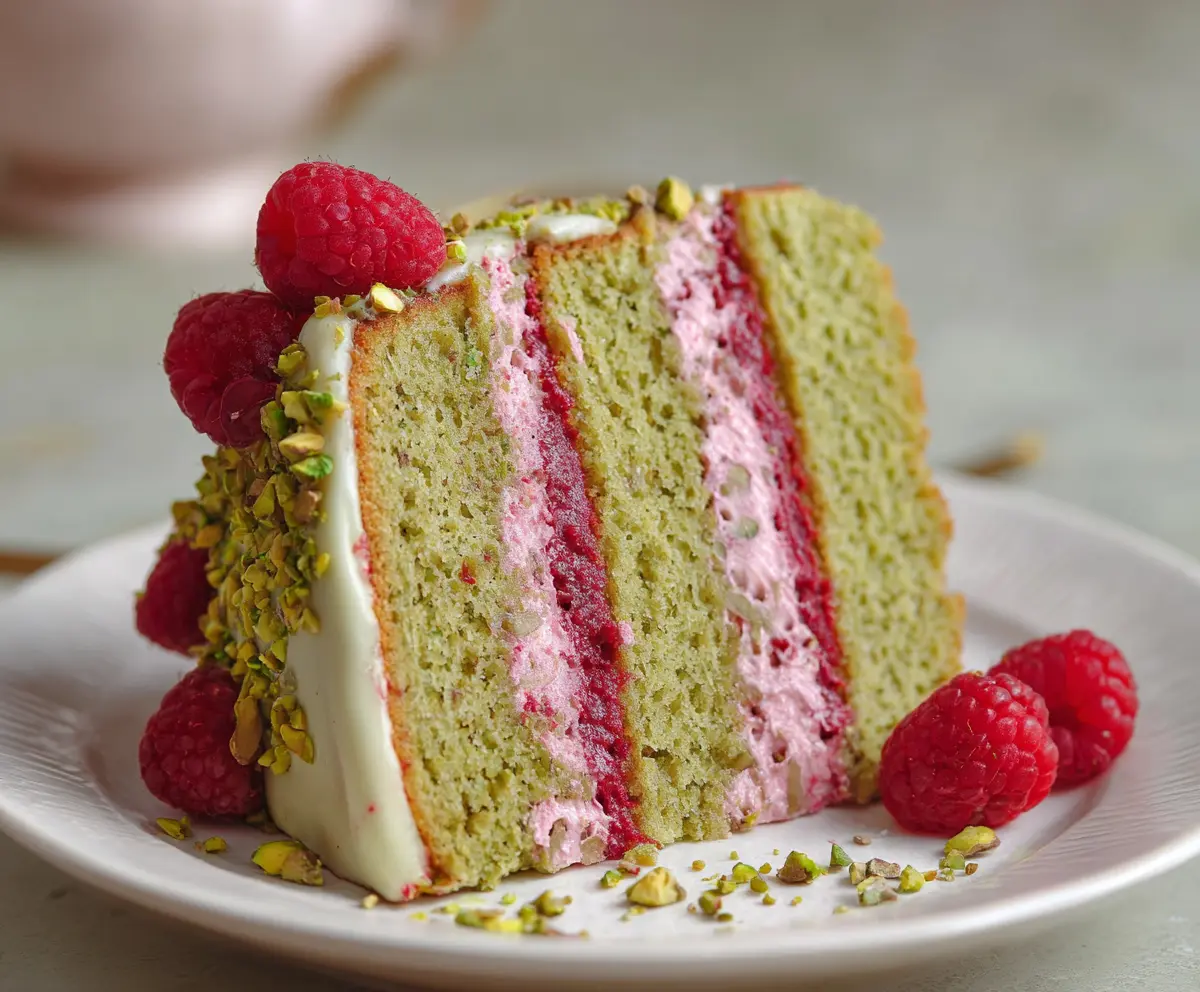
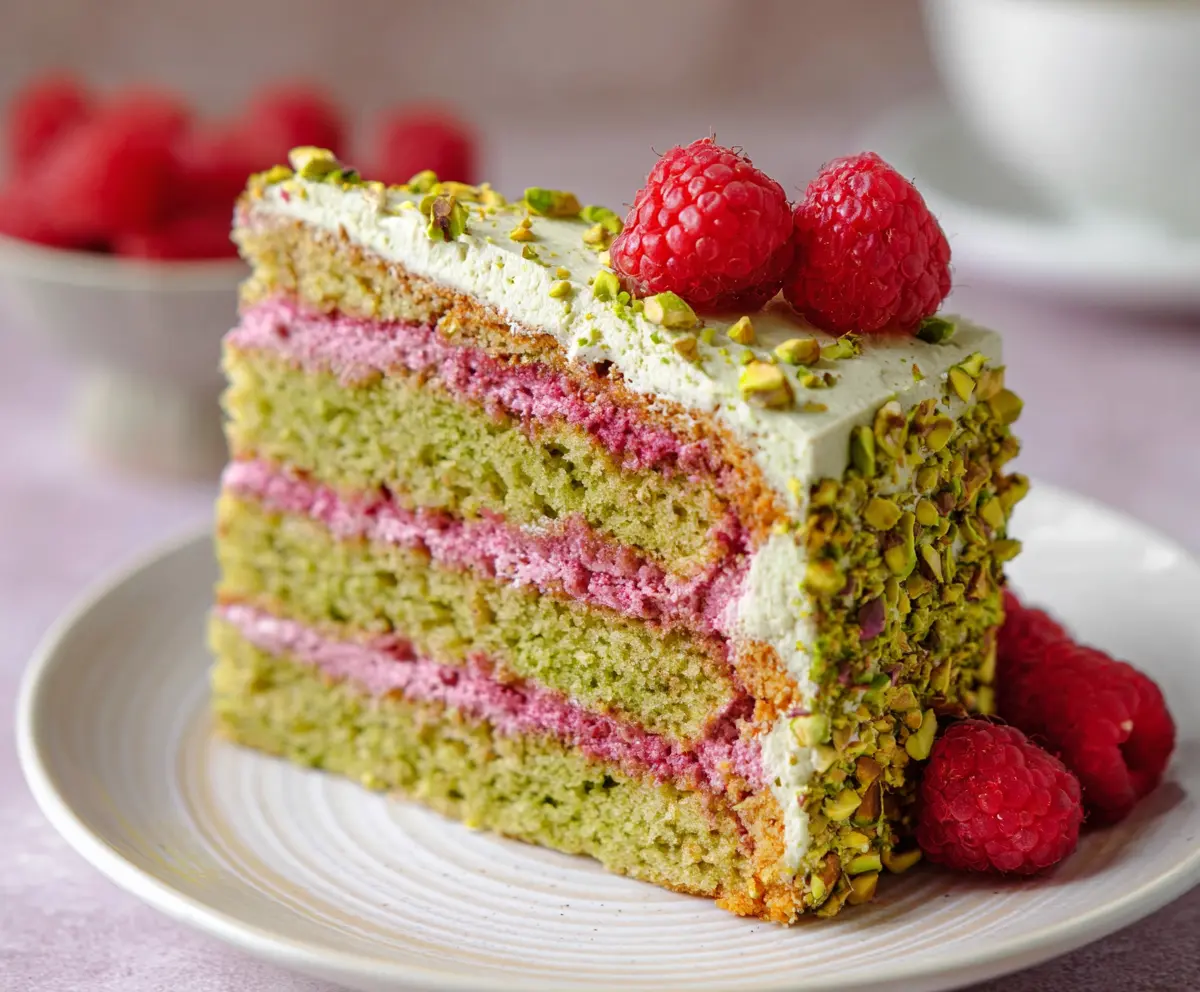
Pistachio Raspberry Cake is a delightful treat that brings together the nutty crunch of pistachios with the bright, juicy burst of fresh raspberries. This cake has a beautiful soft crumb, studded with crushed pistachios and swirls of raspberry goodness. It’s both colorful and tasty, perfect for a special occasion or a cozy afternoon snack.
I love making this cake when I want something that feels a little fancy but is still easy to enjoy. The pistachios add a nice crunch and subtle flavor that pairs so well with the tartness of the raspberries. One tip I like is to gently fold the raspberries into the batter to keep them from breaking apart too much, so you get little pockets of fruit throughout the cake.
Serving this cake with a dusting of powdered sugar or a dollop of whipped cream makes it extra special. I find it’s best enjoyed with a cup of tea or coffee, while catching up with friends or just relaxing. It’s a dessert that always brings smiles and makes any day feel a little brighter.
Key Ingredients & Substitutions
Pistachios: Toasting the pistachios enhances their nutty flavor and crunch. If you can’t find unsalted, roast salted pistachios but skip adding extra salt elsewhere. For allergies, try finely chopped almonds or walnuts instead.
Raspberries: Fresh raspberries add brightness and moisture. Frozen raspberries work too but thaw and drain them well to avoid a watery cake. You can use other berries like strawberries or blueberries if preferred.
Buttermilk: Buttermilk keeps the cake soft and tender. No buttermilk? Mix 1 cup milk with 1 tablespoon lemon juice or vinegar and let sit 5 minutes to sour it.
Cream Cheese Frosting: This frosting is creamy and tangy, balancing the sweet cake nicely. For a lighter option, try whipped cream or mascarpone cheese frosting instead.
How Do You Keep Raspberries From Sinking or Bleeding Into the Cake?
This is a common worry. Raspberries are delicate and can break during mixing, turning the batter pink or sinking to the bottom. Here’s how to avoid that:
- Gently fold berries into the batter at the very end, using a spatula and slow, soft strokes.
- Coat the berries lightly with a teaspoon of flour before folding them in to help them suspend in the batter.
- Use whole berries, not smashed or pureed ones, inside the cake layers for an even texture.
- For filling, cook raspberries into a thick jam or whipped cream as directed to keep them contained.
These tips help keep your cake looking beautiful and tasting fresh with bursts of raspberry in each bite.
Equipment You’ll Need
- Mixing bowls – I find these handy for prepping ingredients and mixing batters.
- Toaster or oven – for toasting pistachios to boost flavor and crunch.
- Food processor or sharp knife – to finely chop or pulse the pistachios.
- Electric mixer – makes whipping the frosting and whipped cream easier and faster.
- 8-inch cake pans – three of them for baking the layers evenly.
- Cooling racks – to cool the cake layers completely before decorating.
- Spatula and frosting knife – for spreading filling and frosting smoothly.
- Piping bag (optional) – if you want to add decorative rosettes or details.
- Serving platter or cake stand – for presenting the finished cake beautifully.
Flavor Variations & Add-Ins
- Switch up the berries: use fresh strawberries, blueberries, or blackberries for different fruity flavors.
- Enhance with liqueurs: brush the cake layers with Grand Marnier or Chambord for added depth.
- Top with edible flowers or gold leaf for a fancy presentation.
- Mix in crushed cookies or biscuit crumbs into the frosting or filling for extra texture.
Pistachio Raspberry Cake
Ingredients You’ll Need:
For the Cake:
- 1 cup shelled unsalted pistachios
- 2 1/2 cups all-purpose flour
- 2 1/2 tsp baking powder
- 1/2 tsp baking soda
- 1/2 tsp salt
- 1 cup unsalted butter, softened
- 1 3/4 cups granulated sugar
- 4 large eggs
- 1 tsp vanilla extract
- 1 1/4 cups buttermilk
For the Raspberry Filling:
- 2 cups fresh raspberries (plus extra for garnish)
- 1/4 cup granulated sugar
- 1 tbsp lemon juice
- 1 tbsp cornstarch dissolved in 1 tbsp water (optional, for thickening)
For the Raspberry Whipped Cream:
- 1 1/2 cups heavy cream, chilled
- 1/3 cup powdered sugar
- 1/2 cup fresh raspberries, pureed and strained to remove seeds
For the Frosting and Decoration:
- 1 cup cream cheese, softened
- 1/2 cup unsalted butter, softened
- 3 cups powdered sugar, sifted
- 1 tsp vanilla extract
- 1/2 cup chopped pistachios (for the sides and top garnish)
How Much Time Will You Need?
This cake takes about 20 minutes to prepare, 25-30 minutes to bake, plus another 20-30 minutes to make fillings and frostings. Allow extra time for cooling the cake layers and chilling the assembled cake—ideally 1 hour total for best results.
Step-by-Step Instructions:
1. Toast and Chop the Pistachios:
Preheat your oven to 350°F (175°C). Spread pistachios on a baking sheet and toast them 5-7 minutes until fragrant but not browned. Let cool, then chop finely or pulse a few times in a food processor—avoid grinding into powder.
2. Mix the Cake Batter:
In a bowl, whisk flour, baking powder, baking soda, and salt. In a large bowl, cream butter and sugar until fluffy. Add eggs one by one, mixing after each. Stir in vanilla. Alternately add the dry ingredients and buttermilk to the butter mixture, starting and ending with the dry mix. Fold in the chopped pistachios gently.
3. Bake the Cake Layers:
Divide batter equally into three greased and floured 8-inch pans. Smooth tops and bake 25-30 minutes, or until a toothpick inserted in the center comes out clean. Cool cakes in pans for 10 minutes, then remove onto wire racks to cool completely.
4. Make the Raspberry Filling:
Combine raspberries, sugar, and lemon juice in a saucepan. Cook over medium heat until raspberries soften and release juice. If desired, stir in cornstarch mixture and cook 2 more minutes until thickened. Cool completely before using.
5. Prepare Raspberry Whipped Cream:
Whip cold heavy cream with powdered sugar until soft peaks form. Gently fold in raspberry puree (strained to remove seeds). Chill until ready to use.
6. Make Cream Cheese Frosting:
Beat cream cheese and butter until smooth. Gradually add powdered sugar and vanilla extract. Continue beating until frosting is light and fluffy.
7. Assemble Your Cake:
Place one cake layer on your plate. Spread raspberry filling over it, followed by a layer of raspberry whipped cream. Repeat with second layer, then top with the third cake layer.
8. Frost and Decorate:
Cover the entire cake with cream cheese frosting. Press chopped pistachios onto the sides. Garnish the top with fresh raspberries and a sprinkle of pistachios.
9. Chill and Serve:
Refrigerate the assembled cake at least 30 minutes before serving so the layers set nicely. Then slice and enjoy your delicious Pistachio Raspberry Cake!
Can I Use Frozen Raspberries for the Filling?
Yes, you can! Just thaw them completely and drain any excess liquid to prevent the filling from becoming too watery. This helps maintain the right texture in your cake.
How Should I Store Leftover Pistachio Raspberry Cake?
Store leftovers in an airtight container in the refrigerator for up to 3 days. To keep it fresh longer, avoid leaving the cake out at room temperature for extended periods.
Can I Make the Cake Layers Ahead of Time?
Absolutely! You can bake the cake layers a day or two in advance. Wrap them tightly in plastic wrap and keep in the refrigerator. Bring to room temperature before assembling.
What Can I Substitute for Buttermilk?
If you don’t have buttermilk on hand, mix 1 cup of milk with 1 tablespoon of lemon juice or vinegar. Let it sit for 5 minutes before using it in the recipe for the same tangy effect.