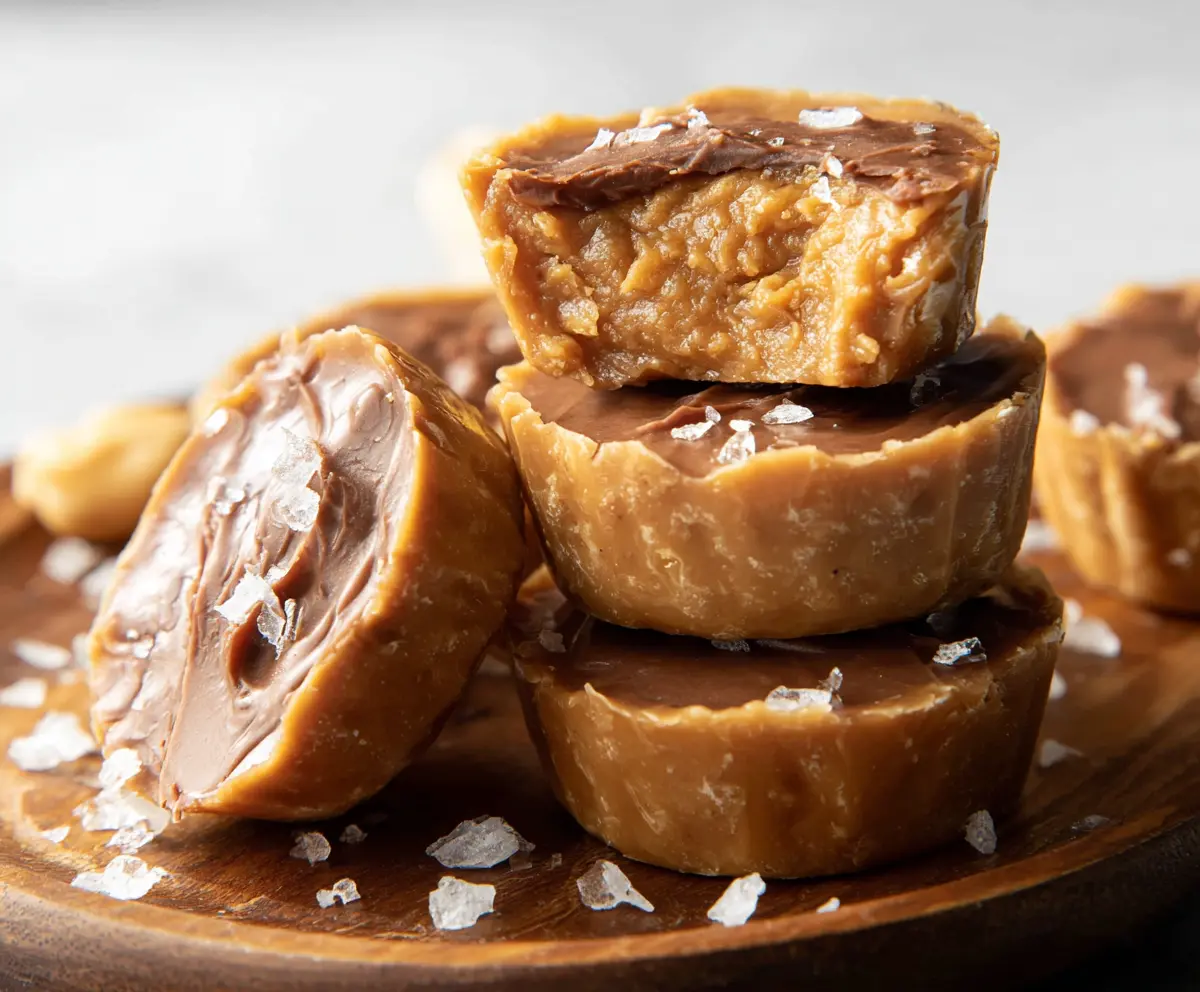
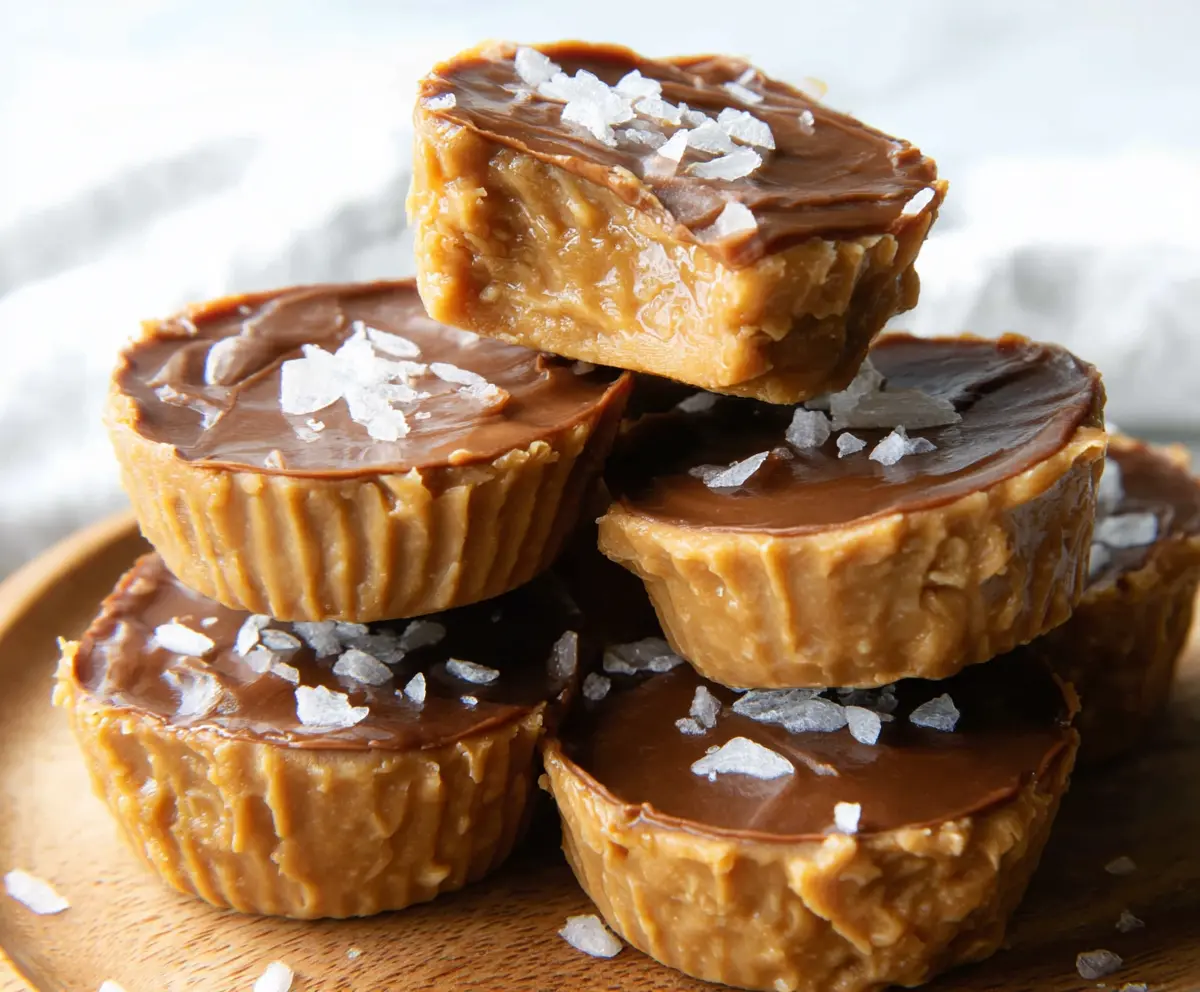
Healthy 3-Ingredient Peanut Butter Cups are a simple, tasty treat that feels like a little bit of chocolatey heaven without all the extras. With just peanut butter, chocolate, and a touch of sweetness, these cups bring together creamy, nutty, and rich flavors in a perfect bite-size dessert.
I love how quick and fuss-free this recipe is—only three ingredients and some patience in the fridge! It’s my go-to when I want something sweet but don’t want to spend hours in the kitchen or worry about a long list of additives. Plus, making them myself means I can enjoy peanut butter cups anytime without feeling guilty.
My favorite way to enjoy these is right after they’ve chilled for a bit, when the chocolate snaps just right and the peanut butter filling is smooth and soft. They’re perfect for a little snack, a lunchtime sweet fix, or even a simple gift for friends who appreciate a homemade touch. Trust me, these cups always bring a smile!
Key Ingredients & Substitutions
Natural Peanut Butter: I like using natural peanut butter with no added sugar or oils. It gives a pure peanut flavor. You can use smooth or crunchy based on your preference. Almond or cashew butter work well if you want a different nutty twist.
Honey or Maple Syrup: This adds just the right sweetness without processed sugar. Maple syrup is a great vegan option. If you prefer, you can try agave syrup or even a little coconut sugar dissolved in the peanut butter.
Dark Chocolate (70% or Higher): Using high-quality dark chocolate keeps these treats rich but not too sweet. If you don’t have dark chocolate, semi-sweet chips work, but avoid milk chocolate for a healthier result. Vegan chocolate chips are an easy swap too.
Flaky Sea Salt (Optional): A pinch of sea salt on top balances out the sweetness and enhances the chocolate and peanut butter flavors. It’s my favorite finishing touch!
How Do You Make the Perfect Layers Without Mixing Them?
Patience is key when layering the peanut butter cups to keep the layers neat and delicious:
- Start by gently pressing the peanut butter mixture into the base—don’t overfill so you have room for chocolate on top.
- Pour your melted chocolate slowly over the peanut butter layer. Use the back of a spoon to carefully spread it, avoiding swirls.
- If adding a second peanut butter layer and chocolate topping, chill the first layer for 10-15 minutes to firm up before adding the next. This prevents mixing and keeps clear layers.
- Sprinkle sea salt right after the last chocolate layer before chilling so it sticks well.
- Make sure the bowls and spoon are dry and clean to prevent chocolate from clumping or seizing.
Following these simple steps will give you candy cups with smooth, defined layers and a satisfying texture!
Equipment You’ll Need
- Mini muffin tin – I recommend this because it helps shape the treats evenly and makes cleanup easy.
- Mini muffin liners or silicone molds – they prevent sticking and make removing the cups simple.
- Microwave-safe bowl – perfect for melting chocolate quickly and smoothly.
- Spoon or small spatula – helps spread the melted chocolate gently over the layers.
- Measuring cups – ensures you use the right amounts of peanut butter, honey, and chocolate for consistent results.
Flavor Variations & Add-Ins
- Swap peanut butter for almond or cashew butter for a different nutty flavor.
- Add a teaspoon of vanilla extract or a dash of cinnamon to the peanut butter mixture for extra warmth.
- Mix in chopped nuts, shredded coconut, or mini chocolate chips into the layers for added texture and flavor.
- Use flavored or spiced dark chocolate, like cinnamon or chili-infused, for a unique twist.
Healthy 3-Ingredient Peanut Butter Cups
Ingredients You’ll Need:
Main Ingredients:
- 1 cup natural peanut butter (smooth or crunchy)
- 1/4 cup honey or maple syrup (as a natural sweetener)
- 1/2 cup dark chocolate chips or bars (70% cocoa or higher)
- Flaky sea salt, for topping (optional)
How Much Time Will You Need?
This recipe takes about 10 minutes to prepare and requires at least 1 hour for chilling so the peanut butter cups can set properly in the fridge. It’s a quick and easy process with just a bit of waiting to enjoy your homemade treats!
Step-by-Step Instructions:
1. Prepare Your Muffin Tin:
Line a mini muffin tin with paper liners or lightly grease it with coconut oil. This will help your peanut butter cups come out easily once set.
2. Mix Peanut Butter and Sweetener:
In a small bowl, stir together the natural peanut butter and honey or maple syrup until smooth and well combined.
3. Make the Base Layer:
Spoon a small amount of the peanut butter mixture into the bottom of each muffin cup. Press it down gently to form a flat, even base layer.
4. Melt the Chocolate:
Place the dark chocolate chips in a microwave-safe bowl. Heat in 20-second intervals, stirring each time, until the chocolate is melted and smooth.
5. Add the Chocolate Layer:
Pour or spoon a thin layer of melted chocolate over the peanut butter base in each cup. Use the back of a spoon to spread it gently and evenly.
6. Fill the Cups:
Add the remaining peanut butter mixture on top of the chocolate layer, filling the cups. Press lightly to flatten the tops.
7. Finish with Chocolate and Sea Salt:
If you like, drizzle or spread a bit more melted chocolate over the top of each cup. While the chocolate is still wet, sprinkle a pinch of flaky sea salt for extra flavor.
8. Chill and Set:
Place the muffin tin in the refrigerator for at least 1 hour, or until the chocolate is firm and the peanut butter cups are set.
9. Serve and Store:
Once set, remove the peanut butter cups from the liners. Store them chilled in an airtight container and enjoy whenever you want a healthy sweet treat!
Can I Use Frozen Peanut Butter Cups?
Yes! You can freeze these peanut butter cups for longer storage. Just place them in an airtight container with parchment paper between layers and freeze for up to 2 months. Thaw in the fridge for about 20 minutes before enjoying.
Can I Substitute the Peanut Butter?
Absolutely! Almond butter, cashew butter, or sunflower seed butter all work well as alternatives. Just choose natural, creamy nut or seed butters for the best texture and flavor.
How Long Do These Peanut Butter Cups Keep?
Store them in an airtight container in the fridge for up to 1 week. For longer storage, freezing is a great option. Just thaw before eating to get that perfect creamy texture.
Can I Make These Nut-Free?
Yes! Use sunflower seed butter or soy nut butter in place of peanut butter for a delicious nut-free version while keeping the recipe just as simple and tasty.