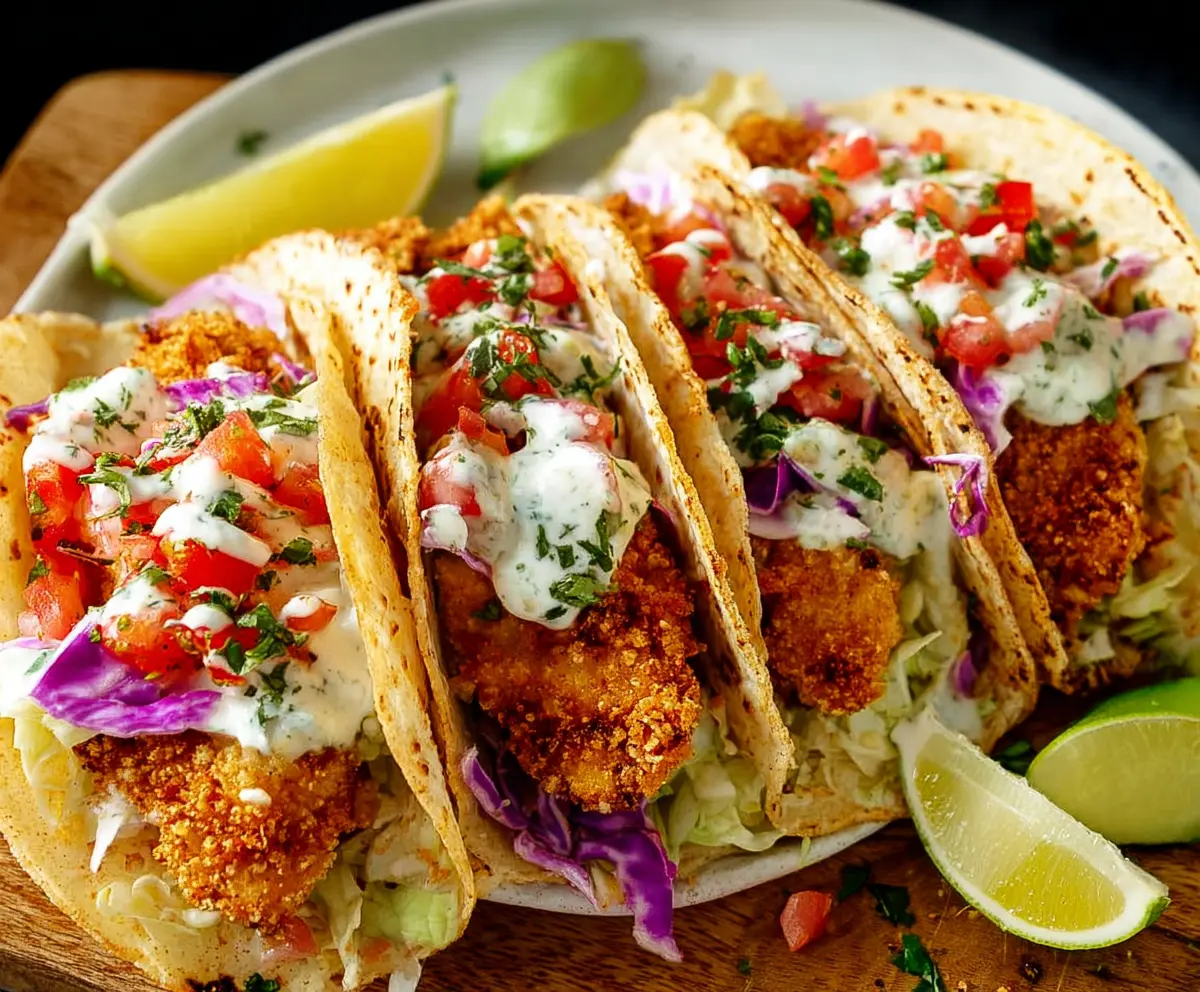
Crispy Chicken Tacos are a total crowd-pleaser with their crunchy chicken, fresh toppings, and warm tortillas. The chicken is coated in a flavorful, crispy crust that’s just right — not too greasy, just perfectly crunchy. Add a little crunch from fresh cabbage, a squeeze of tangy lime, and a drizzle of creamy sauce, and you’ve got a taco that hits all the right notes.
I love making these tacos because they’re quick and fun to put together, and everyone always asks for seconds. My secret is to use a mix of spices in the breading to give the chicken a little extra kick without overpowering the other flavors. I also like to make a simple slaw with cabbage and cilantro to add a fresh crunch balance to the crispy chicken.
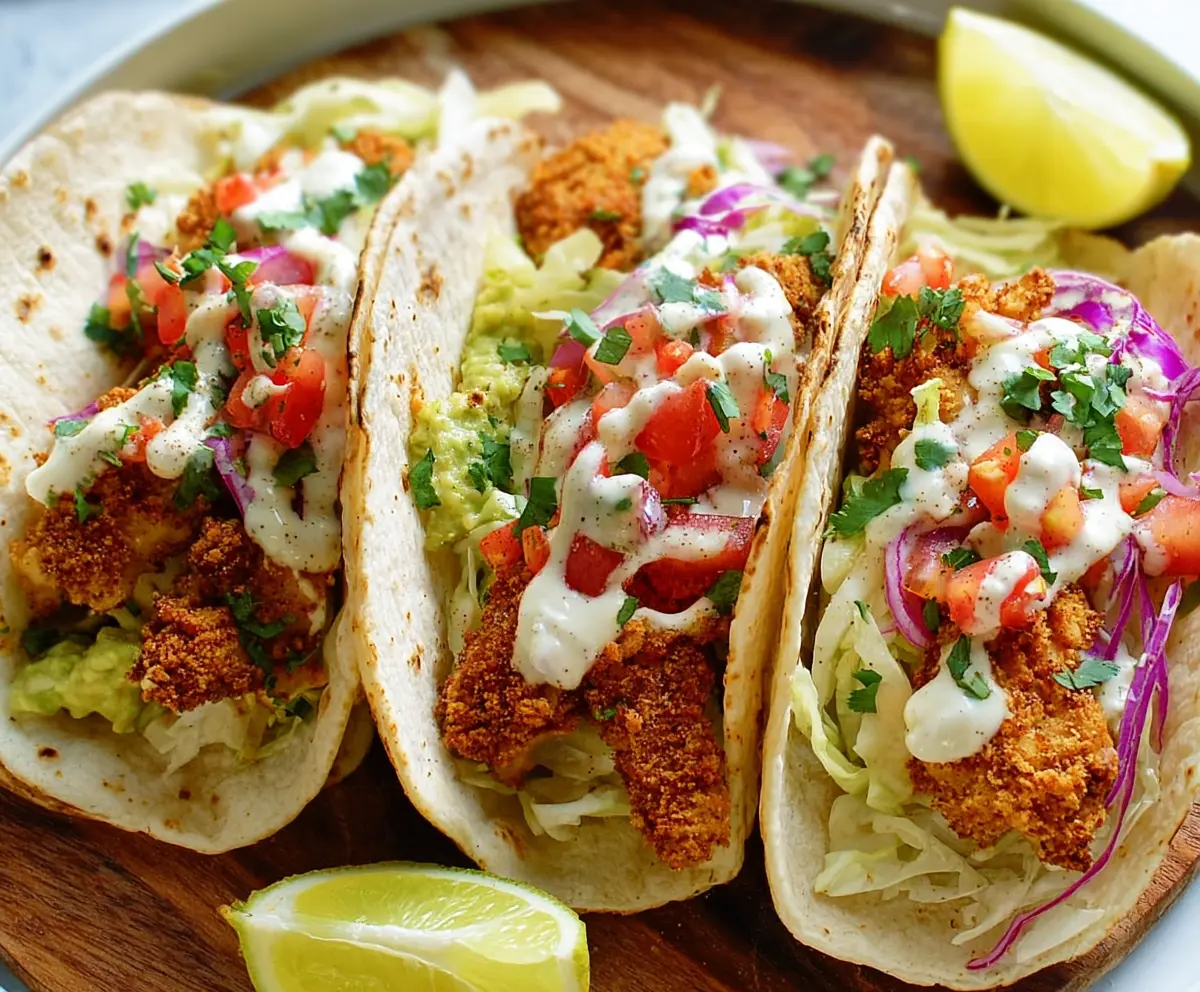
These tacos work great for casual dinners, game-day snacks, or even a weekend cookout with friends. I usually serve them with some homemade guacamole and a side of black beans to make it a little more of a full meal. Honestly, there’s nothing better than grabbing a taco, folding it up, and enjoying that perfect crisp and juicy combination in every bite!
Key Ingredients & Substitutions
Chicken: I like boneless, skinless breasts for lean meat, but thighs stay juicy if you prefer. Both work well here!
Buttermilk: It tenderizes chicken and helps the coating stick. No buttermilk? Use regular milk mixed with a spoonful of lemon juice or vinegar.
Flour & Cornmeal/Panko: The flour and cornmeal or panko mix adds great crunch. If you don’t have cornmeal, just use panko breadcrumbs or even crushed tortilla chips.
Spices: Smoked paprika and chili powder give smoky warmth; swap cayenne for chili flakes if you want less heat. Adjust spices to your taste.
Tortillas: Corn tortillas have texture and flavor, but flour tortillas are softer and more flexible. Use whichever you prefer!
Sauce: Sour cream or Greek yogurt with lime and cilantro adds freshness and a creamy touch. You can skip garlic or add a pinch of cumin for extra flavor.
How Do You Get the Chicken Crispy but Not Greasy?
Getting the perfect crisp without greasy chicken is all about the coating and frying technique:
- Pat the chicken strips dry before dipping in buttermilk to avoid too much moisture.
- Let excess buttermilk drip before dredging in flour mix—too much liquid can cause soggy coating.
- Press the flour mix gently on the chicken to create a good crust but don’t overload it.
- Heat oil to about 350°F (175°C). Use a thermometer if you can—it makes a big difference.
- Don’t overcrowd the pan, or oil temperature drops, making the coating greasy. Fry in batches.
- Drain the cooked chicken on paper towels or a wire rack to keep it crispy.
Following these tips helps you enjoy crispy, juicy chicken every time!
Equipment You’ll Need
- Large shallow dish – for coating the chicken evenly with flour and breadcrumbs. I like a wide dish so every piece is covered well.
- Mixing bowls – for marinating the chicken in buttermilk and preparing the sauce. Easy to handle and clean.
- Deep skillet or frying pan – for frying the chicken strips. A high-sided pan helps prevent splatters and makes frying safer.
- Thermometer (optional) – to check that the oil stays at the right temperature, helping the chicken stay crispy without soaking up too much oil.
- Wire rack or paper towels – for draining excess oil after frying. Keeps your chicken crispy and less greasy.
- Small spoon or tongs – for handling chicken and toppings, to keep things neat and safe.
- Serving platter – to present your tacos beautifully and keep everything tidy while filling.
Flavor Variations & Add-Ins
- Spice up the coating with chili powder, cumin, or garlic powder for extra flavor. Great if you like a little heat or smoky taste.
- Use leftover cooked chicken for quick tacos — stir it in with a different spice blend or a splash of hot sauce.
- Add sliced jalapeños or pickled onions on top for added crunch and tang.
- swap Greek yogurt sauce for a zesty avocado crema or spicy salsa for variety.
How to Make Crispy Chicken Tacos
Ingredients You’ll Need:
For the Chicken:
- 1 lb boneless, skinless chicken breasts or thighs
- 1 cup buttermilk
- 1 tsp garlic powder
- 1 tsp onion powder
- 1 tsp smoked paprika
- ½ tsp chili powder
- ½ tsp cayenne pepper (optional, for heat)
- Salt and pepper to taste
- 1 ¼ cups all-purpose flour
- 1 cup cornmeal or panko breadcrumbs (for extra crunch)
- 1 large egg
- Vegetable oil, for frying
- 8 small corn or flour tortillas
For the Slaw and Toppings:
- 2 cups shredded green cabbage
- 1 cup shredded purple cabbage
- 1 cup diced tomatoes (or pico de gallo)
- ¼ cup chopped fresh cilantro
- ½ cup sour cream or Greek yogurt
- 1 tbsp lime juice
- 1 garlic clove, minced
- Lime wedges, for serving
How Much Time Will You Need?
This recipe takes about 45 minutes total—30 minutes to marinate the chicken, 15 minutes to prepare and cook the chicken, slaw, and assemble the tacos. Perfect for a quick weeknight meal or weekend treat!
Step-by-Step Instructions:
1. Prepare the Chicken:
Slice your chicken breasts or thighs into thin strips that will fit nicely in the tortillas. In a bowl, mix the buttermilk with garlic powder, onion powder, smoked paprika, chili powder, cayenne pepper (if using), salt, and pepper. Add the chicken strips, making sure they’re completely coated. Cover and refrigerate for at least 30 minutes to let the flavors soak in.
2. Bread the Chicken:
In a shallow dish, combine the all-purpose flour, cornmeal or panko breadcrumbs, and a pinch of salt and pepper. In another small bowl, beat the egg. When ready to cook, take each chicken strip out of the marinade, letting the excess buttermilk drip off. Dip the chicken in the beaten egg, then dredge it thoroughly in the flour mixture, pressing gently so the coating sticks well.
3. Cook the Chicken:
Pour enough vegetable oil into a large skillet to shallow fry (about ½ inch deep) and heat it over medium-high heat. Once hot, carefully fry the chicken strips in batches. Cook for around 3-4 minutes on each side, until golden, crispy, and cooked through (internal temperature should reach 165°F or 75°C). Transfer cooked chicken to a plate lined with paper towels to drain any extra oil.
4. Make the Sauce & Warm Tortillas:
Mix sour cream or Greek yogurt with lime juice, minced garlic, and chopped cilantro in a small bowl. Taste and add salt if needed. Warm your tortillas on a dry skillet or griddle for a minute or two until soft and slightly toasted.
5. Assemble the Tacos:
Start with a warm tortilla, add a layer of shredded green and purple cabbage for crunch and color. Place a crispy chicken strip on top, spoon over diced tomatoes or pico de gallo, and drizzle generously with the creamy cilantro-lime sauce. Repeat for all tacos.
6. Serve and Enjoy:
Serve the tacos immediately with lime wedges on the side for squeezing over. Enjoy the perfect mix of crisp chicken, fresh slaw, and tangy sauce in every bite!
Can I use frozen chicken for these tacos?
Yes, you can! Just make sure to fully thaw the chicken in the refrigerator overnight before marinating and cooking. Pat it dry with paper towels for the best coating adherence.
What can I use if I don’t have buttermilk?
No worries! Mix 1 cup of milk with 1 tablespoon of lemon juice or vinegar. Let it sit for 5 minutes until it thickens slightly, then use it as a buttermilk substitute for tenderizing the chicken.
Can these tacos be made ahead of time?
You can marinate and bread the chicken a few hours ahead, then refrigerate. Fry the chicken just before serving to keep it crispy. Assemble tacos right before eating for the best texture.
How do I store leftovers?
Store leftover cooked chicken and toppings separately in airtight containers in the fridge for up to 3 days. Reheat the chicken in a hot skillet to restore crispiness before assembling fresh tacos.