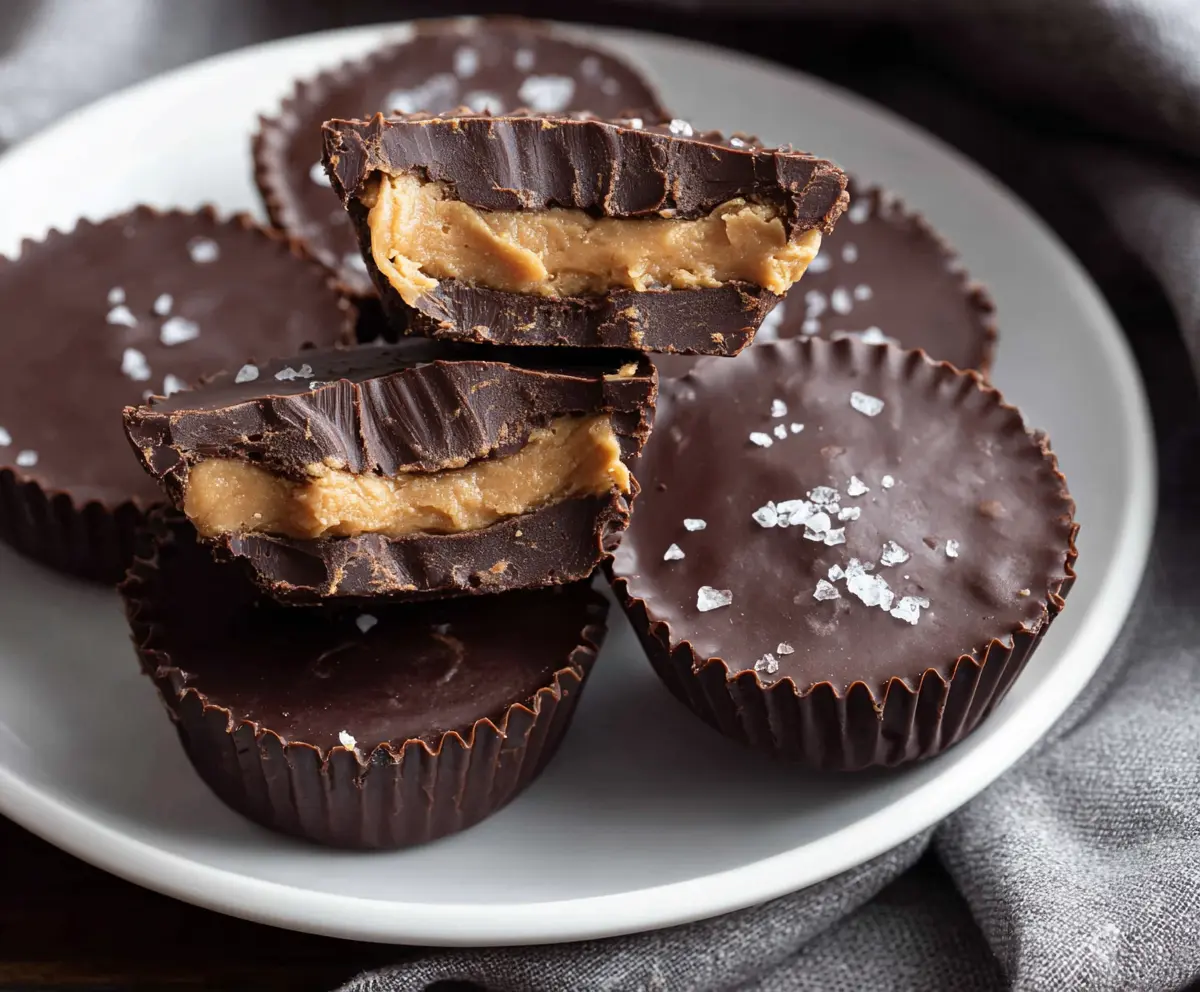
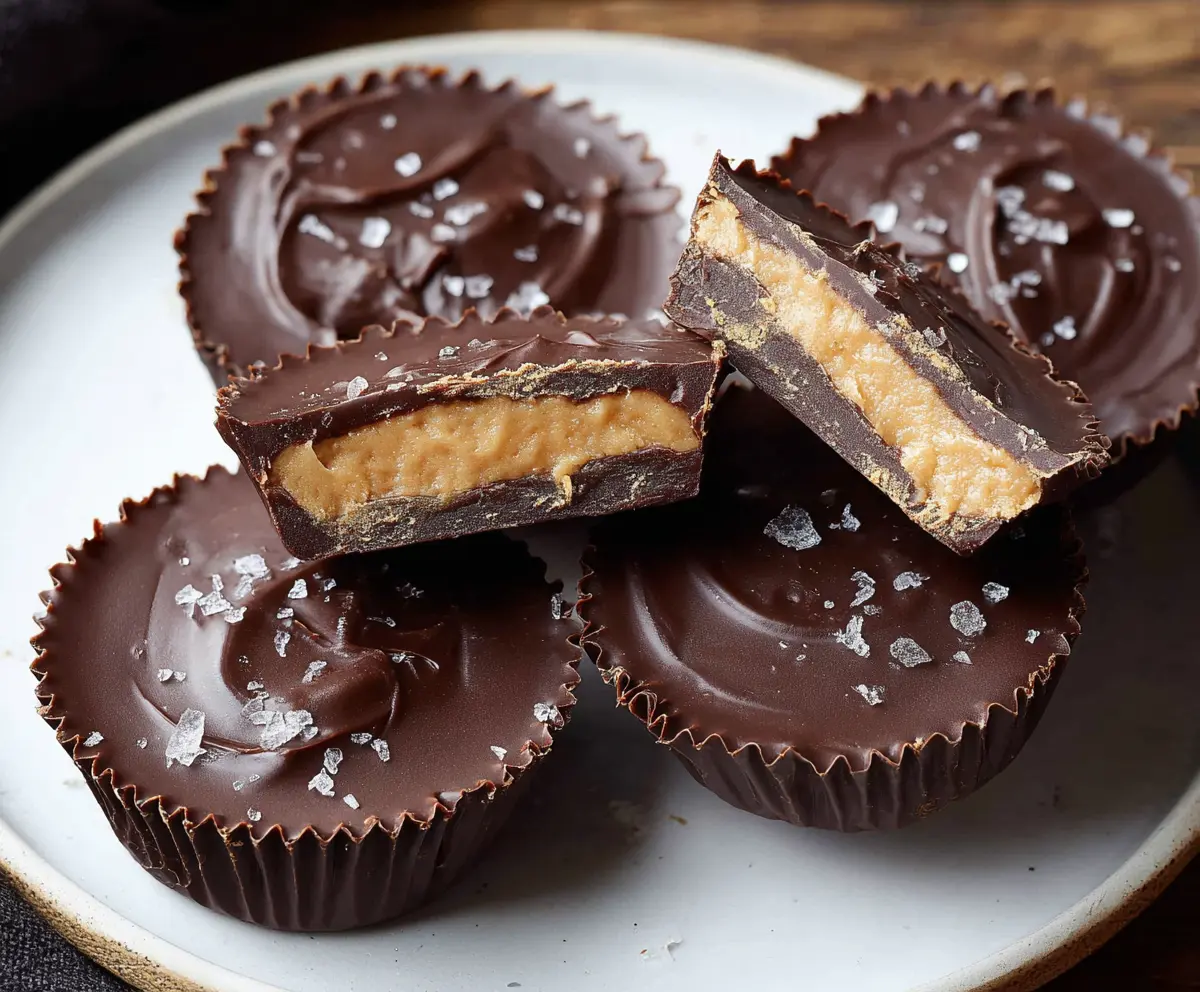
Classic Homemade Reese’s Peanut Butter Cups are a delightful treat that bring together creamy peanut butter and rich chocolate in one perfect bite. These little cups have a smooth chocolate shell that melts just enough to reveal the silky peanut butter filling inside, making them a favorite for peanut butter lovers everywhere.
I always enjoy making these at home because you can adjust the peanut butter to just the way you like it—whether that means a little saltier or a little sweeter. I find that using a good-quality chocolate really makes a big difference, and it’s fun to watch the cups set as the chocolate hardens. Plus, making them yourself means no comparing to store-bought versions—they’re fresh, customizable, and so satisfying!
My favorite way to serve them is slightly chilled straight from the fridge, but they’re just as delicious at room temperature when the peanut butter is a bit softer. They’re great for sharing at parties or just as a special homemade snack when you need a quick pick-me-up. I love how these peanut butter cups bring a little bit of magic to any day.
Key Ingredients & Substitutions
Peanut Butter: Creamy peanut butter gives that smooth, classic filling. If you prefer a bit of crunch, natural peanut butter with small peanut bits works well too. For allergies, try almond or sunflower seed butter as a tasty swap.
Butter: Unsalted butter adds richness and helps the filling set nicely. If you want a dairy-free option, use coconut oil or vegan butter.
Powdered Sugar: This sweetens and thickens the peanut butter filling. You can reduce it slightly if you want a less sweet cup, or swap for powdered erythritol for a low-sugar version.
Chocolate: Semi-sweet or dark chocolate chips melt smoothly and offer that classic chocolate flavor. Use milk chocolate for a sweeter taste or vegan chocolate if you need a dairy-free option. Adding coconut oil helps to thin the chocolate for easier spreading.
Flaky Sea Salt: A sprinkle on top enhances flavor contrast and adds a nice texture. This step is optional but recommended for a flavor boost.
How Do You Get a Smooth, Even Chocolate Shell?
Creating the perfect smooth chocolate shell is key to these peanut butter cups. Here’s how to do it:
- Melt the chocolate slowly over a double boiler or in the microwave at short intervals, stirring often to avoid burning.
- Add a tablespoon or two of coconut oil to the melted chocolate for shine and easier spreading.
- Spoon chocolate into your lined molds and spread it thin and even using the back of a spoon.
- Freeze the chocolate layer for about 10 minutes to firm it up before adding the peanut butter. This keeps the layers separate and neat.
- After adding the peanut butter filling, gently spoon the chocolate on top, making sure to cover the edges for a sealed cup.
- Chill the finished cups well before removing from molds, so the chocolate doesn’t crack or stick.
Taking your time with each layer and chilling between steps is the secret to that smooth chocolate coating that snaps when you bite into it.
Equipment You’ll Need
- Mini muffin tin or silicone molds – I recommend these because they help shape the cups evenly and make cleanup easy.
- Cupcake liners – these keep the chocolate from sticking and make the cups look neat.
- Microwave-safe bowl or double boiler – for melting the chocolate gently without burning.
- Spatula or spoon – to spread the melted chocolate smoothly in the molds.
- Small spoon or teaspoon – perfect for adding the peanut butter filling in layers.
- Refrigerator – to chill the cups and help them set quickly and evenly.
Flavor Variations & Add-Ins
Try using milk or white chocolate instead of dark for a sweeter or different flavor profile. Add chopped nuts, like peanuts or almonds, into the peanut butter for crunch. Mix a little cinnamon or vanilla into the peanut butter for extra flavor. For a fun twist, swirl caramel or fudge into the chocolate layer before it sets.
Classic Homemade Reese’s Peanut Butter Cups
Ingredients You’ll Need:
- 1 1/2 cups creamy peanut butter (natural or smooth)
- 1/4 cup unsalted butter, softened
- 1/2 cup powdered sugar, sifted
- 2 cups semi-sweet or dark chocolate chips (or chopped chocolate)
- 2 tablespoons coconut oil or vegetable oil (optional, for smoother chocolate)
- Flaky sea salt, for garnish (optional)
How Much Time Will You Need?
This recipe takes about 15 minutes to prepare and around 30 minutes to chill and set. The total time is roughly 45 minutes, making these homemade peanut butter cups a quick and easy treat to enjoy!
Step-by-Step Instructions:
1. Prepare Your Molds:
Line a mini muffin tin or silicone mold with cupcake liners. This keeps your peanut butter cups neat and easy to remove.
2. Make the Peanut Butter Filling:
In a bowl, mix together the peanut butter, softened butter, and powdered sugar. Stir until smooth and creamy. You can taste and add a bit more powdered sugar if you want it sweeter.
3. Melt the Chocolate:
Put the chocolate chips and coconut oil (if using) in a microwave-safe bowl. Heat in 30-second bursts, stirring each time until smooth and fully melted. Alternatively, melt over a double boiler.
4. Create Chocolate Base:
Drop about 1 to 1 1/2 teaspoons of melted chocolate into each cupcake liner. Spread the chocolate evenly to cover the bottom. Place the tray in the freezer for about 10 minutes until the chocolate hardens.
5. Add Peanut Butter Layer:
Spoon about 1 teaspoon of the peanut butter mixture on top of the hardened chocolate. Press gently to flatten and spread evenly.
6. Top with More Chocolate:
Cover the peanut butter filling with another 1 to 1 1/2 teaspoons of melted chocolate, spreading gently to cover completely.
7. Garnish and Chill:
If you’d like, sprinkle a pinch of flaky sea salt on each cup to bring out the flavors. Put the peanut butter cups in the refrigerator for at least 30 minutes to firm up completely.
8. Serve and Store:
Once set, peel off the cupcake liners, and enjoy! Store any leftovers in an airtight container in the fridge for up to 2 weeks.
Can I Use Natural Peanut Butter for This Recipe?
Yes! Natural peanut butter works well, but since it’s thinner, your filling might be a bit softer. To help it set better, chill the mixture before assembling the cups or add a bit more powdered sugar to thicken it.
How Should I Store Homemade Peanut Butter Cups?
Store them in an airtight container in the refrigerator for up to 2 weeks. If you want to keep them longer, they freeze well too—just thaw in the fridge before eating.
Can I Use a Different Type of Chocolate?
Definitely! Semi-sweet, dark, or milk chocolate chips all work fine. Just choose your favorite or what you have on hand. Adding a tablespoon of coconut oil helps the chocolate melt smoothly.
Is There a Dairy-Free Version of This Recipe?
Absolutely! Use dairy-free chocolate and swap the butter for coconut oil or a vegan butter substitute. The peanut butter filling stays naturally dairy-free if you use those swaps.