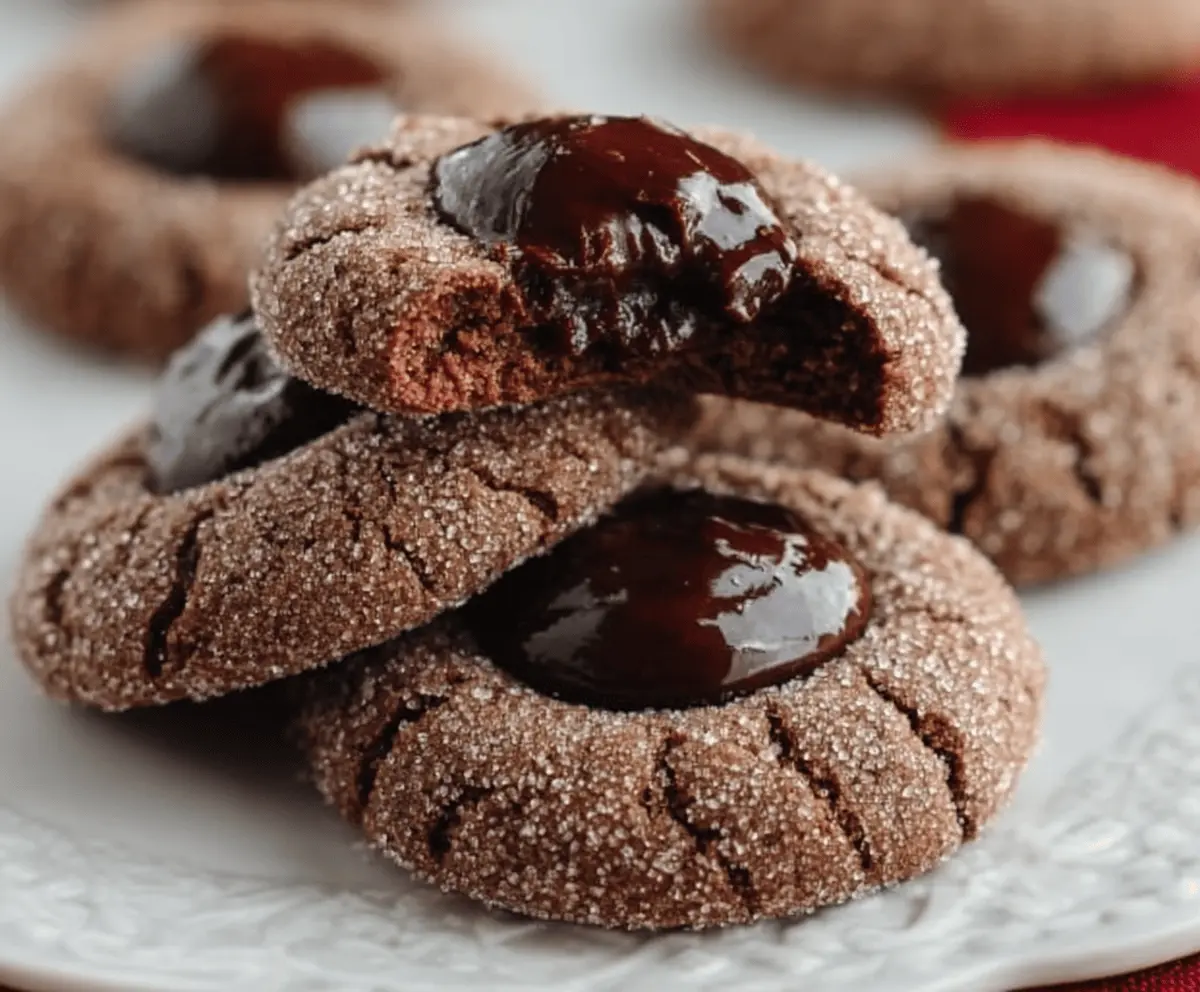
Chocolate Thumbprint Cookies are soft, buttery cookies with a rich chocolate base, each one gently pressed in the center to hold a sweet dollop of jam or chocolate. They have that perfect mix of melt-in-your-mouth texture and a tender, chewy bite, with just a hint of cocoa that makes them feel extra special.
I love making these because they feel so classic and comforting. Pressing my thumb into each cookie before filling them is such a simple, fun step that makes the cookies feel homemade and personal every time. Plus, I enjoy experimenting with different fillings — raspberry jam, apricot preserves, or even peanut butter cups all make these cookies totally irresistible.
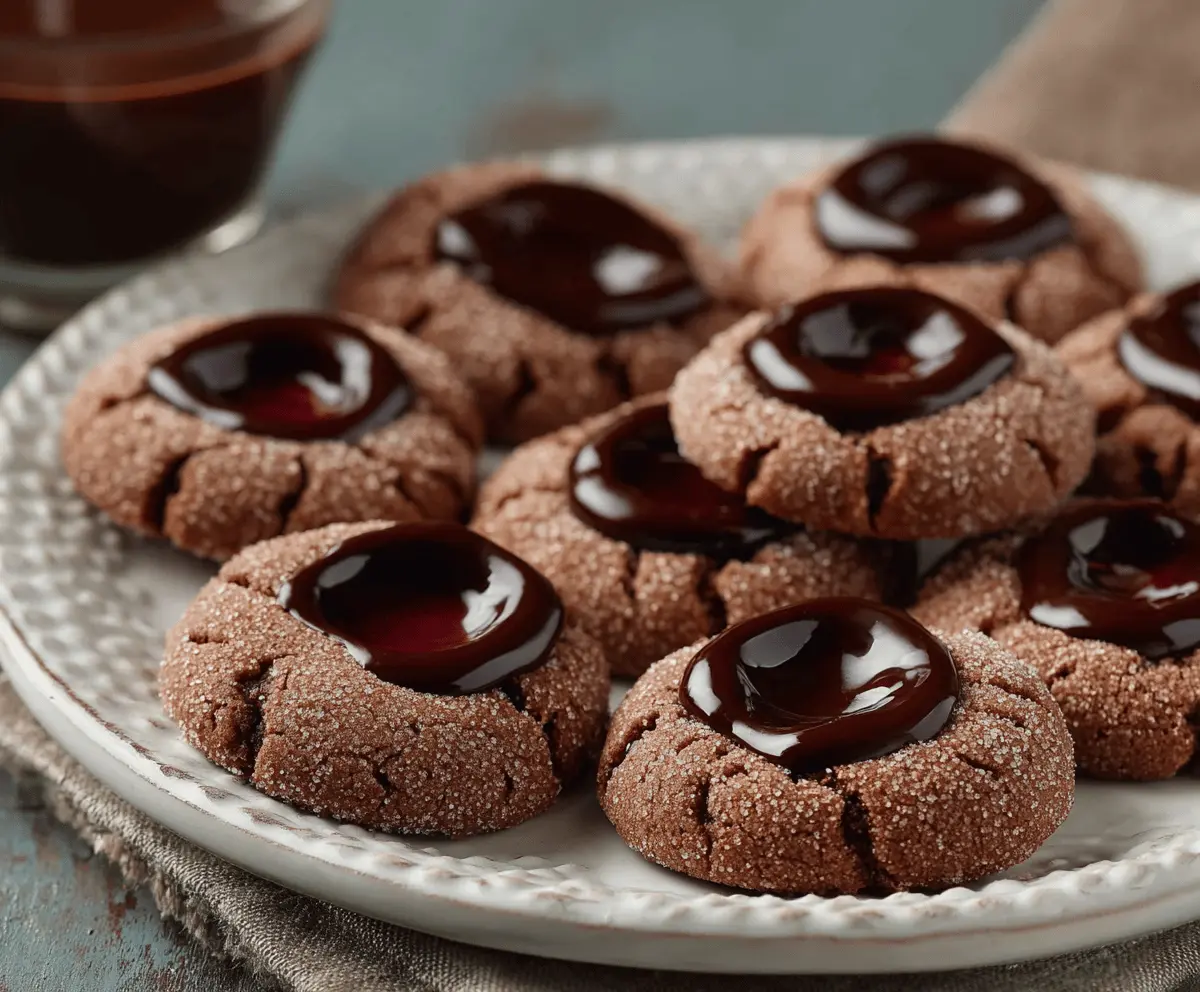
These cookies are great for sharing at holidays, parties, or just as a sweet treat for yourself. I like to serve them with a glass of milk or a warm cup of tea, and they always bring a smile to anyone’s face. They’re one of those go-to recipes that never fail to make the day a little sweeter.
Key Ingredients & Substitutions
Butter: Using unsalted butter lets you control the saltiness. Make sure it’s softened for easy mixing. If you want dairy-free, try coconut oil, but the texture may be a bit different.
Cocoa Powder: Unsweetened cocoa powder gives that rich chocolate flavor. Dutch-processed cocoa works too but may change the texture slightly.
Flour: All-purpose flour is the best choice here for the right balance of structure and tenderness. For a gluten-free version, use a gluten-free flour blend designed for baking.
Granulated Sugar: You use sugar both inside the dough and for rolling. The sugar coating adds a nice crunch and sparkle. If you want to reduce sugar, try fine coconut sugar, but the texture may differ slightly.
Chocolate Ganache or Spread: The filling is flexible! I love rich ganache, but you can use chocolate spread, jam, or even nut butter. If you avoid dairy, opt for dairy-free chocolate or fruit preserves.
How Can I Get Perfect Thumbprint Indentations?
Making the thumbprint indentation just right is the key to filled cookies that look and taste great. Here’s how I do it:
- Roll dough balls evenly to ensure uniform baking.
- Press gently but firmly with your thumb or the back of a spoon to create a shallow well—don’t press too hard or the cookie will lose its shape.
- If the indentation puffs up in the oven, press again as soon as the cookies come out while they’re still warm.
- Chilling the dough before shaping helps the cookies hold their shape better during baking.
Equipment You’ll Need
- Mixing bowls – I use these to combine the ingredients easily and keep everything organized.
- Electric mixer or whisk – makes creaming the butter and sugar quick and smooth.
- Baking sheets – I’ll line mine with parchment paper to prevent sticking and make cleanup easier.
- Measuring cups and spoons – to get the right amounts of ingredients every time.
- Cooling rack – for cooling the cookies completely without getting soggy bottoms.
- Small spoon or thumb (or the back of a spoon) – to press the indentations into the dough.
- Small bowl for rolling sugar – helps coat the cookie balls evenly.
- Saucepan or microwave-safe bowl – for making chocolate ganache if you’re using that for filling.
Flavor Variations & Add-Ins
- Use jam instead of chocolate spread for a fruity twist, like raspberry or apricot. It adds a fresh, tangy flavor.
- Add chopped nuts or mini chocolate chips into the dough for extra texture and flavor.
- Mix in a pinch of cinnamon or chili powder to give your cookies a spicy kick or smoky flavor.
- Replace some of the cocoa powder with ground espresso for a mocha flavor that highlights the chocolate taste.
Chocolate Thumbprint Cookies
Ingredients You’ll Need:
For the Cookie Dough:
- 1 cup (2 sticks) unsalted butter, softened
- 3/4 cup granulated sugar
- 1 large egg
- 1 teaspoon vanilla extract
- 1/4 cup unsweetened cocoa powder
- 1 3/4 cups all-purpose flour
- 1/2 teaspoon baking powder
- 1/4 teaspoon salt
- 1/2 cup granulated sugar (for rolling)
- 1/2 cup chocolate ganache or chocolate spread for filling (or jam of choice)
For the Chocolate Ganache Filling (Optional):
- 1/2 cup heavy cream
- 4 ounces semi-sweet chocolate, chopped
How Much Time Will You Need?
This recipe takes about 15 minutes to prepare, plus 1 hour chill time for the dough, and 10–12 minutes baking time per batch. Cooling takes an additional 10 minutes. Overall, you’re looking at about 1 hour and 40 minutes from start to finish, including chilling and baking.
Step-by-Step Instructions:
1. Prepare the Dough:
In a large bowl, beat the softened butter and 3/4 cup sugar together until light and fluffy, about 3 to 4 minutes. Add the egg and vanilla extract, mixing until fully combined. In a separate bowl, whisk together the cocoa powder, flour, baking powder, and salt. Gradually add the dry ingredients to the butter mixture, stirring until just combined. The dough will be thick. Cover it and chill in the refrigerator for at least 1 hour (or up to 24 hours).
2. Make the Chocolate Ganache Filling (Optional):
Heat the heavy cream in a small saucepan over medium heat until it just begins to simmer. Pour it over the chopped chocolate in a bowl. Let it sit for 2 minutes, then stir until smooth. Allow the ganache to cool and thicken slightly before using.
3. Shape and Bake the Cookies:
Preheat your oven to 350°F (175°C). Line baking sheets with parchment paper. Roll the chilled dough into 1-inch balls, then roll each in the 1/2 cup granulated sugar to coat. Place the balls about 2 inches apart on the baking sheets. Use your thumb or the back of a spoon to press a gentle indentation into the center of each cookie — be careful not to press all the way through.
4. Bake and Fill:
Bake the cookies for 10-12 minutes until set and slightly cracked on top but still soft. Right after taking them out of the oven, press the thumbprint indentation again if it has puffed up. Fill each indentation with about 1/2 teaspoon of ganache, chocolate spread, or your preferred filling. Let the cookies cool on the baking sheet for 10 minutes, then transfer to a wire rack until completely cool.
5. Enjoy!
Enjoy these soft, chocolatey treats with a rich and glossy center. They make a lovely homemade gift or a delightful dessert for any occasion!
Can I Use Frozen Butter Instead of Softened Butter?
It’s best to use softened butter for this recipe to achieve a smooth, creamy dough. If using frozen butter, thaw it completely at room temperature first and then soften it by letting it sit out for about 30 minutes.
Can I Substitute Jam Instead of Chocolate Ganache for the Filling?
Absolutely! Fruit jams like raspberry, apricot, or strawberry are classic options and add a lovely tangy contrast to the chocolate cookie base.
How Should I Store These Cookies?
Store the cooled cookies in an airtight container at room temperature for up to 5 days. If filled with ganache, refrigerating them will keep the filling firm—just bring them back to room temperature before serving.
Can I Make the Dough Ahead of Time?
Yes! You can prepare the dough and refrigerate it for up to 24 hours before baking. This actually helps enhance the flavors and improves the texture.