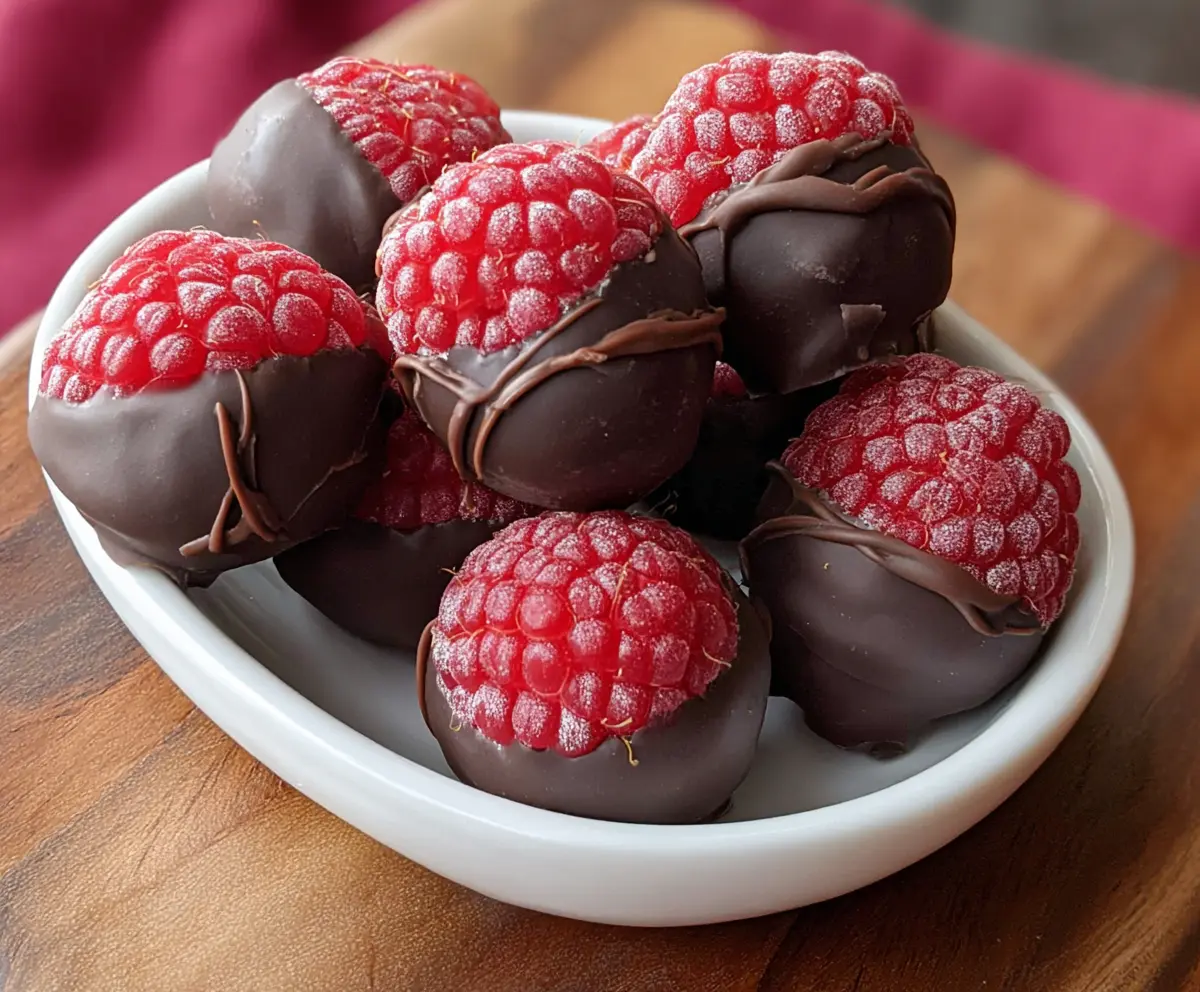
Chocolate Covered Raspberries are a simple treat that brings together the sweet tartness of fresh raspberries and the rich smoothness of melted chocolate. Each bite is a delightful mix of juicy fruit and creamy chocolate that feels like a little gift to yourself. They’re easy to make but special enough to impress your friends or add a bit of fun to your day.
I love making these whenever I want a quick and fresh dessert that doesn’t require baking or a lot of fuss. The process is almost meditative—dipping each raspberry carefully and letting the chocolate set just right. One tip I swear by is using good quality chocolate; it really makes all the difference in flavor and texture. Plus, seeing the glossy chocolate coat your raspberries feels like mini works of art.
These treats are perfect for sharing, but I have to admit they rarely last long in my kitchen! I like to serve them chilled on a pretty plate when friends come over, or just enjoy a few with a cup of tea when I need a little pick-me-up. They’re also a lovely option for festive occasions or as a thoughtful homemade gift. Honestly, you can’t go wrong with the magic combo of chocolate and berries!
Key Ingredients & Substitutions
Raspberries: Fresh raspberries are the star here. Choose firm, ripe ones without bruises for the best flavor and texture. If fresh aren’t available, frozen can work, but thaw and dry them well before dipping.
Dark Chocolate: I like using 60-70% cocoa dark chocolate because it balances sweetness and bitterness well. You can swap for milk or white chocolate if you prefer a sweeter, creamier taste.
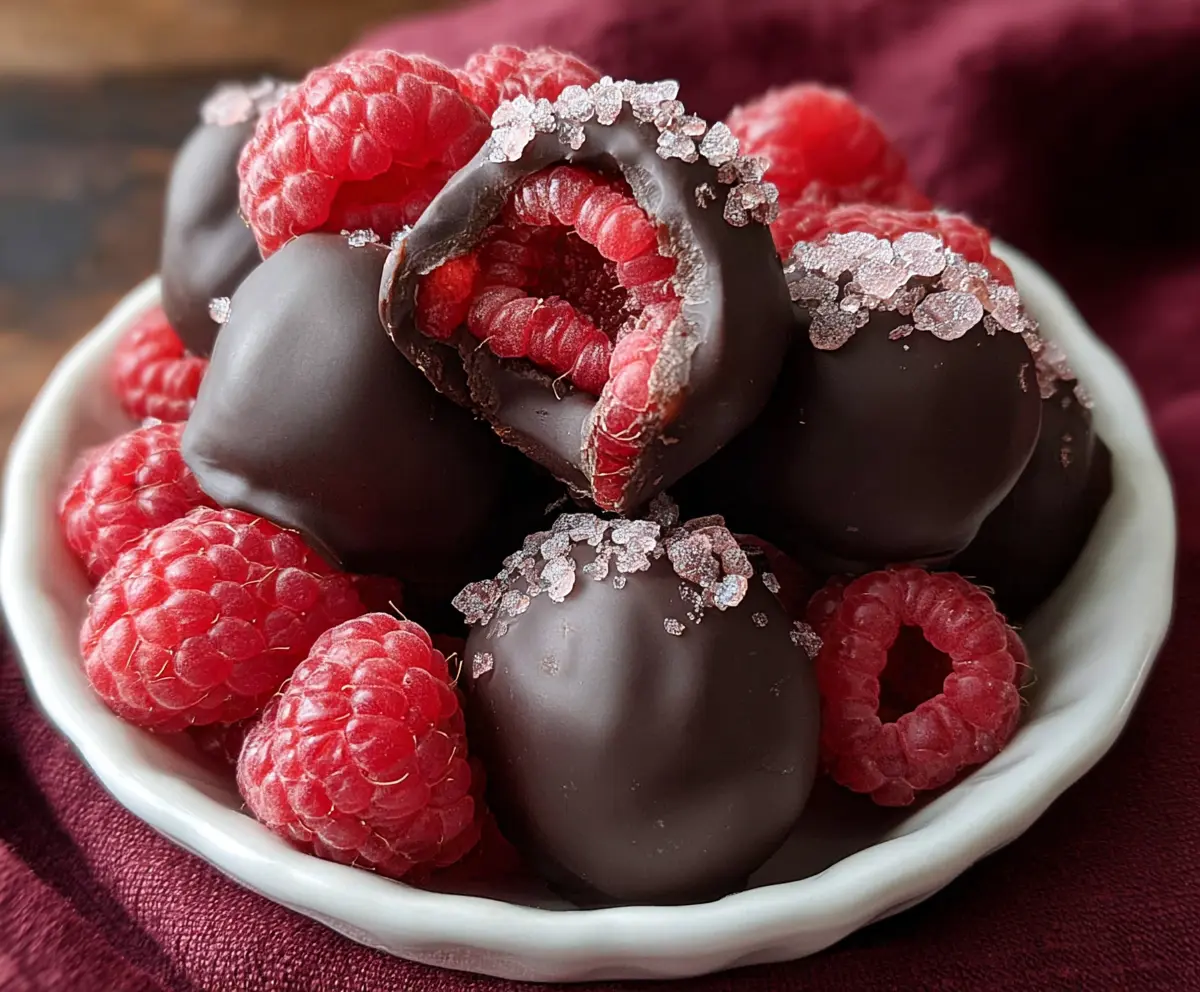
Coarse Sugar or Sea Salt: These toppings add a nice crunch and a pop of flavor. If you don’t have coarse sugar, try finely chopped nuts or leave them plain for simplicity.
How Can I Get the Chocolate to Stick Perfectly and Look Smooth?
Ensuring the chocolate clings smoothly to raspberries can be tricky. Here’s my simple method:
- Make sure berries are fully dry; any water blocks chocolate from coating well.
- Use a fork or toothpick to dip, letting excess chocolate drip off to avoid clumps.
- Place them on parchment paper to prevent sticking and keep the shape.
- Chill the dipped berries promptly so the chocolate sets shiny and firm.
Taking your time with each step helps create that beautiful glossy finish and keeps the fruit fresh inside. It’s worth the little extra care!
Equipment You’ll Need
- Microwave-safe bowl or double boiler – I recommend the microwave for quick melting, but a double boiler gives more control.
- Fork or toothpick – makes dipping the raspberries easier and neater.
- Parchment paper or silicone baking mat – keeps the dipped raspberries from sticking and makes cleanup simple.
- Baking sheet – provides a flat surface for setting the dipped berries.
Flavor Variations & Add-Ins
- Use white or milk chocolate instead of dark for a sweeter, creamier coating that kids love.
- Add a splash of vanilla or espresso powder to the melted chocolate to enhance flavor.
- Sprinkle with chopped nuts, crushed cookies, or coconut flakes before the chocolate sets for extra texture.
- Try dipping half the raspberry in chocolate and the other half in caramel or white chocolate for a layered look and taste.
How to Make Chocolate Covered Raspberries?
Ingredients You’ll Need:
- 1 cup fresh raspberries
- 6 ounces dark chocolate (60-70% cocoa), chopped or in chips
- Coarse sugar or sea salt for sprinkling (optional)
How Much Time Will You Need?
This recipe takes about 10 minutes of preparation and about 15-20 minutes to chill until the chocolate hardens. So, in total, you’ll spend around 30 minutes from start to finish, with most of the time just waiting for the chocolate to set.
Step-by-Step Instructions:
1. Prepare the Raspberries:
Wash the raspberries gently and pat them dry thoroughly on a paper towel. It’s very important that they are completely dry so the chocolate sticks well.
2. Melt the Chocolate:
Put the chopped dark chocolate in a microwave-safe bowl. Heat in 30-second bursts, stirring well between each interval until the chocolate melts smoothly. If you like, you can melt the chocolate on the stove in a double boiler instead for more control.
3. Dip the Raspberries:
Line a baking sheet with parchment paper to keep the dipped berries from sticking. Using a fork or toothpick, carefully dip each raspberry into the melted chocolate, making sure it’s fully coated. Let the extra chocolate drip off before placing the raspberry on the parchment paper.
4. Add a Finishing Touch (Optional):
If you want, sprinkle a little coarse sugar or sea salt on top of each chocolate-covered raspberry before the chocolate hardens. This adds a lovely crunchy texture and an extra burst of flavor.
5. Let the Chocolate Set:
Put the baking sheet with the dipped raspberries in the refrigerator for 15 to 20 minutes, or until the chocolate is firm. Once they’re set, you can enjoy them right away or keep them chilled until serving.
6. Serving and Storage:
Serve your chocolate covered raspberries chilled or at room temperature. Store any leftovers in an airtight container in the refrigerator and try to eat them within 2-3 days for the freshest taste.
Can I Use Frozen Raspberries for This Recipe?
Yes, you can use frozen raspberries, but be sure to thaw them completely and pat them very dry before dipping. Extra moisture can cause the chocolate not to stick properly.
What Chocolate Works Best for Dipping?
Dark chocolate with 60-70% cocoa is ideal for balancing sweetness and rich flavor, but milk or white chocolate work well too if you prefer something sweeter and creamier.
How Should I Store Leftover Chocolate Covered Raspberries?
Store them in an airtight container in the refrigerator, and enjoy within 2-3 days to keep the raspberries fresh and the chocolate smooth.
Can I Make Chocolate Covered Raspberries Ahead of Time?
Absolutely! They can be made a few hours in advance and kept chilled until serving. Just avoid leaving them out at room temperature too long, or the chocolate might soften.