
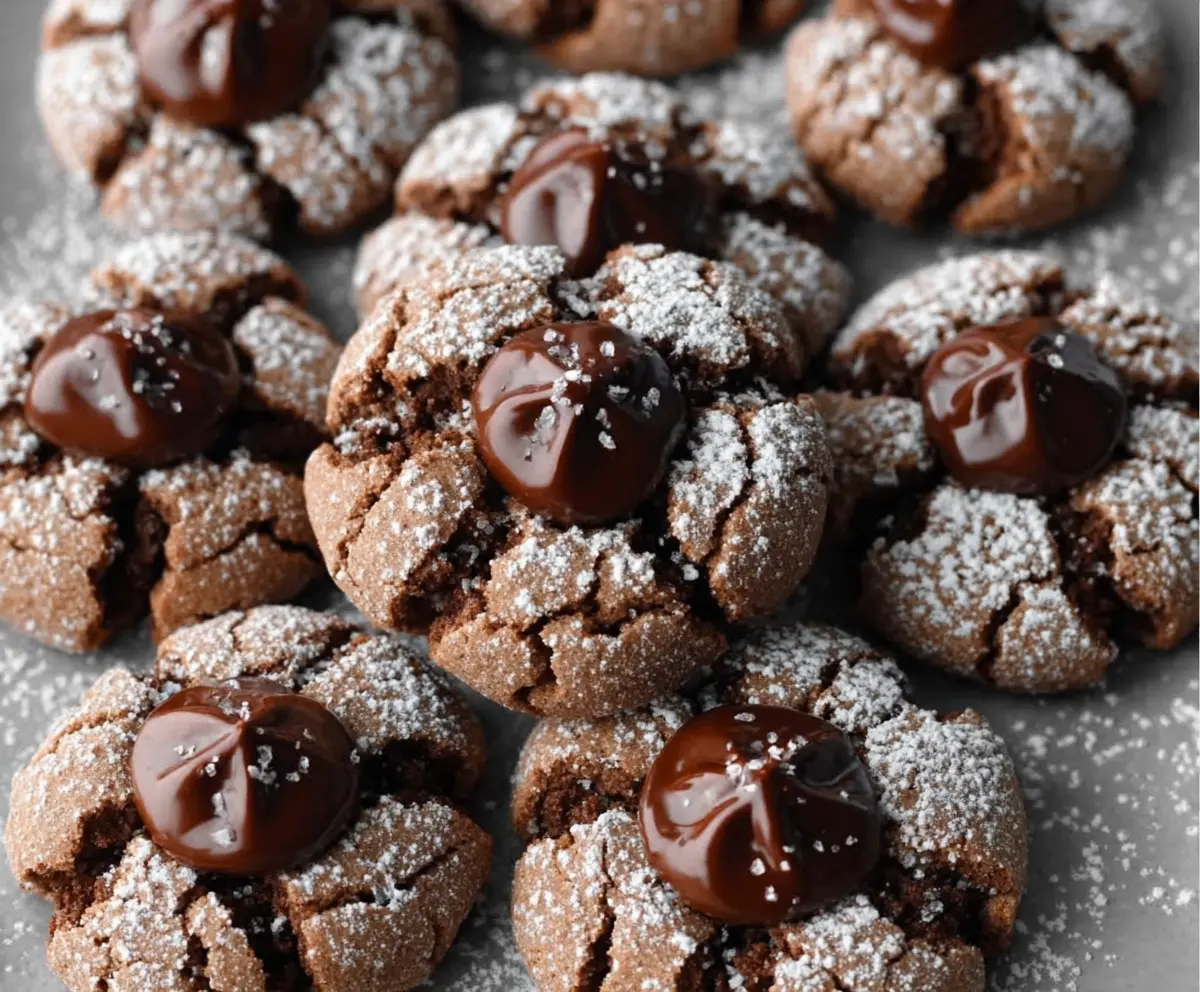
Chocolate Blossom Cookies are a delightful treat that combines the richness of chocolate with the sweet surprise of a bright, melty candy center. These cookies are soft, chewy, and perfectly balanced with a little crunch from the candy on top, making each bite a fun experience.
I love making these cookies when I want something quick but special. The best part is that you can customize the candy center with your favorite chocolate or seasonal colors, which always makes them a hit whether it’s for a holiday, a party, or just a cozy night in. I find that slightly underbaking them keeps them soft and tender, which is exactly the texture I enjoy most.
One of my favorite ways to share these cookies is in a simple glass jar tied with a ribbon— they make such a cheerful gift! Plus, kids and adults alike love picking the colorful candies off the top before sneaking a bite. Chocolate Blossom Cookies are a small joy that’s easy to bake and impossible to resist.
Key Ingredients & Substitutions
Butter: Use unsalted butter for control over saltiness. Softening it at room temp helps mix the dough evenly. If you want a dairy-free option, try vegan butter.
Cocoa powder: Unsweetened cocoa gives a rich chocolate flavor. Dutch-processed is smoother and less bitter, but natural cocoa works well too.
Chocolate kisses: Classic choice for the center. You can swap for mini peanut butter cups or butterscotch chips for variety.
Powdered sugar: Rolling dough balls in powdered sugar not only adds sweetness but creates the pretty cracked look after baking. Don’t skip it!
How Do You Get the Perfect Cracked Surface and Soft Center?
The cracks happen because the dough ball expands in the oven and the sugary coating cracks open. To get this right:
- Chill your dough slightly if it’s too soft, so balls hold shape better.
- Roll cookie dough balls generously in powdered sugar; this is key to the crackled look.
- Bake just until the edges set but centers still feel soft (8-10 minutes). Overbaking makes them dry.
- Press the chocolate kiss into warm cookies right after baking so it sticks but doesn’t melt completely.
Equipment You’ll Need
- Mixing bowls – I like using a large bowl for creaming butter and sugar, making mixing easier and less messy.
- Stand or hand mixer – helps blend the butter and sugar smoothly so your cookies turn out tender and fluffy.
- Measuring cups and spoons – key for accurate ingredient amounts, ensuring your cookies have the right texture and flavor.
- Baking sheets – a sturdy, flat surface that holds your cookies while they bake; lining with parchment paper keeps cleanup simple and prevents sticking.
- Wire cooling rack – lets the cookies cool without getting soggy on bottoms, keeping them crisp around the edges.
Flavor Variations & Add-Ins
- Use white or milk chocolate candies instead of kisses for a different flavor burst.
- Add a teaspoon of peppermint extract or orange zest to the dough for a refreshing twist.
- Mix in chopped nuts like pecans or walnuts for extra crunch and flavor.
- Swap powdered sugar for sanding sugar before baking for a sparkly, crunchy finish.
Chocolate Blossom Cookies
Ingredients You’ll Need:
- 1 cup (2 sticks) unsalted butter, softened
- 1 cup granulated sugar
- 1 large egg
- 1 tsp vanilla extract
- 1 ¾ cups all-purpose flour
- ½ cup unsweetened cocoa powder
- 1 tsp baking soda
- ¼ tsp salt
- ½ cup powdered sugar (for rolling)
- Chocolate kisses or chocolate drop candies, about 24 pieces
- Pink or red sugar crystals or sprinkles (optional, for decoration)
Time Needed
This recipe takes about 15 minutes to prepare and 8-10 minutes to bake. Allow an extra 5-10 minutes for cooling before serving. In total, you’ll spend around 30 minutes from start to finish.
Step-by-Step Instructions
1. Get Ready to Bake:
Preheat your oven to 350°F (175°C). Line a baking sheet with parchment paper so your cookies won’t stick and cleanup will be easy.
2. Mix the Cookie Dough:
In a large bowl, use a mixer or a strong spoon to cream together the softened butter and granulated sugar until the mixture feels light and fluffy. Next, beat in the egg and vanilla extract until everything is well combined.
3. Combine Dry Ingredients:
In a separate bowl, whisk together the flour, cocoa powder, baking soda, and salt. Gradually add this dry mix to the wet ingredients, stirring just until everything is mixed in. Be careful not to overmix to keep your cookies tender.
4. Shape and Roll:
Scoop the dough into small 1-inch balls, then roll each ball in powdered sugar until well coated. This step helps create the cookie’s pretty crackled appearance.
5. Bake the Cookies:
Place the coated dough balls on your prepared baking sheet, leaving about 2 inches between each so they have room to spread. Bake for 8 to 10 minutes, until the cookies are set but still soft.
6. Add the Chocolate Center and Decorate:
Right after taking the cookies out of the oven, gently press a chocolate kiss or chocolate drop candy into the center of each cookie. If you want, sprinkle some pink or red sugar crystals around the candy to create a charming blossom look.
7. Cool and Enjoy:
Let the cookies cool on the baking sheet for about 5 minutes, then transfer them to a wire rack to cool completely. Once cooled, your Chocolate Blossom Cookies are ready to enjoy!
Can I Use Frozen Butter for These Cookies?
It’s best to use softened butter for this recipe to ensure smooth mixing and the right cookie texture. If your butter is frozen, thaw it overnight in the fridge or leave it out at room temperature for about an hour before starting.
How Should I Store Leftover Cookies?
Store the cookies in an airtight container at room temperature for up to 4 days. To keep the chocolate kisses from melting or sticking, separate layers with parchment paper.
Can I Make the Dough Ahead of Time?
Absolutely! You can prepare the dough, roll it into balls, and keep them in the fridge for up to 2 days before baking. Just roll them again in powdered sugar right before placing on the baking sheet.
What If I Don’t Have Chocolate Kisses?
No worries! You can substitute with chocolate chips, mini peanut butter cups, or any favorite chocolate candy that melts slightly when pressed onto the warm cookie.